I would also try scaling up the prevSpatial to make sure its not just too tiny to see, and if it is using a shader that requires lighting you also need to add lighting to the node on the gui that the model is being attached to. TBH that is why I ask why you even need a container to attach it to, why not jut attach it to a regular node so you aren’t trying to mix lemur with 3d spatials? Since the GuiNode already supports 3d spatials attahed to it with basic Nodes anyways.
I would also comment out the line adding the guiControl, I have no clue what that control does so I cannot help troubleshoot anything related to that. For all I know that control could be force-setting the spatials position or parent node every frame in its update loop.
So this ends up being a whole different issue altogether, and requires the use of an alternate viewport to zoom in on the NPC’s head in order to omit the body without it extending outside of the character’s portrait frame. I’ve done this but it was a lot of work and is not something I could likely help someone else to figure out, and my implementation also relies on some code from another jme users library that has since gone missing.
I would reccommend taking @Pavl_G’s advice and just take an image of each NPC’s face and display that in their portrait instead. This will mean its a static portrait of the character’s face and is not animated at all, but it is much easier than the alternative.
package test;
import com.jme3.app.SimpleApplication;
import com.jme3.light.AmbientLight;
import com.jme3.light.DirectionalLight;
import com.jme3.light.PointLight;
import com.jme3.light.SpotLight;
import com.jme3.material.Material;
import com.jme3.math.ColorRGBA;
import com.jme3.math.FastMath;
import com.jme3.math.Vector3f;
import com.jme3.renderer.RenderManager;
import com.jme3.scene.Geometry;
import com.jme3.scene.Spatial;
import com.jme3.scene.shape.Box;
import com.simsilica.lemur.Container;
import com.simsilica.lemur.GuiGlobals;
import com.simsilica.lemur.Label;
import com.simsilica.lemur.core.GuiControl;
import com.simsilica.lemur.style.BaseStyles;
/**
* This is the Main Class of your Game. It should boot up your game and do initial initialisation
* Move your Logic into AppStates or Controls or other java classes
*/
public class Test extends SimpleApplication {
public static void main(String[] args) {
Test app = new Test();
app.setShowSettings(false); //Settings dialog not supported on mac
app.start();
}
@Override
public void simpleInitApp() {
// We add light so we see the scene
AmbientLight al = new AmbientLight();
al.setColor(ColorRGBA.White.mult(5.3f));
guiNode.addLight(al);
DirectionalLight dl = new DirectionalLight();
dl.setColor(ColorRGBA.White);
dl.setDirection(new Vector3f(2.8f, -2.8f, -2.8f).normalizeLocal());
guiNode.addLight(dl);
DirectionalLight dl2 = new DirectionalLight();
dl2.setColor(ColorRGBA.White);
dl2.setDirection(new Vector3f(100,3,26).normalizeLocal());
guiNode.addLight(dl2);
DirectionalLight dl3 = new DirectionalLight();
dl3.setColor(ColorRGBA.White);
dl3.setDirection(new Vector3f(-100,3,26).normalizeLocal());
guiNode.addLight(dl3);
GuiGlobals.initialize(this);
GuiGlobals.getInstance().getStyles().setDefaultStyle("glass");
BaseStyles.loadGlassStyle();
Spatial prevSpatial = assetManager.loadModel("Models/main.glb");
prevSpatial.setLocalTranslation(50, -200, 10);
prevSpatial.setLocalScale(40f);
rootNode.attachChild(prevSpatial);
GuiControl gc = new GuiControl("");
// gc.setSize(new Vector3f(200f,200f,29f));
prevSpatial.addControl(gc);
Container container = new Container();
float screenX = settings.getWidth();
float screenY = settings.getHeight();
Vector3f screenCenterPos = new Vector3f(screenX * 0.5f, screenY * 0.5f, 1);
Vector3f size = screenCenterPos.mult(0.5f);
container.setPreferredSize(size);
container.setLocalTranslation(screenCenterPos);
container.setSize(size);
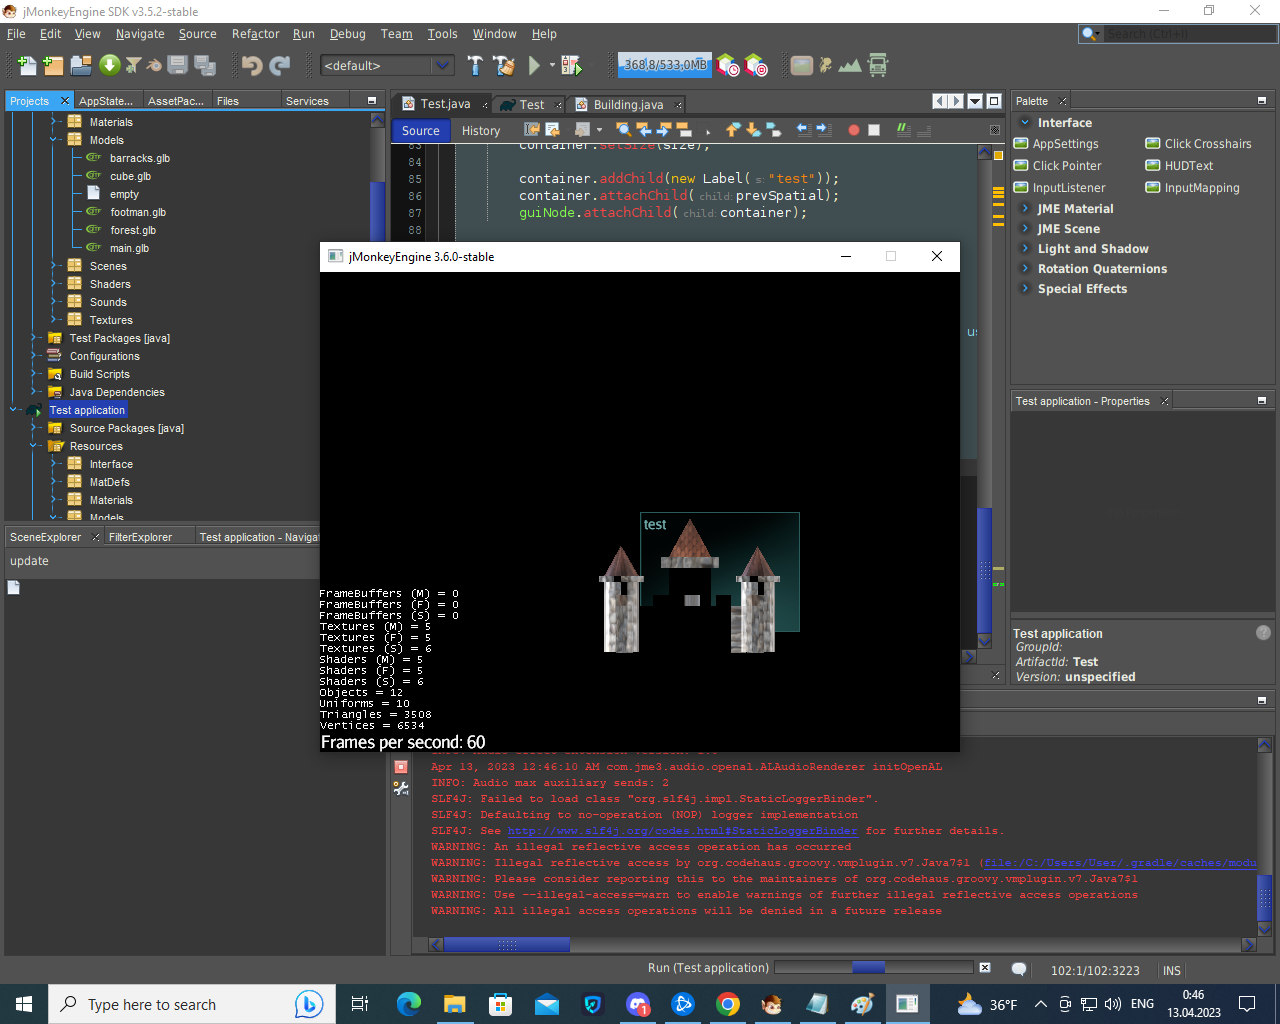
container.addChild(new Label("test"));
container.attachChild(prevSpatial);
guiNode.attachChild(container);
}
@Override
public void simpleUpdate(float tpf) {
//this method will be called every game tick and can be used to make updates
}
@Override
public void simpleRender(RenderManager rm) {
//add render code here (if any)
}
}
Add an AmbientLight (or lightProbe if using PBR) to simulate indirect lighting on the back-faces that are not lit by the directional light. The same way you would do lighting with your regular scene that isn’t on the gui node.
But yes, going with using images on a regular lemur component is definitely the easier choice.
If you do want to get an animated portrait with 3d models attached to an alternate viewport, then I would recommend doing that in the future when your game is all done and ready to be polished. But for now you are much better off focusing on things that are more related to the core gameplay.
It is funny actually, that whenever I ask any of my friends that have tested my game if they liked my fancy animated character portrait, they all told me they didn’t even notice until I pointed it out. There have been so many little things I’ve wasted time on, only to be told by a player that it is cool but that they didn’t notice it until I pointed it out lol.