I’ve been continuing the work on my Vulkan engine after a few months of break lately - Mainly cleaning up and improving the implementations of water, shadows and gltf and now tackling a bit of world generation, in the form of tesselated grass and terrain. I also finally fixed my OBS settings, so the video quality should not be absolutely terrible this time, although the recording still lags when i turn the grass on ;_; No idea why, the actual application doesn’t even lag while recording - Maybe because I did a window capture instead of a game capture or something like that. In any case, the next step would be populating the fitting biomes in the world with grass, planting a few trees, rocks, etc. etc. - And then probably continue on actual important features^^
What do you intend to do with your Vulkan engine? I’ll have to build my own Vulkan engine if JMonkey doesn’t migrate to Vulkan, cause I need my game tools to be viable for the future.
The new Android CompatHarness, A migration of AndroidHarness to use androidx components
The example of the implementation class :
package com.myGame.JMESurfaceViewExampleActivity.compatTest;

import android.view.View;
import android.view.ViewGroup;
import android.widget.Button;
import android.widget.FrameLayout;
import android.widget.RelativeLayout;
import android.widget.Toast;
import androidx.cardview.widget.CardView;
import androidx.core.content.ContextCompat;
import com.jme3.app.LegacyApplication;
import com.jme3.math.Vector2f;
import com.jme3.math.Vector3f;
import com.myGame.R;
import com.scrappers.superiorExtendedEngine.jmeSurfaceView.compat.CompatHarness;

/**
 * An Android CompatHarness Migration test.
 * @author pavl_g.
 */
public class TestCompatHarness extends CompatHarness {

    @Override
    protected void preInitializeGlConfig() {
        //TODO define your egl, display and LayoutManager config here
        EGLConfig.setEglSurfaceDelay(2000);
        Display.setDisplayMode(Display.GAME_MODE);
        //TODO choose whether to bind the app life to the activity one or not, true if you want them bound, false otherwise
        bindAppState(false);
        LayoutManager.setLayoutManager(LayoutManager.Frame_Layout);
    }

    @Override
    protected Class<? extends LegacyApplication> getInstance() {
        //TODO return your game class here
        return CompatGame.class;
    }

    @Override
    protected View getSplashScreen() {
        //TODO define your splash screen here
        final CardView splashScreen = new CardView(this);
        splashScreen.setBackground(ContextCompat.getDrawable(this, R.mipmap.power1));
        return splashScreen;
    }

    @Override
    protected Vector3f getSplashScreenAnimationTranslation() {
        return new Vector3f();
    }

    @Override
    protected Vector2f getSplashScreenAnimationScale() {
        return new Vector2f(0,0);
    }

    @Override
    protected Vector2f getSplashScreenAnimationRotation() {
        return new Vector2f(40, 90);
    }

    @Override
    protected long getSplashScreenAnimationDuration() {
        return 1000;
    }

    @Override
    protected void onExceptionThrown(Throwable throwable) {
        //TODO catch and deal with exceptions/errors here
    }

    @Override
    protected void onStartRenderer(LegacyApplication app) {
        //TODO do something when the renderer starts
    }

    @Override
    protected void onRendererCompletion(LegacyApplication app) {
        //TODO do something when the renderer completes
    }

    @Override
    protected void onLayoutDrawn(LegacyApplication app, View layout) {
        //TODO do something when layout is drawn
        final FrameLayout relativeLayout = (FrameLayout) layout;
        final Button button = new Button(this);
        button.setText("Hello from Compat Harness !");
        button.setLayoutParams(new RelativeLayout.LayoutParams(ViewGroup.LayoutParams.WRAP_CONTENT, ViewGroup.LayoutParams.WRAP_CONTENT));
        button.setX(Display.getDisplayMetrics(this).widthPixels / 2f - 30);
        button.setY(Display.getDisplayMetrics(this).heightPixels / 2f - 30);
        button.setOnClickListener((view)-> Toast.makeText(TestCompatHarness.this, button.getText().toString(), Toast.LENGTH_SHORT).show());
        relativeLayout.addView(button);
    }

    @Override
    protected void onStopRenderer(LegacyApplication app) {
        //TODO do something when the renderer stops
    }

    @Override
    protected void onPauseRenderer(LegacyApplication app) {
        //TODO do something when the renderer is paused
    }

    @Override
    protected void onResumeRenderer(LegacyApplication app) {
        //TODO do something when the renderer is resumed
    }
}
New Features :
Define a LayoutManager to the system if you wish.
more lifecycle methods exposed from android & jme (under testing for safe exposure).
wrapped display related utils into Display enum.
wrapped egl configs into EGLConfig enum.
Introduced a defined way in which jme app instance can be independent of android life cycle, so when the activity terminates, jme doesn’t terminate through bindAppState(bool) flag.
Crash Dialog holds Copy Crash logs option (wip).
A better way to handle splash screens through the abstract factory method pattern View getSplashScreen() + splash screen animations.
Added onLayoutDrawn() life cycle method, where inside this factory method, you can build your own platform dependent (android) gui.
Bug Fixes
Passing simpleApplication instance through a Class<? extends LegacyApplication> getInstance() factory method for nullary constructor based classes.
Passing simpleApplication instance through a LegacyApplication setAppInstance() setter method for non-nullay constructors (for parameterized constructors).
And the system favors the getInstance() over the setInstance(), if they are both used, if one of them is null, then we use the other.
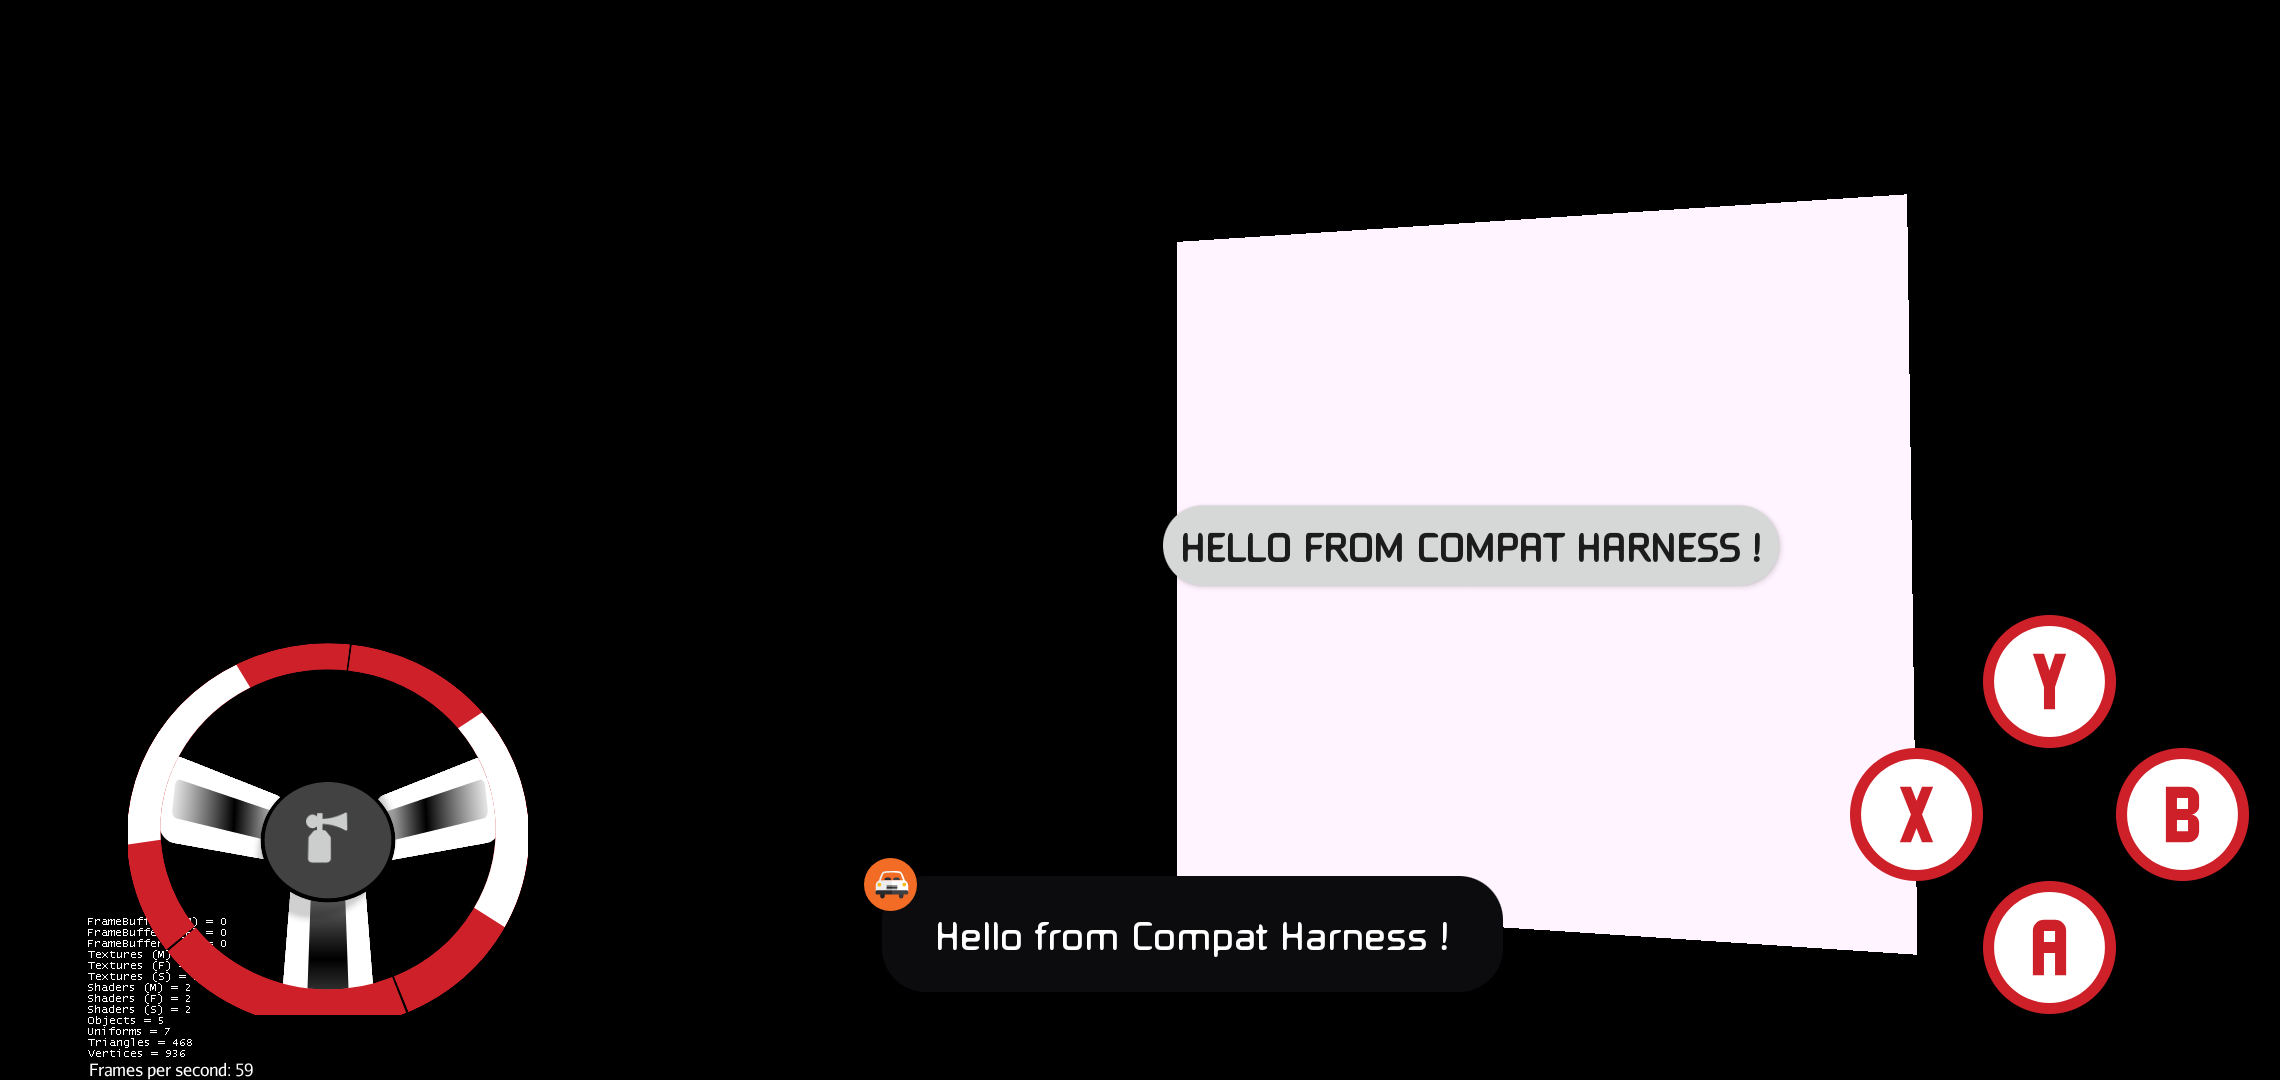
EDIT (Example of an easy to do quick gui) :
  @Override
    protected void onLayoutDrawn(LegacyApplication app, View layout) {
        //TODO do something when layout is drawn
        final RelativeLayout relativeLayout = (RelativeLayout) layout;
        final Button button = new Button(this);
        button.setText("Hello from Compat Harness !");
        button.setLayoutParams(new RelativeLayout.LayoutParams(ViewGroup.LayoutParams.WRAP_CONTENT, ViewGroup.LayoutParams.WRAP_CONTENT));
        button.setX(Display.getDisplayMetrics(this).widthPixels / 2f - 30);
        button.setY(Display.getDisplayMetrics(this).heightPixels / 2f - 30);
        button.setOnClickListener((view)-> Toast.makeText(TestCompatHarness.this, button.getText().toString(), Toast.LENGTH_SHORT).show());
        relativeLayout.addView(button);

        final GullWing gullWing = new GullWing(this);
        gullWing.setLayoutParams(new RelativeLayout.LayoutParams(400, 400));
        gullWing.setY(Display.getDisplayMetrics(this).heightPixels - (gullWing.getLayoutParams().height + 30));
        gullWing.setX(40);
        gullWing.initializeWheel();
        relativeLayout.addView(gullWing);

        final ControlButtonsView controlButtonsView = new ControlButtonsView(this);
        controlButtonsView.setLayoutParams(new RelativeLayout.LayoutParams(400, 400));
        controlButtonsView.setX(Display.getDisplayMetrics(this).widthPixels - (controlButtonsView.getLayoutParams().width + 30));
        controlButtonsView.setY(Display.getDisplayMetrics(this).heightPixels - (controlButtonsView.getLayoutParams().height + 30));
        controlButtonsView.addControlButton(ControlButtonsView.ButtonSignature.GAMEPAD_BUTTON_X, ControlButtonsView.ButtonStyle.DEFAULT_BUTTONS.STYLE, ControlButtonsView.ButtonIcon.X_BUTTON_ALPHA.ID);
        controlButtonsView.addControlButton(ControlButtonsView.ButtonSignature.GAMEPAD_BUTTON_Y, ControlButtonsView.ButtonStyle.DEFAULT_BUTTONS.STYLE, ControlButtonsView.ButtonIcon.Y_BUTTON_ALPHA.ID);
        controlButtonsView.addControlButton(ControlButtonsView.ButtonSignature.GAMEPAD_BUTTON_A, ControlButtonsView.ButtonStyle.DEFAULT_BUTTONS.STYLE, ControlButtonsView.ButtonIcon.A_BUTTON_ALPHA.ID);
        controlButtonsView.addControlButton(ControlButtonsView.ButtonSignature.GAMEPAD_BUTTON_B, ControlButtonsView.ButtonStyle.DEFAULT_BUTTONS.STYLE, ControlButtonsView.ButtonIcon.B_BUTTON_ALPHA.ID);
        relativeLayout.addView(controlButtonsView);
    }
I donot know much about android stuff on wiki, i mainly rely on android java docs and android developer wiki, for jme android development quick start you can currently refer to these simple test cases, the classes are well documented :
Quick Start Guide to run a simple android application (how to create and deploy android activities):
(Jme3 uses the Android Activity as a launcher and GlSurfaceView component to directly display graphics through injecting shaders under the hood.)
The new jme3 JmeSurfaceView is a GlSurfaceView that can act as Jme3 system listener and can start a simpleApplication, you can find it inside the simple examples.
The AndroidHarness wraps a GlSurfaceView inside an android activity(Ui entry point) and it eases the life cycle for you, so you have multiple choices either to use JmeSurfaceView and wrap this ui component inside an AppCompatActivity or just use the harness(by extending it).
You needn’t to know everything about android to develop a jme3 android game, you just need some sort of knowledge about android activities, android Manifest, gradle, android studio and the rest would be your jmonkeyengine main class (SimpleApplication).
EDIT : and this may help you in the process of migrating the game to android platform :
")
")