I’m looking at adding Projective Texture Mapping to my application. Is this tool the best way to do that in JME? Or is there some better way to do Projective Texture Mapping with JME?
If this is indeed the best or only tool available:
Does this project still work with current JME version? (the last post here is 5 years ago…)
Do I have to use the SDK? I am currently using IntelliJ and Maven, not the SDK. Is there a standalone jar or library?
Is there any quick start guide or other documentation for this library? Or is this thread the best documentation?
I don’t remember which one of them I used but the latest has more recent commits (2018) so it’s a better option
What I did is checkout the repo and copy src and assets to my project equivalents. I had to slightly modify both the code and the shaders to make it work as I needed for my project but default works ok
About usage, the examples in this thread work also
I checked out the source from the second github link (“NemesisMate”).
I copied the source folders and the resources (MatDefs, Shaders and Textures) to my existing JME project.
I found the “test” classes (e.g. TestProjectiveTextureMapping.java) were a great help. They are called tests but are really example applications. They are runnable and I found I could just move the code over to my application and start modifying it.
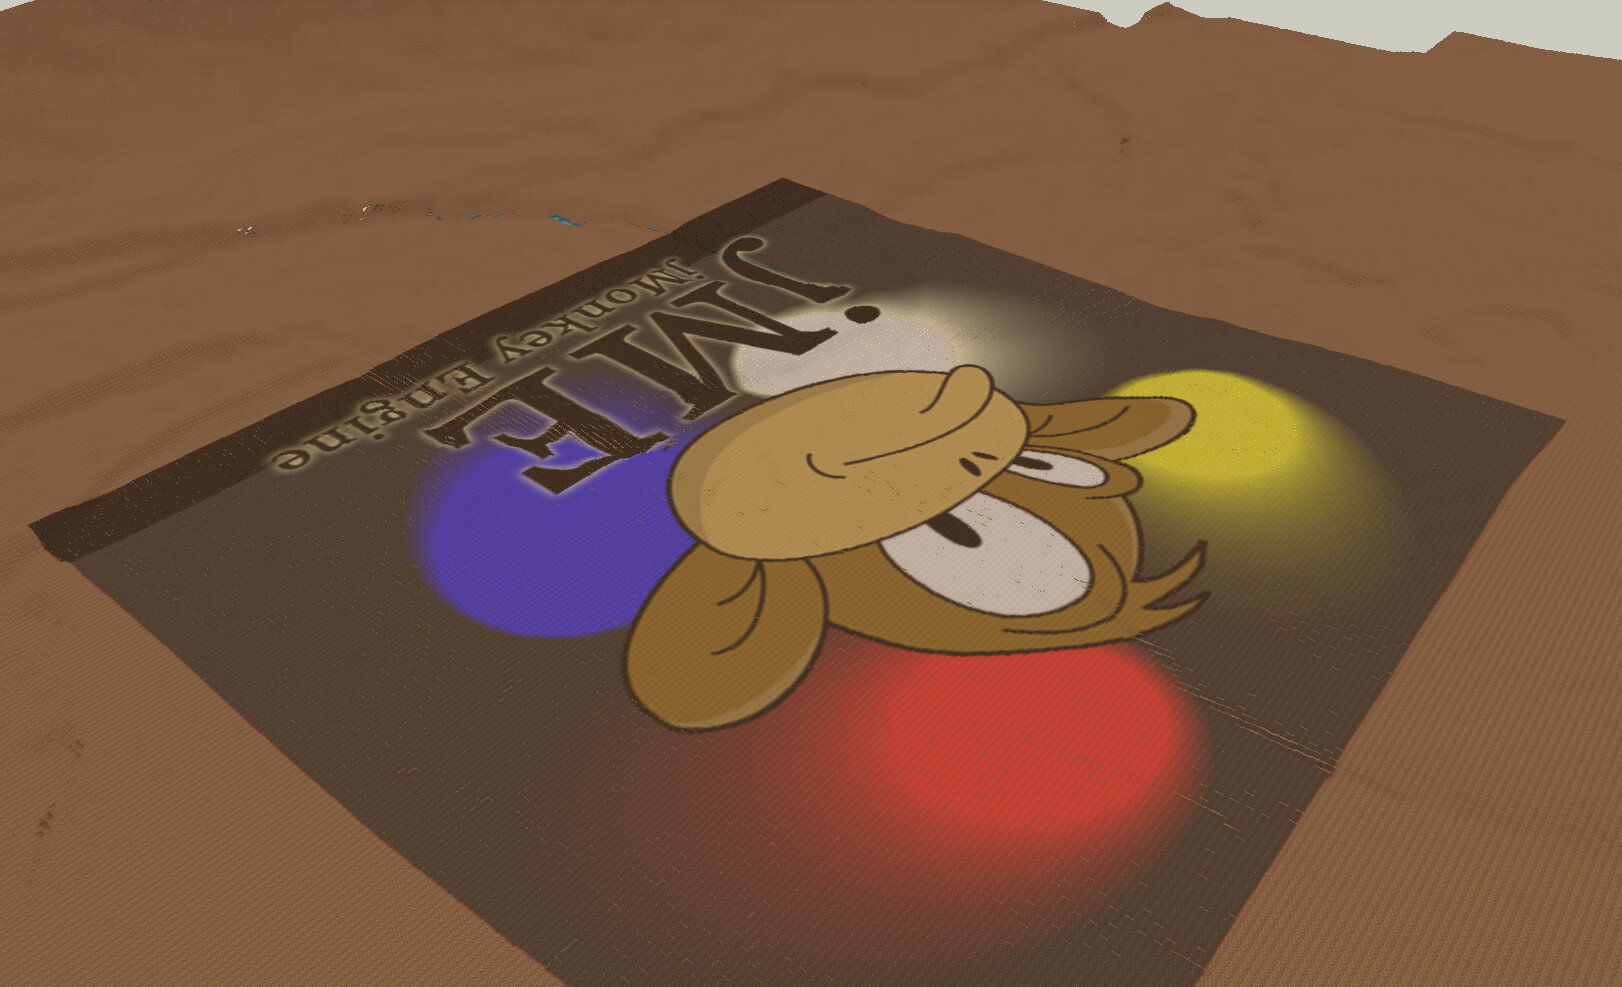
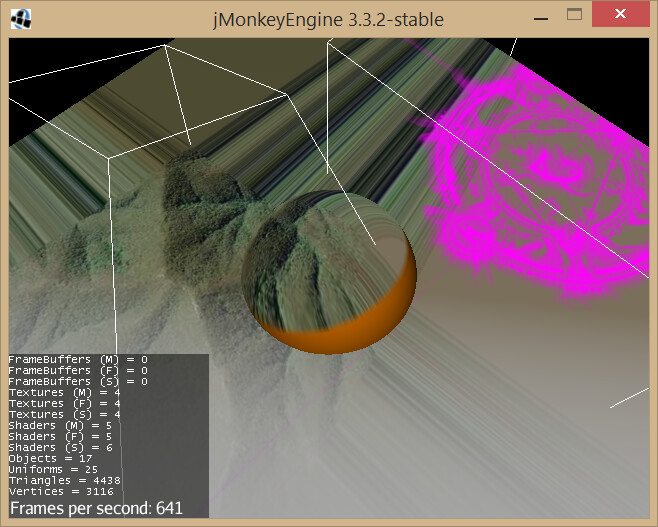
I have an issue with rendering the projected textures.
When I use the provided sample texture (monkey.png), it renders correctly. When I use any other image, the texture “bleeds” infinitely in the four directions out from each edge. I have provided two screenshots (one with the monkey image and one with my image).
This happens with every image I try (my own images, random pngs downloaded off the internet)
Things I have tried:
Making the image the same dimensions as monkey.png
Giving the image the same colour space (seems to be 32 bit ARGB)
I ran the TestProjectiveTextureMapping.java test, using my own jpeg instead of the monkey4.png image. I found that I got the same issue with the image bleeding.
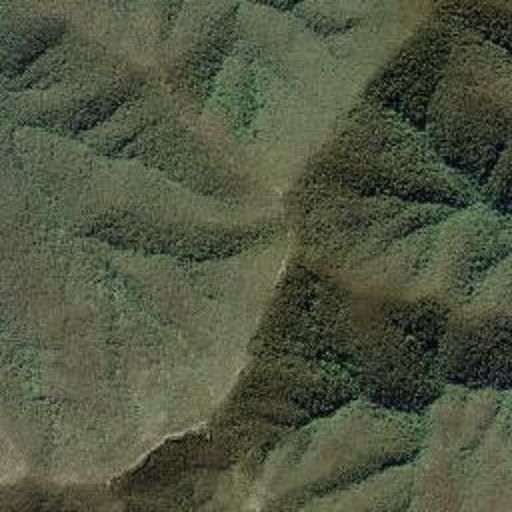
In the TestProjectiveTextureMapping test, change Texture1 from monkey4.png to another image (e.g. the attached image).
I have uploaded the image I am using. I am not sure if the forums software will alter the file format. I couldn’t see a way to attach a raw file.
//        Texture2D texture1 = (Texture2D) assetManager.loadTexture("Textures/Monkey4.png");
        Texture2D texture1 = (Texture2D) assetManager.loadTexture("Textures/satellite512.jpg");
        Texture2D texture2 = (Texture2D) assetManager.loadTexture("Textures/rune.png");

        pd1 = new ProjectorData();
        pd2 = new ProjectorData();
        initProjectorData(pd1, new Vector3f(1f, 2.1f, 0f), texture1);
        initProjectorData(pd2, new Vector3f(1f, 2.1f, 2f), texture2);
I noticed that the monkey4.png test image had empty (transparent) pixels all around the outer edge of the image.
So I created a new version of my image with a 2 pixel transparent border around the edge. And this solved the problem.
No idea if this is intended behaviour or if this is a bug. My guess is that the sample test doesn’t have the same problem because the test images both have transparent borders. In fact, if you look carefully at my screenshot above, you can see the pink from “rune.jpg” is bleeding out at the one point where the pink touches the edge of the image.
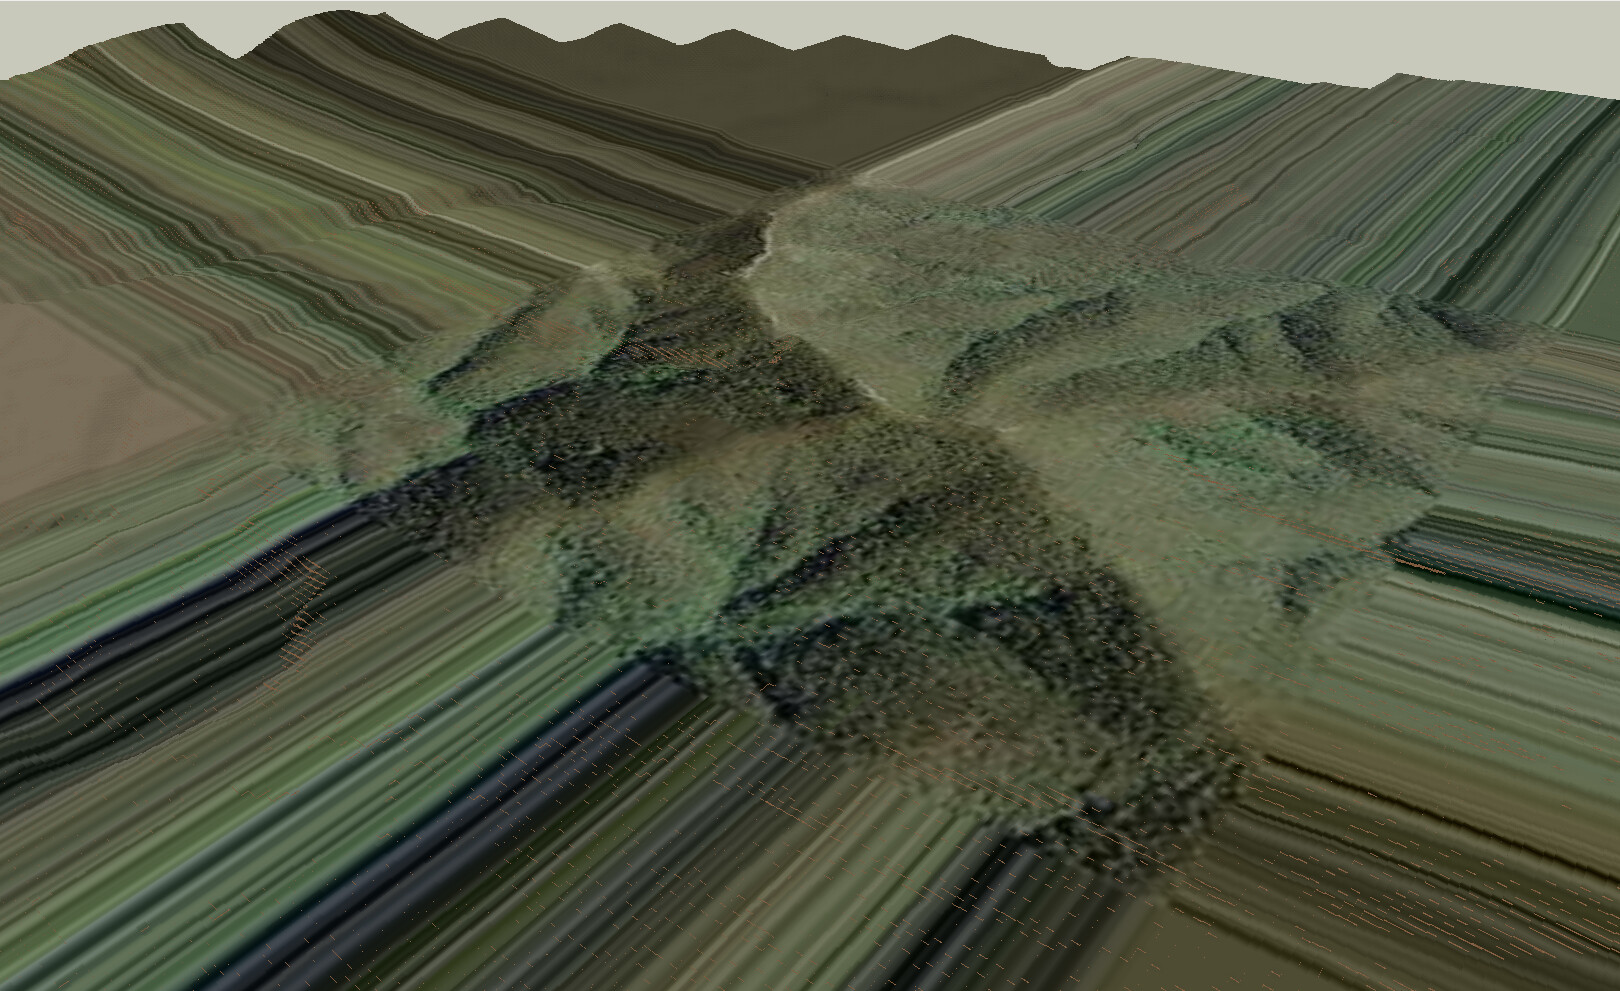
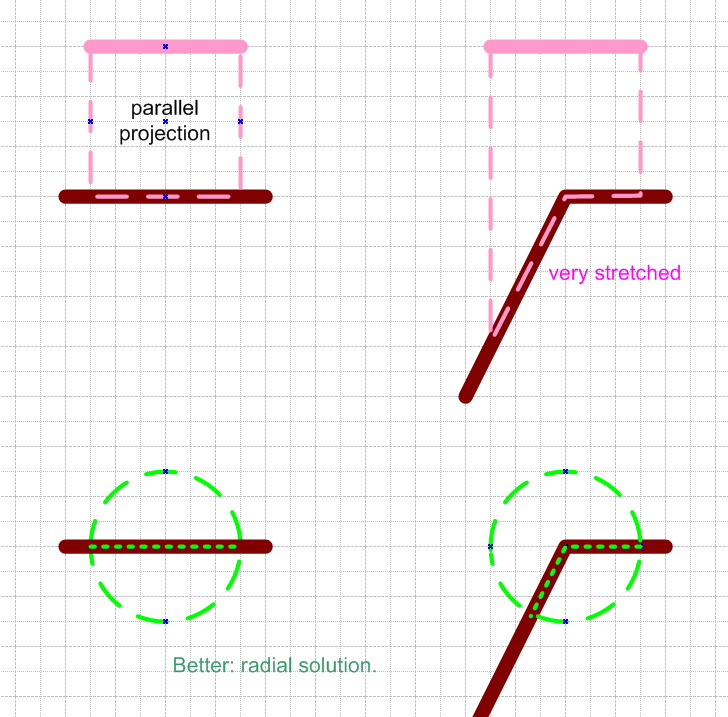
Most of the article relate to the application on a map. However, on particularly uneven surfaces, near cliffs or steep mountains, the projections are very misshapen.
The center of the sphere is the center of the marker. Since a map can never go straight up, we have no problem with gimbal lock. The projection lies like a tablecloth on the map.
I would be more beautiful.
Edit: something like this:
The red marking is a parallel projection 0, -1,0. You can see the stretching on steeper slopes.
The turquoise marking is the radial solution.
White occurs on flat planes when they overlap.
I am trying to use projective texture mapping to project map tiles onto 3D terrain. Similar to Google Earth.
I have managed to get something rendering, but at the moment I am using trial and error as to how to set up the projectorCamera. I need a formula for setting up the camera so the map tiles appear in the correct place on the terrain.
So say I have a tile image loaded into a texture. I want to project that down onto the terrain so it covers a square with topleft x0,z0 and bottom right x1,z1.
This is what I have so far. I’ve cobbled this together from various code snippets I found on the forum and jme test-examples.
    private SimpleTextureProjector addProjector(Point bottomLeft, Point topRight, float elevationAtGroundLevel, Texture2D texture) {
        SimpleTextureProjector projector = new SimpleTextureProjector(texture);
        Camera projectorCamera = projector.getProjectorCamera();
        Point centre = new Point((bottomLeft.getX()+topRight.getX())/2, (bottomLeft.getY()+topRight.getY()) /2);
        int heightOffGround=100;

        Vector3f location=new Vector3f(centre.getX(), elevationAtGroundLevel+heightOffGround, centre.getY());
        projectorCamera.setLocation(location);
        projectorCamera.setParallelProjection(true);

        float aspect = Math.abs(((float) topRight.getX()-bottomLeft.getX())/(topRight.getY()-bottomLeft.getY()));
        float frustumSize = topRight.getX()-bottomLeft.getX();
        projectorCamera.setFrustum(-1000, 1000, -aspect * frustumSize, aspect * frustumSize, frustumSize, -frustumSize);
        projectorCamera.lookAtDirection(Vector3f.UNIT_Y.negate(), Vector3f.UNIT_Y.clone());

        return projector;
    }
This projects the image tile vaguely in the right area. I need it to be accurate though.
Firstly, should I be using parallel projection?
And should I be calling setFrustrum? And with what values?
Any help with the mathematics would be appreciated. Or documentation I should be reading to understand how it works.
Note that it has been a few months since i last had anything to to with 3d programming, so i might be way off.
Cannot say much about this exact library since i never used it.