Shader Showcase Game Jam

That is true, although I personally never liked shader nodes so I’m not necessarily aiming to achieve the same things a shader node system would.

I think shader nodes overcomplicate things a bit too much for the sake of avoiding coding, and when I did try shader nodes, I felt like I often was in a position where I would need to fork a shaderNode to tweak it to my likings, or google how to combine a ton of shader nodes’ inputs and outputs correctly to do something complicated that I could do just as easy with code, and that felt like it defeated the purpose of using a simple GUI system in the first place.

But putting bigger things like this into a .glsllib rather than packed into a big .frag file is at least a bit more modular than having one mega .frag shader, and most importantly makes maintaining multiple forks of PBRLighting with minor differences easier.

Well, I’ve actually been trying to improve jme’s bloom filter somewhat.

This is what jme’s bloom looks like. The blurring is somewhat jagged, especially when scaled.

This is my filter, which takes radius+radius samples but produces better results, even when scaled up.

The effect isn’t quite as stable as I’d like, which is why I avoided posting earlier.

While developing the shader for this effect, I found an excellent way to find the distance to an edge or anomaly, which I want to explore further. :wink:

5 Likes

Here’s a clip showing a basic Freeze and Stone-Petrify effect so far:

This is using triplanar mapping to do a simple linear blend from the original textures to the final ice/stone textures.

Next step is to add 2 different blend modes: dissolve & height-scan.

And then for the ghost effect, I just need to add a param for movementSpeed to slide the textures in one direction or overlay some moving noise or something like that… And hopefully by adding some params for layering noise octaves, that should also make it so this .glsllib can handle things like the lightning effect as well, but that one will probably be the trickiest.

13 Likes

Really great! The texture detail is so cool. Good state transitions. :wink:

Edit:
For those not using the SDK, to simplify and automate editor generation, I am writing a ReflectedEditorBuilder class with Lemur, which uses reflection to dynamically create configuration panels for any object.

For editing ColorRGBAs at the moment I have used AWT’s JColorChooser Dialog. I used a little trick to synchronize the JME and AWT threads. It works with jme3-lwjgl3. I will soon add it to the project we are working on. I also plan to create you a quick test tool to change model animations and see how shaders behave on animated models.

Do you think it will be useful? @codex @yaRnMcDonuts

Here is an example applied to com.jme3.post.Filter:

#JME Community
Suggestions are always welcome. :wink:

7 Likes

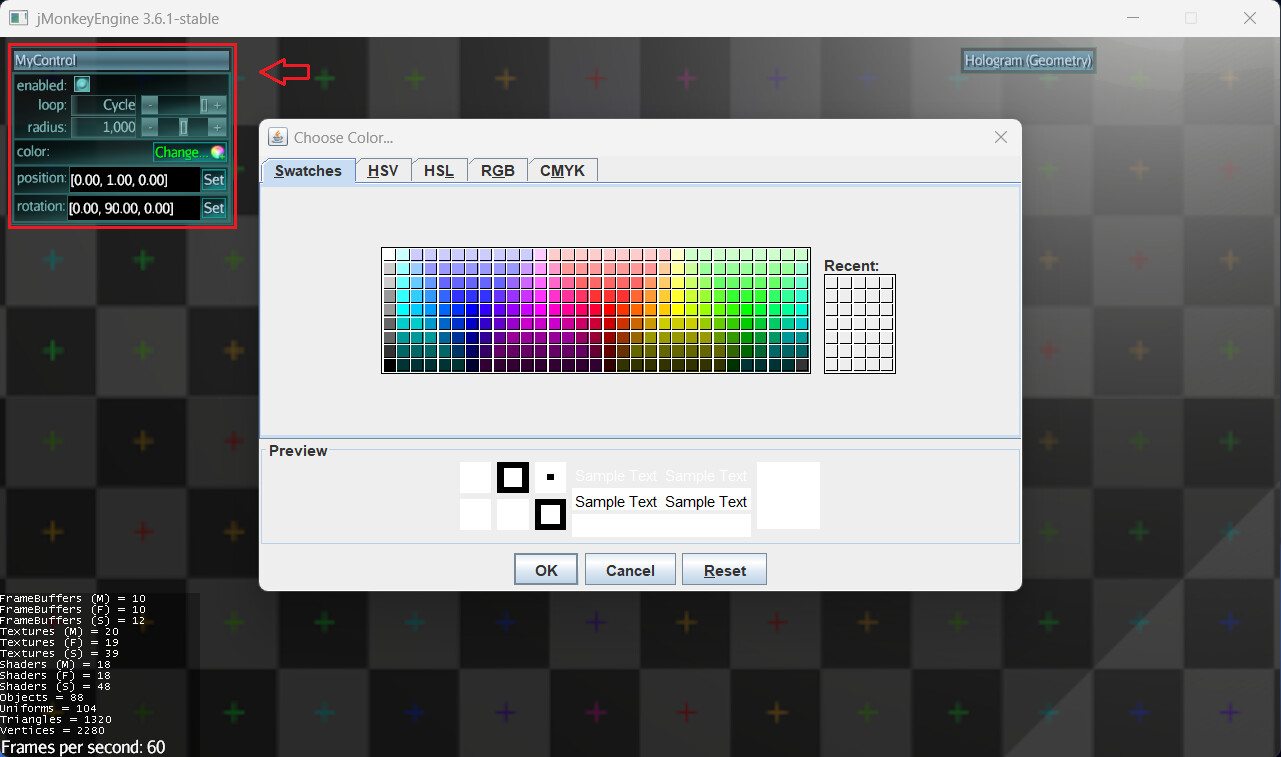
I usually use lemur’s built in color chooser because I always thought it caused issues trying to get base java gui components like jfx or awt into jme, but it looks like you got it to work so that looks good to me!

That would also be useful. I wanted to do some animation slowing/pausing to demonstrate the effect better, but I avoided putting any animation code into the class I wrote for managing each blend-layer, since a game would typically handle the animations elsewhere, and I want to make sure that I write this BlendLayerEffect.java class to also be usable outside of a test-case too.


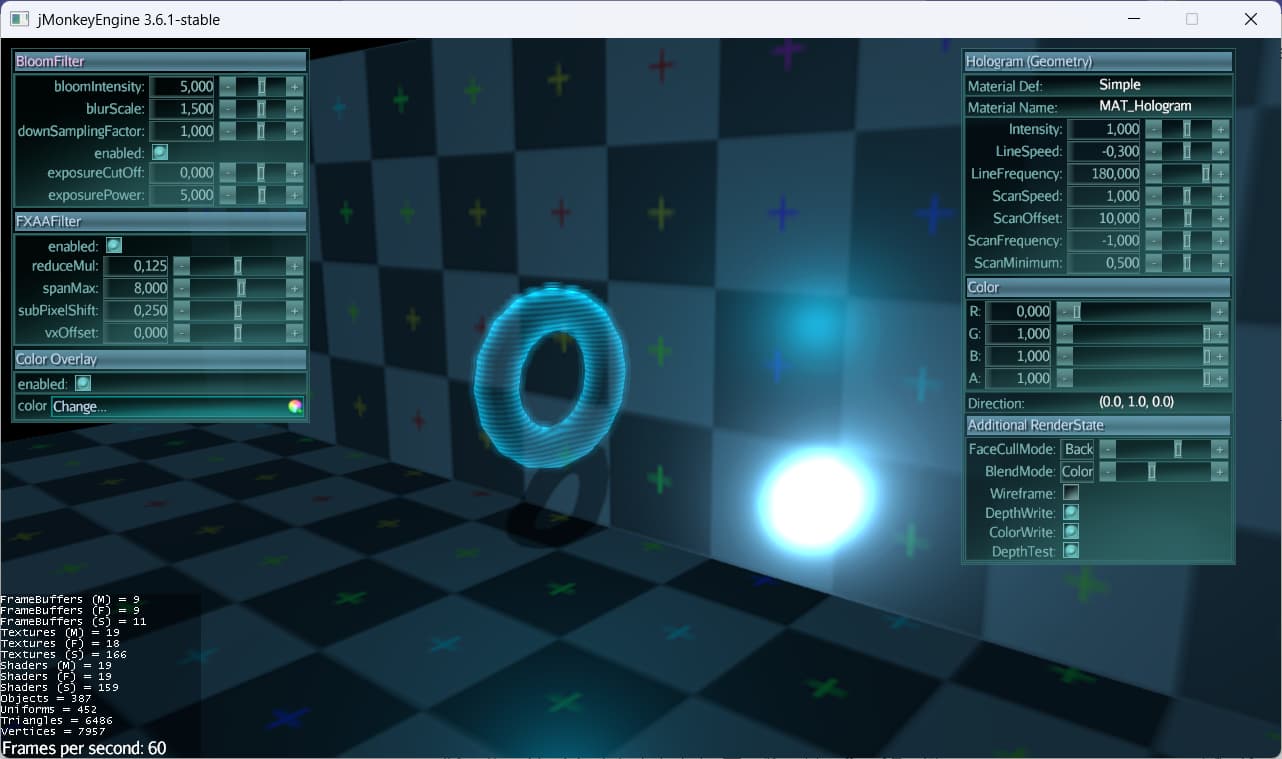
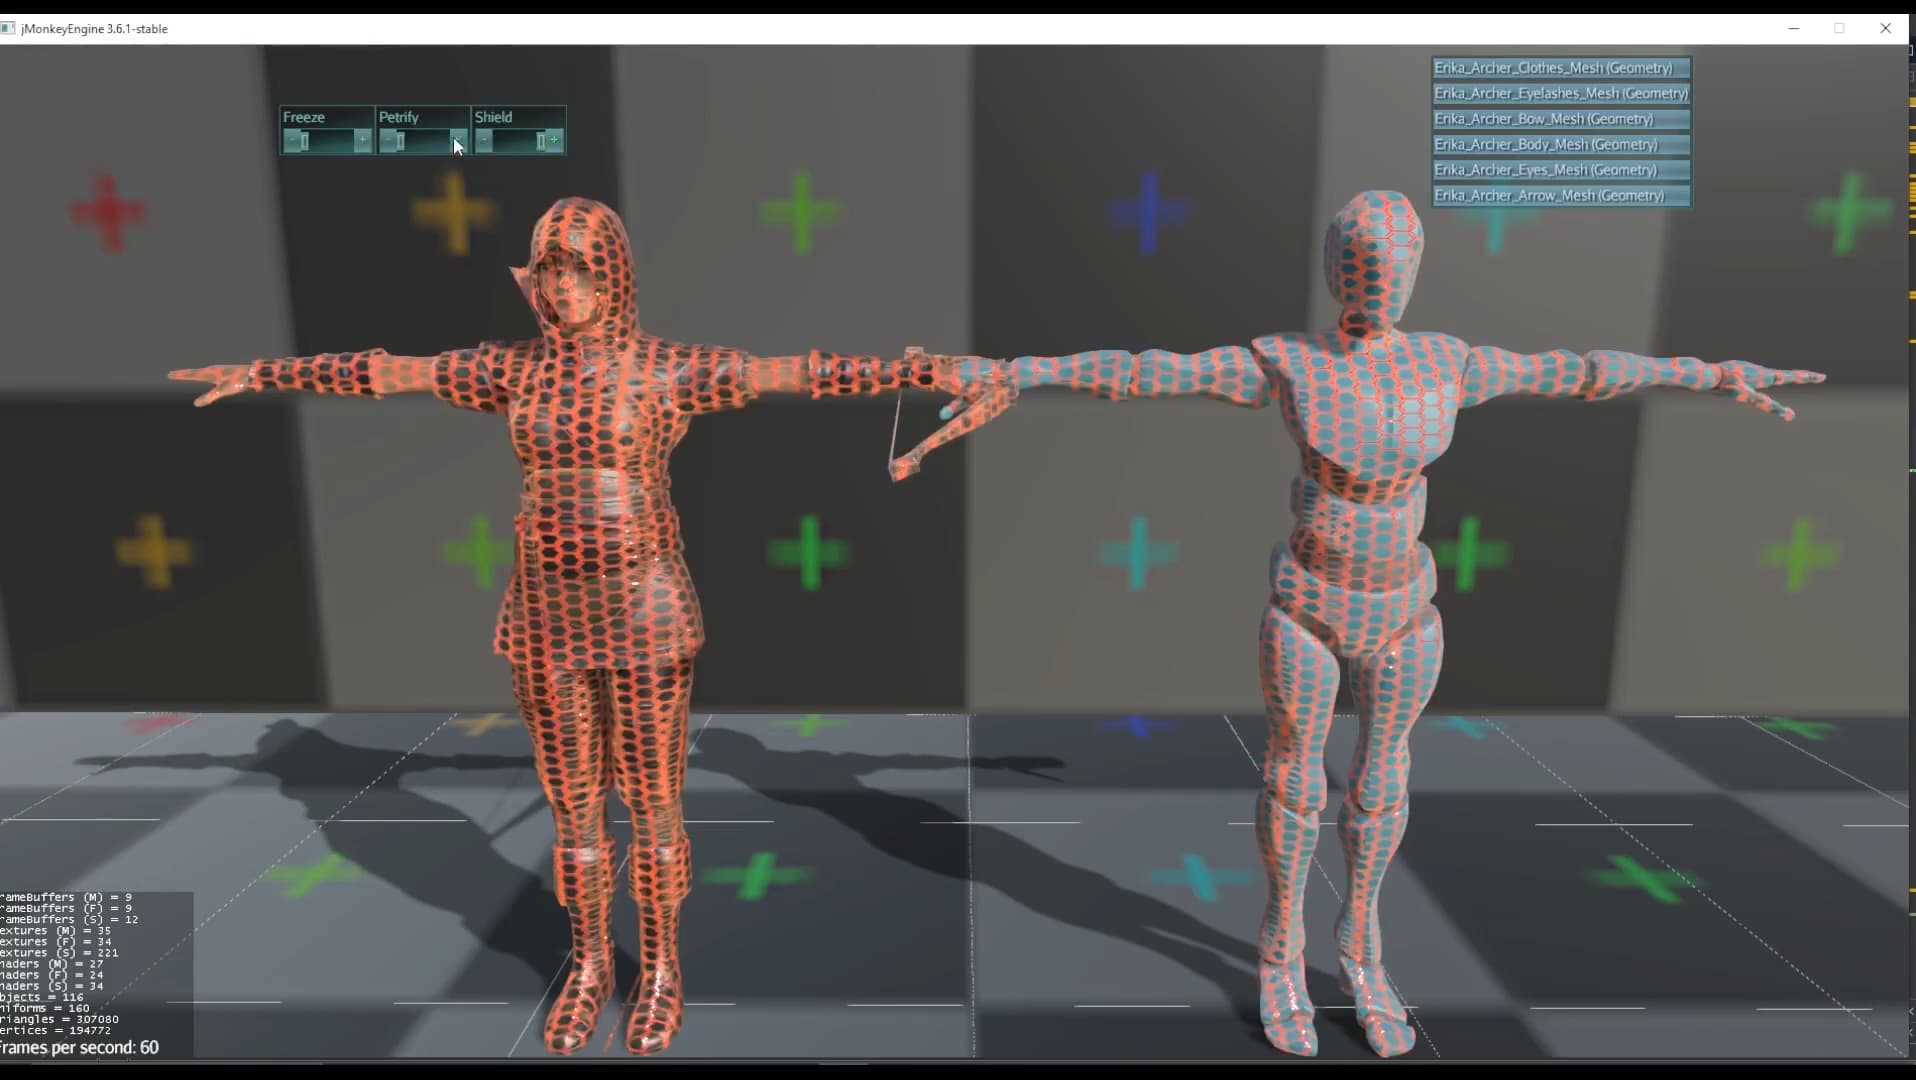
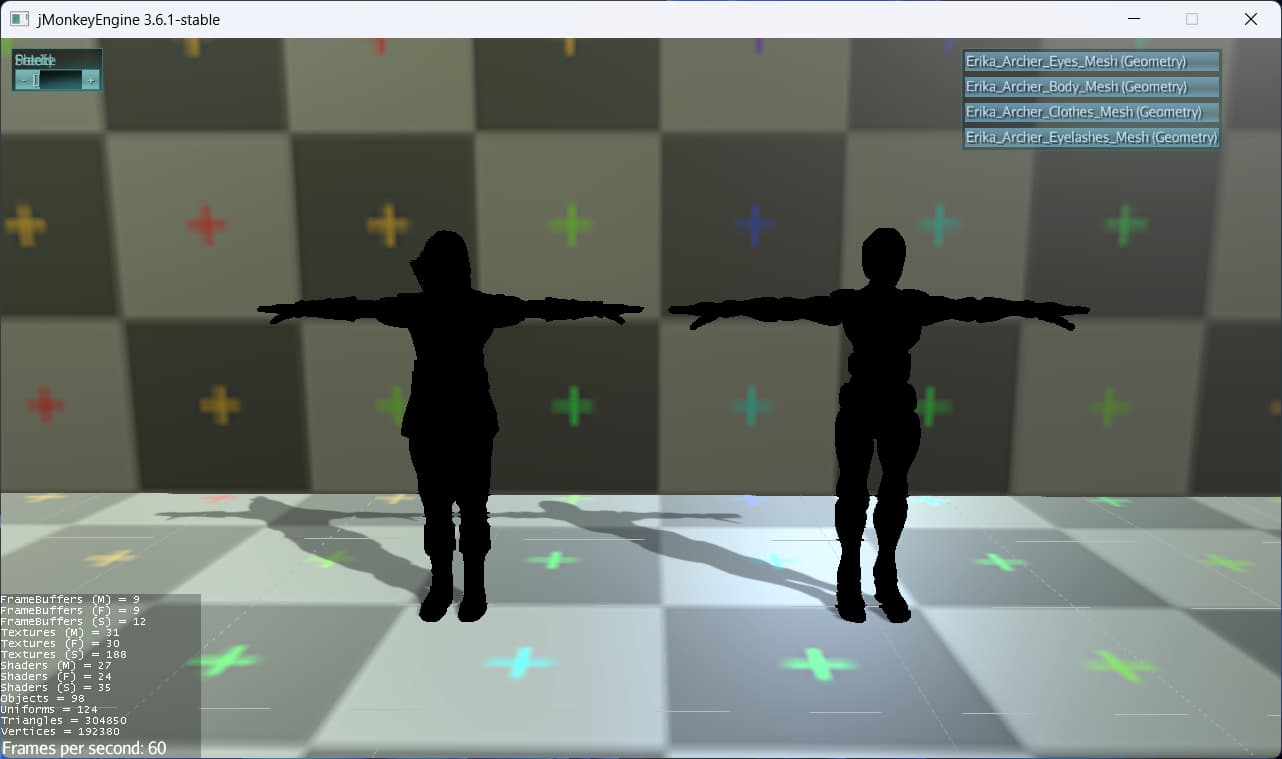
It would also be useful if there were a way to make a new matParam editor window that only displays (or omits) a list of designated params that match the indicated names. That way the container won’t overflow and go off the screen (although a scroll container would also fix that).

For example, each blend layer could have its own small matParam container that only shows the params that have a name starting with “BlendLayer_i_” where i is the index of that layer.

Here’s the code for the BlendLayerEffect.class so far, to show how I set the matParams with a method in this class so it sets the param on the whole list of materials that the effect is applied to (rather than editing one material at a time).


public class BlendLayerEffect {
    
    private int layerIndex = -1;
    private String layerParamsPrefix;
    
    private final Vector4f blendVec = new Vector4f();
    public float getBlendVar(){ return blendVec.x; }
    
    private final ArrayList<Material> materials = new ArrayList<>();    
    
    public BlendLayerEffect(int layerIndex, ArrayList<Material> materials) {
        setLayerIndex(layerIndex);
        this.materials.addAll(materials);
        
    }
    
    public BlendLayerEffect(int layerIndex, Spatial spatial) {
        setLayerIndex(layerIndex);        
        addMaterialsFromSpatial(spatial);
    }    
    
    public void setBlendValue(float blendVal){        blendVec.setX(blendVal);    }
    
    public void clearLayer(){
        for(Material mat : materials){
            ArrayList<MatParam> matParams = new ArrayList<>(mat.getParams());
            for(MatParam matParam : matParams){
                if(matParam.getName().startsWith(layerParamsPrefix)){
                    mat.clearParam(matParam.getName());
                }
            }
        }
    }
    
    public void setLayerIndex(int layerIndex){        
        if(layerIndex != -1){
            clearLayer();
        }
        
        this.layerIndex = layerIndex;
        layerParamsPrefix = "BlendLayer_" + layerIndex;
        
        for(Material mat : materials){
            mat.setVector4(layerParamsPrefix + "_BlendVec", blendVec);
        }
    }    
    
    public void registerMaterial(Material material){
        String blendVecMatParamString = "BlendLayer_" + layerIndex +"_BlendVec";
        if(material != null && material.getMaterialDef().getMaterialParam(blendVecMatParamString) != null){  //detect if the material's matDef is valid and has support for the blend layer
            if(!materials.contains(material)){
                materials.add(material);
                
                if(materials.size() > 1){//if this isn't the first material added, copy all params from the first material to the newly registered one
                   //to-do
                }
                
                material.setVector4(blendVecMatParamString, blendVec);
            }                   
        }
    }
    
    public void addMaterialsFromSpatial(Spatial spatial){
        spatial.breadthFirstTraversal(new SceneGraphVisitorAdapter() {
            @Override
            public void visit(Geometry geom) {                        
                registerMaterial(geom.getMaterial());
            }
        });
    }
    
    private boolean isTriplanar = true;
    public void setTriplanar(boolean isTriplanar) {
        this.isTriplanar = isTriplanar;    
        if(baseColorMap != null){
            baseColorMap.setWrap(Texture.WrapMode.Repeat);
        }
        if(normalMap != null){
            normalMap.setWrap(Texture.WrapMode.Repeat);
        }
        if(metallicRoughnessAoMap != null){
            metallicRoughnessAoMap.setWrap(Texture.WrapMode.Repeat);
        }
        if(emissiveMap != null){
            emissiveMap.setWrap(Texture.WrapMode.Repeat);
        }
    }
    
    public void setParam(String name, VarType varType, Object val){
        for(Material mat : materials){
            if(val == null){
                mat.clearParam(name);                    
            }else{
                if(val instanceof Texture && isTriplanar){
                    ((Texture) val).setWrap(Texture.WrapMode.Repeat);
                }
                mat.setParam(name, varType, val);
            }
        }
    }
    
    public void setBaseColorMap(Texture texture){
        baseColorMap = texture;
        setParam(layerParamsPrefix + "_BaseColorMap", VarType.Texture2D, texture);
    }
    
    public void setNormalMap(Texture texture){
        normalMap = texture;
        setParam(layerParamsPrefix + "_NormalMap", VarType.Texture2D, texture);
    }
    
    public void setMetallicRoughnessAoMap(Texture texture){
        metallicRoughnessAoMap = texture;
        setParam(layerParamsPrefix + "_MetallicRoughnessAoMap", VarType.Texture2D, texture);
    }
    
    public void setEmissiveMap(Texture texture){
        emissiveMap = texture;
        setParam(layerParamsPrefix + "_EmissiveMap", VarType.Texture2D, texture);
    }
}

The way I wrote this is best for managing the blend-layers dynamically in a game, but it currently makes it difficult for this class to work with your matParam editor, since it sets the matParam directly to one material at a time.

(Having a scroll container to make the main matParam container fit all the params would be nice too, but I still don’t think lemur has an official scroll container implementation unfortunately. And the scroll container I made isn’t very good so I don’t know if it would be worth copy/pasting all the code it relies on into this project)

Here’s also a snippet of code from a sloppy and unfinished MaterialEditor container I use in my own custom edtior. This is the code I use to omit or include certain matParams from the display:

    public void setMaterialToEdit(Material materialToEdit){
        paramsContainer.clearChildren();        
        
        this.materialToEdit = materialToEdit;
        
        if(materialToEdit != null){
            

            materialNameLabel.setText(materialToEdit.getName());
            matDefNameLabel.setText(materialToEdit.getMaterialDef().getName());

            ArrayList<MatParam> shaderParams = new ArrayList(materialToEdit.getMaterialDef().getMaterialParams()); //

            for(int s = 0; s < shaderParams.size(); s++){

                MatParam shaderParam = shaderParams.get(s);
                MatParam matParam = materialToEdit.getParam(shaderParam.getName()); //check for existing value in materialToEdit   

                
                boolean isExcluded = false;
                String paramName = shaderParam.getName();
                for(String startingWithString : excludeParamsStartingWithList){
                    if(paramName.startsWith(startingWithString)){
                        isExcluded = true;
                    }
                
                                  
                }
                if(!isExcluded){
                    this.initMaterialParam(matParam, shaderParam);
                } 
            }
        }
        
    }

This way the matParam editor automatically shows every param unless it is omitted, rather than having to code which ones to display. So I usually add “ShadowMap” to the omission list for example, that way the material editor isn’t spammed with redundant shadowMap_0-5 declarations that a user should never be setting manually anyways.

And in the case of this shader demo, it could be useful to omit all of my BlendEffect_ params from the master-materialParam editor container, and instead put these blendLayer params each in their own small editing container that syncs the params to the BlendLayerEffect class rather than directly to the material

2 Likes

Here’s another short video that shows overlapping blend effects on the same model, and a slider container for managing each one. I also made a texture for the flashing body shield effect and layered that on top of the other 2:

I didn’t get around to adding extra blending options yet because I realized the lighting was not accurate with normal maps, and I ended up having to go back to adjust the triplanar code and learned more about calculating tangents when using tri-planar mapping for non terrains. I still can’t quite say I fully understand tangents, but I found an article about different triplanar equations and managed to implement the (supposedly) best one, and now the lighting is finally accurate for the blend layers with normal maps.

9 Likes

Iirc jayfella had already made a similar library for lemur before, in case you want to take a look.

1 Like

Hi @Ali_RS , it’s been a while since your last visit on the forum, I hope you are well. Are you still using JME? :slight_smile:
Thanks for the suggestion, I know the jayfella library but it is too complicated to modify and has some bugs. I discarded the idea of using jayfella’s library and rewrote and simplified some functions with a leaner layout (to take up less screen space) and added the sources to the project in question so that anyone can modify it if needed.

Edit:
In addition, the jayfella library does not support Materials.

  • New ReflectedEditorBuilder tool.
  • New FilterEditorBuilder.
  • New SDK-style editors for Vector2f, Vector3f, Quaternion and ColorRGBA.
  • Add ignoredProperties to MatPropertyPanelBuilder.

Usage example:

String[] ignoredProperties = { ... }; //optional
Container container = new Container(new SpringGridLayout(Axis.Y, Axis.X, FillMode.None, FillMode.Even));
ReflectedEditorBuilder builder = new ReflectedEditorBuilder(ignoredProperties);
Panel panel = builder.buildPanel(yourObject);

String title = yourObject.getClass().getSimpleName();
RollupPanel rollup = new RollupPanel(title, panel, "glass");
rollup.setAlpha(0, false);
rollup.setOpen(false);
container.addChild(rollup);
container.setLocalTranslation(x, y ,z);
guiNode.attachChild(container);

  • New Test_ModelViewer class for testing animated models.

Source code here

Edit:
You can also write your own custom editor if you want.
Here is an example:

    private void initCustomEditor(Spatial spatial) {
        
        AbstractEditor<Spatial> editor = new AbstractEditor<>() {
            @Override
            public Container buildPanel(Spatial bean) {
                Container panel = new Container(new SpringGridLayout(Axis.Y, Axis.X, FillMode.None, FillMode.Even));
                try {
                    PropertyPanel propertyPanel = panel.addChild(new PropertyPanel("glass"));
                    propertyPanel.addEnumProperty("Cull Hint", bean, "cullHint");
                    propertyPanel.addEnumProperty("Queue Bucket", bean, "queueBucket");
                    propertyPanel.addEnumProperty("Shadow Mode", bean, "shadowMode");
                    propertyPanel.addEnumProperty("Batch Hint", bean, "batchHint");

                    panel.addChild(addVector3Property("Position", bean, "localTranslation"));
                    panel.addChild(addQuaternionProperty("Rotation", bean, "localRotation"));
                    panel.addChild(addVector3Property("Scale", bean, "localScale"));

                    // UserData
                    for (String key : bean.getUserDataKeys()) {
                        Object value = bean.getUserData(key);
                        panel.addChild(new Label(key + ": " + value));
                    }

                } catch (IntrospectionException e) {
                    e.printStackTrace();
                }
                
                return panel;
            }
        };
        
        Container container = new Container(new SpringGridLayout(Axis.Y, Axis.X, FillMode.None, FillMode.Even));
        Panel panel = editor.buildPanel(spatial);
        RollupPanel rollup = new RollupPanel(spatial.getName(), panel, "glass");
        rollup.setAlpha(0, false);
        rollup.setOpen(false);
        container.addChild(rollup);
        
        container.setLocalTranslation(10f, settings.getHeight() - 10f, 1);
        guiNode.attachChild(container);
    }

8 Likes

I tried uploading my code to my fork to merge to your repo, but Github apparently doesn’t let me upload things bigger than 25mb, so some textures aren’t going. And for some reason its juts ignoring the .glsllib files in the folder im uploading.

I was hoping to not have to go through and upload things 1 at a time (usually I do that when contributing to jme-master since I don’t typically change more than 2-3 files per pr anyway so its not a hassle)

But in this case I have a handful of files and a few textures spread between a few directories in the src and resources folders, plus I made a change to the gradle build script to get an import to work. So I was hoping to just upload my whole project folder, but that seems to not be uploading everything in the folder…

Is there any way to easily upload all my changes to a repo without having to go through 1 file at a time? Sorry if this is a dumb question, i typically do all my coding work alone so I never learned much about how to use github past making minor PRs to the engine.

Usually, you would have a local repository clones. “git add” the files you want to include. Then “git commit” them to commit the changes to your local repository. Then “git push” to get your local repo commits pushed up to the server. Most IDEs will do the adding for you almost automatically (or with the push of a button).

…I’m a command-line junky so I think in those terms.

Even for solo development, some kind of source control (even if only local) is super useful. You can see the history of your changes over time, go back to previous versions, etc… I would never develop without a safety net.

2 Likes

Does uploading from the command line like that still have a max file size limit?

I think the textures I’m uploading are actually okay, apparently its a .glb file in the folders that is above 25mb that I don’t need anyways.

But for some reason github is being dumb and cancels the whole upload process just because 1 file was over 25mb… It says “uploading 78 files” and gets to about 30/78 before it says “Yowza, that’s a big file. Try again with a file smaller than 25MB”

And then it just stops trying to upload any other files after that… and it doesn’t even tell me which file failed for being too big, I have to keep going through the directory looking for something over 25mb everytime it fails…

I thought about using github for some type of personal version control in the past but I honestly hate working with their website or the desktop uploader I tried in the past, and I feel like I’m constantly tripping over my feet trying to do simple things like just uploading files. I do keep local backups, but I just frequently zip up my src folder and label it with a date and put it in a backup folder since that didn’t require me learning everything about github and its weird quirks. I had hoped I’d eventually get good with github by making some PRs to jme-master but I still feel like I’m getting irritated with their interface and website everytime I use it.

2 Likes

I finally managed to upload all of the code for the BlendLayer shader and the example from the last clip I shared.

It’s still pretty basic and is missing some important params for adjusting the values read from the textures and changing some blend settings that are currently hard-coded while I’m still figuring some things out.

Plus this shader has already easily gone over jme’s old 64 define limit, since the PBRLighting already has ~50 defines as is. So that leaves very little room to add more params to these effects without having to reduce to only 1 or 2 blend layers. But thankfully the PR I made fixing that looks like its on track to be incoporated to the next 3.7 release, so that will no longer be a problem and this shader should work with up to 10 blend layers easily (especially since some blend layers can be color only, and not even do any texture reads).

So I still didn’t add the height-scan or dissolve effect, and this code is just for the simple linear blending shown in my last clip.

And here is the single line of code calling applyAllBlendEffects() in the fragment shader’s main() function, which shows how easily you can implement this .glsllib into your own forks of PBRLighting as of my last PR to jme-master (still awaiting approval/review) that reorganized and modularized PBRLighting :

I’m still trying to determine the best way to do the height-scan effect, since the shader will have to know the height of the model and the top/bottom most point of the model in either local or world space… So I’ll probably have to do some of that code on the java-side to auto-calculate a model’s height and set those params. That way the user can just set a min/max heightScan value as a percent or in world-units. Unless I’m overlooking a simpler way to do it all in the shader… So any feedback on this idea is appreciated.

1 Like

GIT != github
Source control != GIT

You have lots of choices. A local GIT or SVN would be infinitely more convenient in the long run than an archive of by-date zip files.

Imaging running your app and thinking “Gee, this was working last week” and then being able to instantly diff against the code from a week ago. You will save hours and hours of time in a dozen different ways.

Edit: even when I use github, easily 95% of my interaction is not through their web site.

4 Likes

I tried to use the ReflectedEditorBuilder but am having trouble.

Based on your example it looks like I should be able to pass in any class (in this case the BlendLayerEffect.class) and then it should automatically create a lemur interface that edits the variables in that class.

But when I pass in a new instance of BlendLayerEffect, the panel it creates is empty and has no properties in it for the class’ variables. Am I possibly doing something wrong or misunderstanding the usage?

I also might have trouble using the PropertyPanels for modifying params in a shader that have their values set by a class like BlendLayerEffect, since some float paramaters in BlendLayerEffect.java actually are set to the x/y/x/w component of a vec4. So this class has a few float setters but they don’t actually store the data in a float variable, and it immediately packs the float into a Vector4f instead. This is necessary to bypass the lag that comes with setting a float matParam every frame (since float is primitive and is not by-reference, unlike a vector4 that can be passed in once and then have that instance’s x/y/z/w components modified and the value in the shader will also be modified automatically). So I think that might make the reflective variable updating of your PropertyPanels not work in this case, unless I’m misunderstanding the usage.

2 Likes

Hi @yaRnMcDonuts , unfortunately I was busy over the weekend and didn’t have my PC nearby.
Good work, I will check your PR soon. :wink:

Your controller class variables must have the appropriate getter and setter methods to properly generate the editor using ReflectedPropertyPanel.

Check your class and make sure it meets this rule.

Here is an example:

public class MyControl extends AbstractControl {
    
    private Vector3f position = new Vector3f();
    private Quaternion rotation = new Quaternion();
    private float radius = 1.0f;
    private LoopMode loop = LoopMode.Loop;
    private ColorRGBA color = new ColorRGBA();
    
    private Integer index; // Not supported yet

    @Override
    protected void controlUpdate(float tpf) {
    }

    @Override
    protected void controlRender(RenderManager rm, ViewPort vp) {
    }

    public Vector3f getPosition() {
        return position;
    }

    public void setPosition(Vector3f position) {
        this.position = position;
    }

    public Quaternion getRotation() {
        return rotation;
    }

    public void setRotation(Quaternion rotation) {
        this.rotation = rotation;
    }

    public float getRadius() {
        return radius;
    }

    public void setRadius(float radius) {
        this.radius = radius;
    }

    public LoopMode getLoop() {
        return loop;
    }

    public void setLoop(LoopMode loop) {
        this.loop = loop;
    }

    public ColorRGBA getColor() {
        return color;
    }

    public void setColor(ColorRGBA color) {
        this.color = color;
    }

    public Integer getIndex() {
        return index;
    }

    public void setIndex(Integer index) {
        this.index = index;
    }

}

If you want to exclude a property from the final panel, simply add its name to the ignoredProperties list.

// example:
String[] ignoredProperties = { "color" }; //optional
ReflectedEditorBuilder builder = new ReflectedEditorBuilder(ignoredProperties);

Currently the ReflectedPropertyPanel handles the following types of variables:

  • Vector2f (with Vector2fProperty)
  • Vector3f (with Vector3fProperty)
  • Quaternion (with QuaternionProperty)
  • ColorRGBA (with ColorRGBAProperty)
  • float (no Float)
  • int (no Integer)
  • boolean (no Boolean)
  • Enum

If you need, I can add handling of Vector4f, Float, Integer and Boolean types.

1 Like

That would be helpful.

I also got it to work after adding the setters/getters and local variables for the floats that were getting put into a vector4f.

It looks like the float slider also is in a really high range by default, so its hard to use for setting the float params that are usually in 0.0 - 1.0 range, since moving it just a little but goes up by atleast a few units. Is there any way I can get the slider from the Builder to change the min/max values? I’m not too familiar with builder systems like this so I’m not sure if there’s a simple way to get and edit individual parts of the panel that the builder returned.

1 Like

Done!

I restructured the classes and package names in the project. I added methods to ReflectedEditorBuilder and MaterialEditorBuilder to configure constraints on variables using SpinnerModels. Here is an example to constrain the radius variable of the MyControl class to the range [0-1].

public class MyControl extends AbstractControl {
    
    private Vector3f position = new Vector3f();
    private Quaternion rotation = new Quaternion();
    private float radius = 1.0f;
    private LoopMode loop = LoopMode.Loop;
    private ColorRGBA color = new ColorRGBA();
    
    private Integer myInt = 1;                  // It works now.
    private Float myFloat = 1f;                 // It works now.
    private Boolean myBoolean = Boolean.TRUE;   // It works now.

    // --- getters/setters ---
}
// example 1:
MyControl myControl = new MyControl();

String[] ignoredProperties = { "color" }; // exclude color
ConfigurationBuilder config = new ConfigurationBuilder();
config.addConstraint("radius", new SpinnerFloatModel(0f, 1f, 0.1f));
config.setIgnoredProperties( ignoredProperties );

ReflectedEditorBuilder builder = new ReflectedEditorBuilder(config);
Panel panel = builder.buildPanel(myControl);
// example 2:
Material mat = ...;

ConfigurationBuilder config = new ConfigurationBuilder();
config.addConstraint("layerIndex", new SpinnerIntegerModel(0, 4, 1));

MaterialEditorBuilder builder = new MaterialEditorBuilder(config);
Panel panel = builder.buildPanel(mat);

I still need to reorganize and study your code, but I didn’t understand why the models appear black. Could you take a look at the code please? Thanks.

Edit: Source code here: Test_CharacterEffects

1 Like

Is this how the models looked when you started the example? Even before the blend layers get applied and have the blend value set from 0 to 1?

I’m not sure why this could be happening but it could be related to the way I manually uploaded my files, I hope I didn’t miss something.

It is also likely its related to the tangents not generating properly on your device, in which case I may need to go back and use the old broken triplanar code, or find a new better triplanar implementation. Or it could be related to a glsl versioning issue.

Could you try changing the code in the test case to comment out the code that creates and applies the 3 new BlendLayerEffects, and let me know if it still happens?

    
    @Override
    public void simpleInitApp() {

//        viewPort.setBackgroundColor(ColorRGBA.DarkGray);
        rootNode.setShadowMode(RenderQueue.ShadowMode.CastAndReceive);

        configureCamera();
        initScene();
        initFilters();
        initLemur(this);
 //       initShaderEffects(); //temporarily remove shaderEffects

        stateManager.attach(new DebugGridState());
//        stateManager.attach(new DetailedProfilerState());
    }

If the issue still persists then it could point to a bug related to the way i refactored the pbrLighting fragment shader, since I’m still working on that too.

But if the issue goes away when the blendEffects are removed, then its probably an issue with the tangents and might take some more digging to figure out why it doesn’t happen on my device.

It could also be worthwhile trying it with the other things removed (like no filters, and also no matParam editor initiated) juts to make sure nothing weird is happening there. It is unlikely, but its still worth double checking.

1 Like