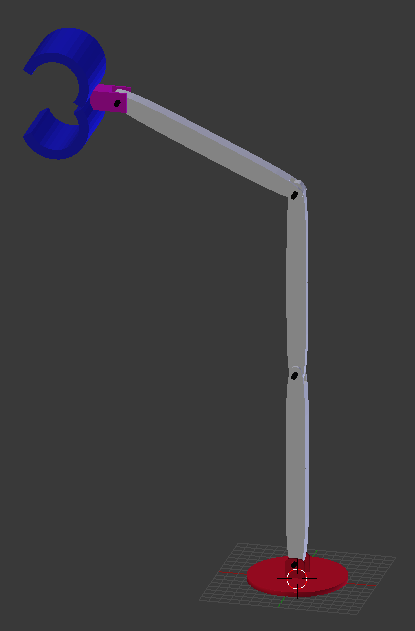
I wondering if I can get some advise how to control this crane. My aim is to move this giant arm with my keyboard. To do that, I need to do animation or write pure java code.
The problem I find with writing pure java code is that I need to have control over all joints, right?
Or is there a way to connect all the joints so when I rotate one arm, the other arm will follow?
Are you looking to move stuff with the crane using physics later? I’ve used a skeleton before just so I can get the skeleton’s bone positions for placing stuff just to make my life easy.
Either way my personal choice would not be to use animation. If the crane is split into parts, using the scene graph you can ‘connect’ it so the parts will all follow.
So if the bottom part is rotates it’s children will also be rotated, and then the part above that will only rotate it’s children and not it’s parent (the base) and so on.
I don’t know if this is the right method to use. It seems difficult compared to what other people have built their physics. It must be another way instead of writing pure java code?
Can’t I just use bones and joints i Blender and then label all bones and joints as bone1, joint1, bone2, joint2 etc. then connect them with JME?
Yes you can.
Or you can use the bullet physics engine.
Or you can use the scenegraph and nodes.
All three are viable options depending on what other characteristics and features you want.
If you don’t know yet, then pick one and go with it. If it covers your use-case, great. If not you might want to revisit the other options.
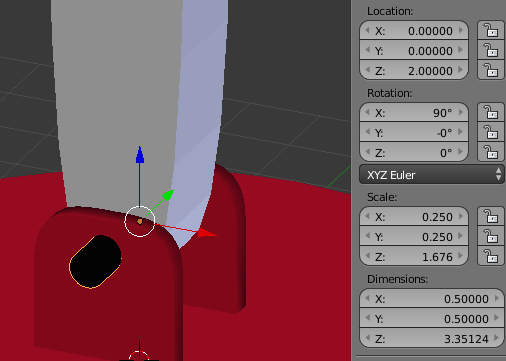
Just remember that each model should have it’s center point at its rotational axis, so when you rotate it along an axis it acts accordingly. For example a door has a central rotation at bottom left, a window at the top center maybe, whereas a person would rotate at the center bottom of its feet. And always apply rotations and scales in blender so they are at a rotational zero and 1:1 scale on import. If you do scale them in-game and don’t do that in blender, things get funky fast.
Those two steps are important and make life a Los less painful
Looking at it, just making the foot the parent and each arm a child of its connection (russian dolls) they would all follow each other and the scene will do the rest for you.
I think I will not use bones in the case. I don’t know what to do now, but I think I will use math + java code to control this arm. Is it the best method to use?
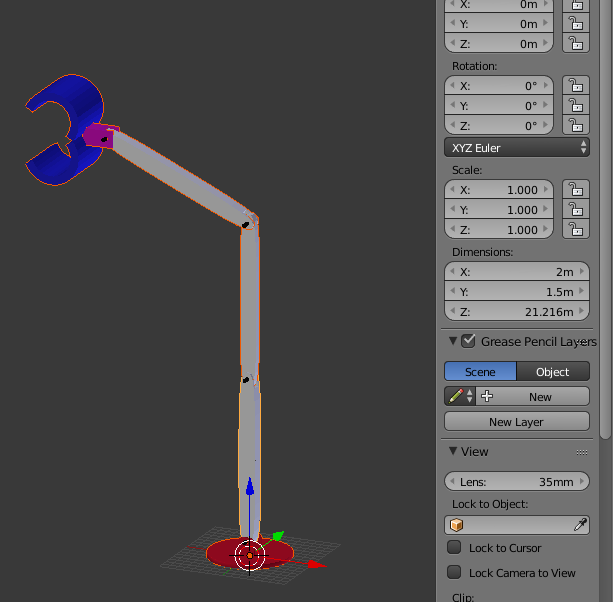
Yes. And if you add the next “arm” as a child of that arm, it will follow it. Imagine 3 arms with a length xyz of (1, 10, 1) (the Y axis is UP in JME) - - a bit like your geometry pictured. The following code will add each arm as a child of the previous arm. Since children follow parents, it will behave as you expect.
// the "base" or "foot" of the crane of size (2, 2, 2).
Node base = new node("Foot");
node.addGeometry(myFoot); //

Node arm1 = new Node("Arm 1");
arm1.addGeometry(craneArm1);
arm1.setLocalTranslation(1, 2, 1); // set the first arm to the center-top of the base.
foot.attachChild(arm1);

// the arms are a height of 10, so the location is easy enough...
Node arm2 = new Node("Arm 2");
arm2.addGeometry(craneArm2);
arm2.setLocalTranslation(0, 10, 0); // set the second arm to the top of the first arm.
arm1.attachChild(arm2);

Node arm3 = new Node("Arm 3");
arm3.addGeometry(craneArm3);
arm3.setLocalTranslation(0, 10, 0); // set the third arm to the top of the second arm.
arm2.attachChild(arm3);
Now when I rotate arm1, the other arms will follow it. When I rotate arm 1, arm2 and 3 will follow it. If I only rotate arm2, only its children will rotate (in this case arm3).
Finally, when you get to your “grabber”, add the “item” that is being grabbed as a child of the grabber, and it will follow the rotation/direction/location of its parents; the grabber, arms and the foot. Move the foot and everything will follow. Rotate the foot and all children will rotate with it. And so on…
Jmonkey works in world units. So a Vector3f of (100, 50, 32) is just a world unit. They are the same for blender, though. A box with a size of (10, 10, 10) in blender will be the same in JME.
If you want to call it meters, inches or hands, it’s just a unit of measurement in which to compare against another. I generally use meters. One world unit is one meter. Makes life easy.
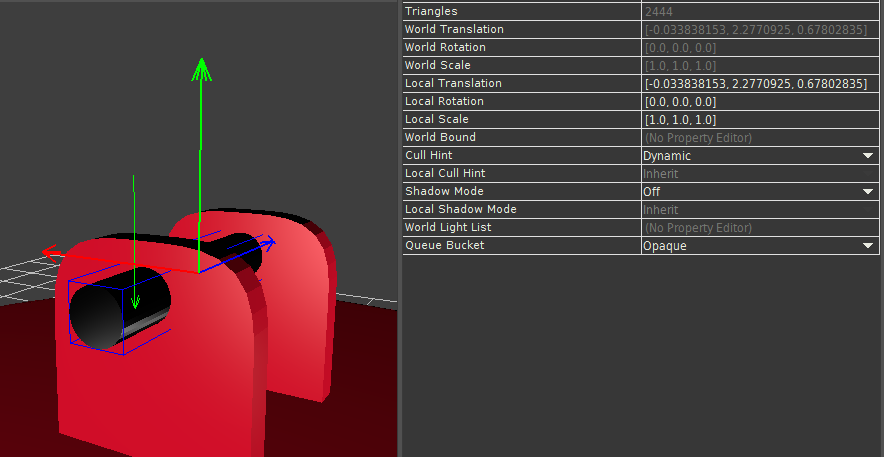
There is also something called an AABB, or Axis-Aligned-Bounding-Box.
This “in a nutshell” calculates the extents of the smallest cube size that can fit your object. The “size” variable gives you “half-sizes” because it is giving you the size of the cube from the centre.
You can also just use undo after export if that’s what you want.
You can also just copy your file to another, maybe crane_export or something, to make all your final adjustments and applies in so you don’t corrupt your working file.