Assets that load in JME SDK not loading in Intellij

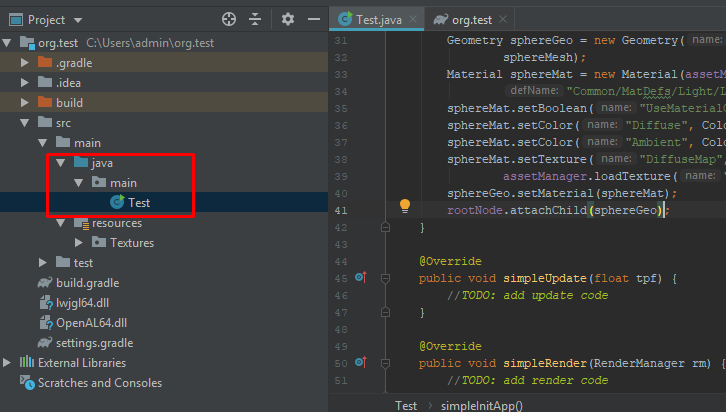
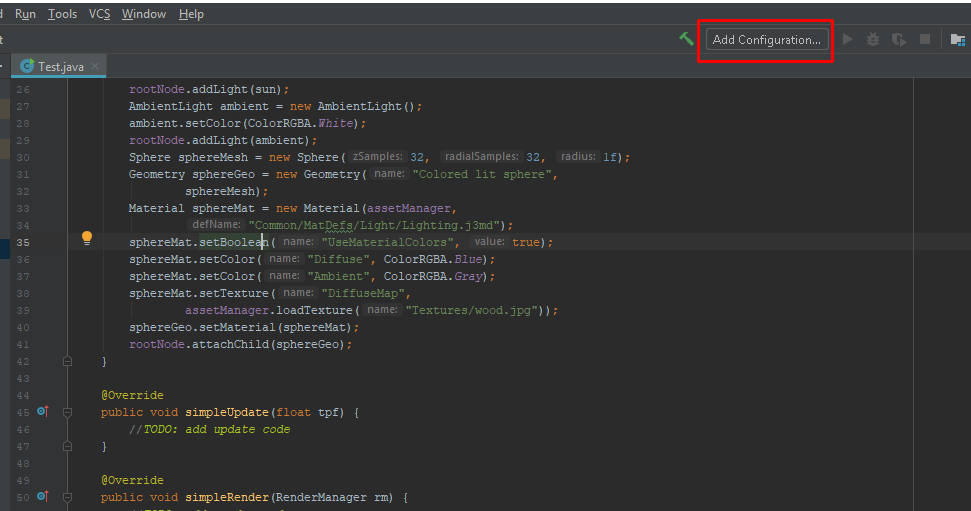
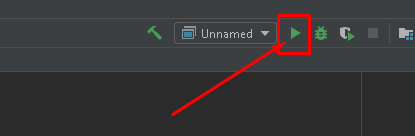
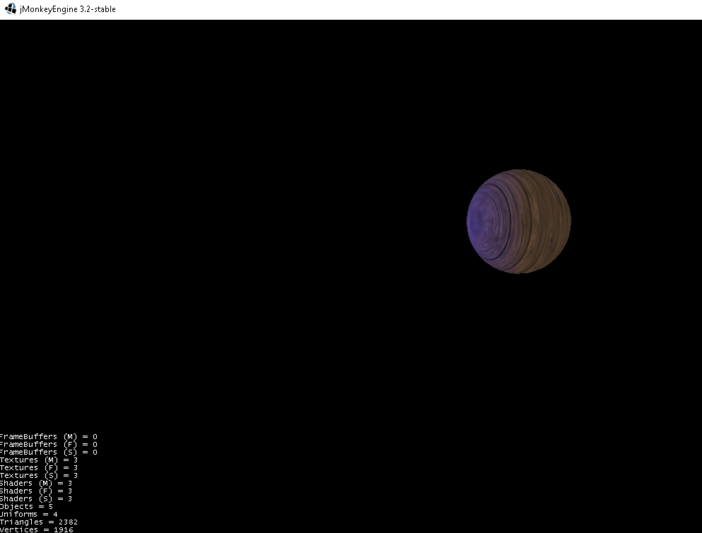
I just recently found out about JME and started a new project in the SDK where I loaded textures into my game. All the textures in the game loaded fine without errors. I decided that I would rather use Intellij IDEA instead of the JME SDK so I imported the project contents into Intellij. When I run the project inside of IDEA, I get the following error:

Uncaught exception thrown in Thread[jME3 Main,5,main]
AssetNotFoundException: /Textures/card.png (Flipped) (Mipmapped)

The code runs fine in JME SDK and I have not changed any code since importing to IDEA. I have added the necessary JAR files to the IDEA project. What could be causing this?

@Override
    public void simpleRender(RenderManager rm) {
        int col = 0, c = 0, row = 0;
        float[] cols = new float[]{-3.3f, 0f, 3.3f};
        float[] rows = new float[]{-1.8f, 0f, 1.8f};
        if(game.getStatus()){
            for(Card card : game.getCardGrid()){
                Box cardBox = new Box(1.5f, .75f, .02F);
                Geometry cardGeo = new Geometry("Box", cardBox);
                Material cardMat = new Material(assetManager, "Common/MatDefs/Misc/Unshaded.j3md");
                cardMat.setTexture("ColorMap", assetManager.loadTexture("/Textures/card.png"));
                cardGeo.setMaterial(cardMat);
                Node cardNode = new Node();
                cardNode.attachChild(cardGeo);
                cardNode.setLocalTranslation(cols[col], rows[row], -1F);
                rootNode.attachChild(cardNode);
                for(int i = 0; i < card.getNum(); i++){
                    Box shapeBox = new Box(.3F, .3F, .02F);
                    Geometry shapeGeo = new Geometry("Box", shapeBox);
                    Material shapeMat = new Material(assetManager, "Common/MatDefs/Misc/Unshaded.j3md");
                    shapeMat.setTexture("ColorMap", assetManager.loadTexture("/Textures/"+card.getShape().name().toLowerCase()+"-"+card.getFill().name().toLowerCase()+"-"+card.getColor().name().toLowerCase()+".png"));
                    shapeGeo.setMaterial(shapeMat);
                    Node shapeNode = new Node();
                    shapeNode.attachChild(shapeGeo);
                    shapeNode.setLocalTranslation(col, row, -1F);
                    rootNode.attachChild(shapeNode);
                }
                if(col == 2){
                    col= 0;
                    row++;
                } else {
                    col++;
                }
                c++;
            }
        }
    }

The SDK packages the assets directory in to an assets.jar for you and adds it to the project dependencies.

When you use another IDE then you will have to do all of that yourself.

Edit: this might be helpful: https://jmonkeyengine.github.io/wiki/jme3/setting_up_jme3_in_eclipse.html

…you can probably translate Eclipsish into Intelligenese.

Hi, it’s not really that complicated: In IntelliJ just mark the assets folder as “Assets Root Folder”. You can do so by right clicking the assets folder and “mark as” → “Assets Folder”.
Hope that helps!
Greetings, Domenic

1 Like

It is old question but now I try to give answer
My environment:
IntelliJ IDEA Community 2019.1.3
Gradle 5.6.2
Java 11

  1. Create new project with Gradle:

  2. Open file “build.gradle” and add next:
    repositories {
    jcenter()
    //maven { url “http://dl.bintray.com/jmonkeyengine/org.jmonkeyengine” }
    }

def jme3 = [v:‘3.2.4-stable’, g:‘org.jmonkeyengine’]
dependencies {
compile “${jme3.g}:jme3-core:${jme3.v}”
runtime “${jme3.g}:jme3-desktop:${jme3.v}”
runtime “${jme3.g}:jme3-lwjgl:${jme3.v}”
}
3) Click “Import Changes”:
%D0%B8%D0%B7%D0%BE%D0%B1%D1%80%D0%B0%D0%B6%D0%B5%D0%BD%D0%B8%D0%B5
4) Create folder with name “Textures” in package “resources”:
5) Add some texture
%D0%B8%D0%B7%D0%BE%D0%B1%D1%80%D0%B0%D0%B6%D0%B5%D0%BD%D0%B8%D0%B5
6) Create some class for testing. For me is:
package main;

import com.jme3.app.SimpleApplication;
import com.jme3.light.AmbientLight;
import com.jme3.light.DirectionalLight;
import com.jme3.material.Material;
import com.jme3.math.ColorRGBA;
import com.jme3.math.Vector3f;
import com.jme3.renderer.RenderManager;
import com.jme3.scene.Geometry;
import com.jme3.scene.shape.Sphere;

public class Test extends SimpleApplication {

public static void main(String[] args) {
    Test app = new Test();
    app.start();
}

@Override
public void simpleInitApp() {
    flyCam.setMoveSpeed(25f);
    DirectionalLight sun = new DirectionalLight();
    sun.setDirection(new Vector3f(1, 0, -2));
    sun.setColor(ColorRGBA.White);
    rootNode.addLight(sun);
    AmbientLight ambient = new AmbientLight();
    ambient.setColor(ColorRGBA.White);
    rootNode.addLight(ambient);
    Sphere sphereMesh = new Sphere(32, 32, 1f);
    Geometry sphereGeo = new Geometry("Colored lit sphere",
            sphereMesh);
    Material sphereMat = new Material(assetManager,
            "Common/MatDefs/Light/Lighting.j3md");
    sphereMat.setBoolean("UseMaterialColors", true);
    sphereMat.setColor("Diffuse", ColorRGBA.Blue);
    sphereMat.setColor("Ambient", ColorRGBA.Gray);
    sphereMat.setTexture("DiffuseMap",
            assetManager.loadTexture("Textures/wood.jpg"));
    sphereGeo.setMaterial(sphereMat);
    rootNode.attachChild(sphereGeo);
}

@Override
public void simpleUpdate(float tpf) {
    //TODO: add update code
}

@Override
public void simpleRender(RenderManager rm) {
    //TODO: add render code
}

}

  1. Click “Add Configuration”

  2. Follow the steps shown in the screenshots:
    %D0%B8%D0%B7%D0%BE%D0%B1%D1%80%D0%B0%D0%B6%D0%B5%D0%BD%D0%B8%D0%B5

  3. Click “Run”:
    %D0%B8%D0%B7%D0%BE%D0%B1%D1%80%D0%B0%D0%B6%D0%B5%D0%BD%D0%B8%D0%B5

  4. In result you should see next: