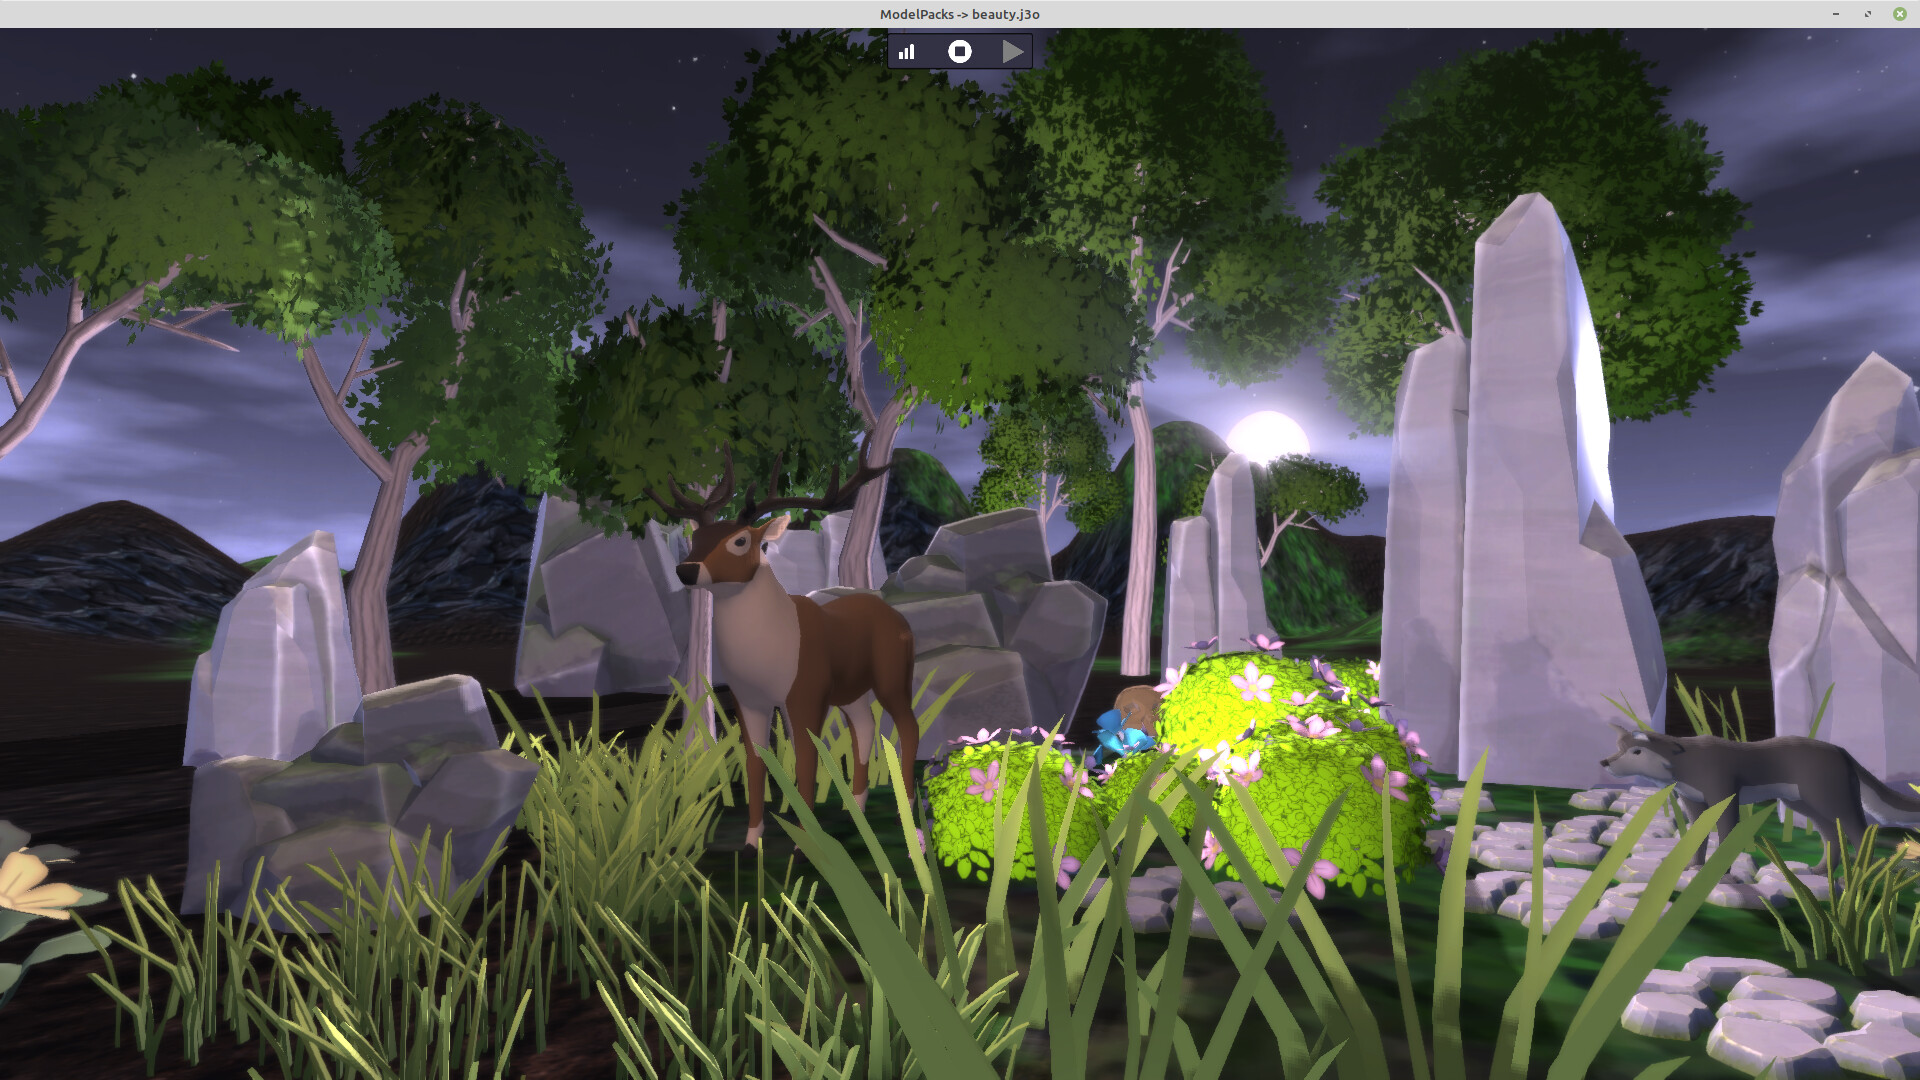
I finally got to the point where the GI is reasonably performant and producing good results.
The indirect lighting for this scene is calculated using a 64x64x64 voxel map spread over 80x80x80 world units, 5 diffuse cones, and 1 specular cone. I’m also using temporal multibounce, which uses the indirect light calculations from the previous frame to simulate infinite bounces.
Here are the estimated average rendering times per voxel map size. For profiling, I enabled temporal multibounce and HDR, and set specular reflection approximations to their most performant setting (very diffused).
I think there is plenty of room for improvement, too. I’m currently being pretty inefficient with gbuffers, and I’m thinking about how to run multiple compute invocations per cone.
As we close out 2025, I’m excited to share an advanced technical demo with you all.
Implementing a climbing mechanic using the RootMotion technique proved particularly challenging. Synchronizing character physics, animations, and the third-person camera to eliminate glitches presented a significant hurdle. However, through extensive experimentation, I successfully developed a working solution.
Note:Root Motion is a technique in game development where the movement of a character is driven by the animation itself, rather than being controlled by the game code. This allows for more realistic and fluid character movements, as the animation dictates the character’s position and movement in the game world.
The algorithm extracts the AnimTrack containing the motion from the AnimClip and applies it to the Spatial.
Additionally, I spent a significant amount of time learning Blender to create and design the game level for the demo. Mastering modeling techniques, texturing, and exporting 3D models was a crucial part of this project. This endeavor wouldn’t have been possible without Stephen’s Minie library and the continuous exchange of ideas that led to features like enabling/disabling BetterCharacterControl kinematics.
This feature is in addition to those climbing mechanics that I relived some time ago. If you missed the video, you can find it here.
The journey was incredibly challenging, but also incredibly rewarding.
Cheers to everyone, and happy game programming!
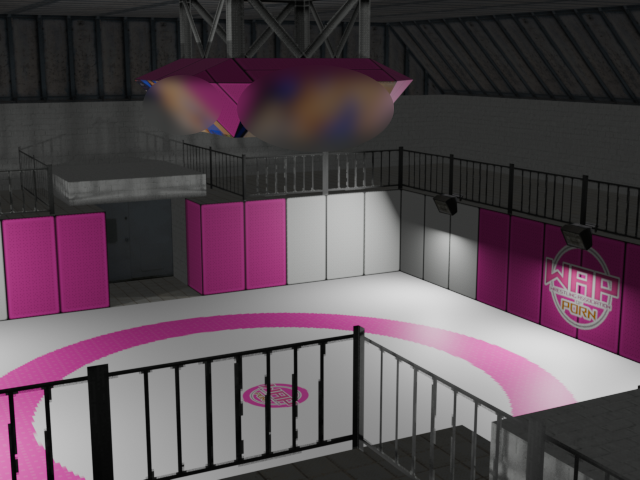
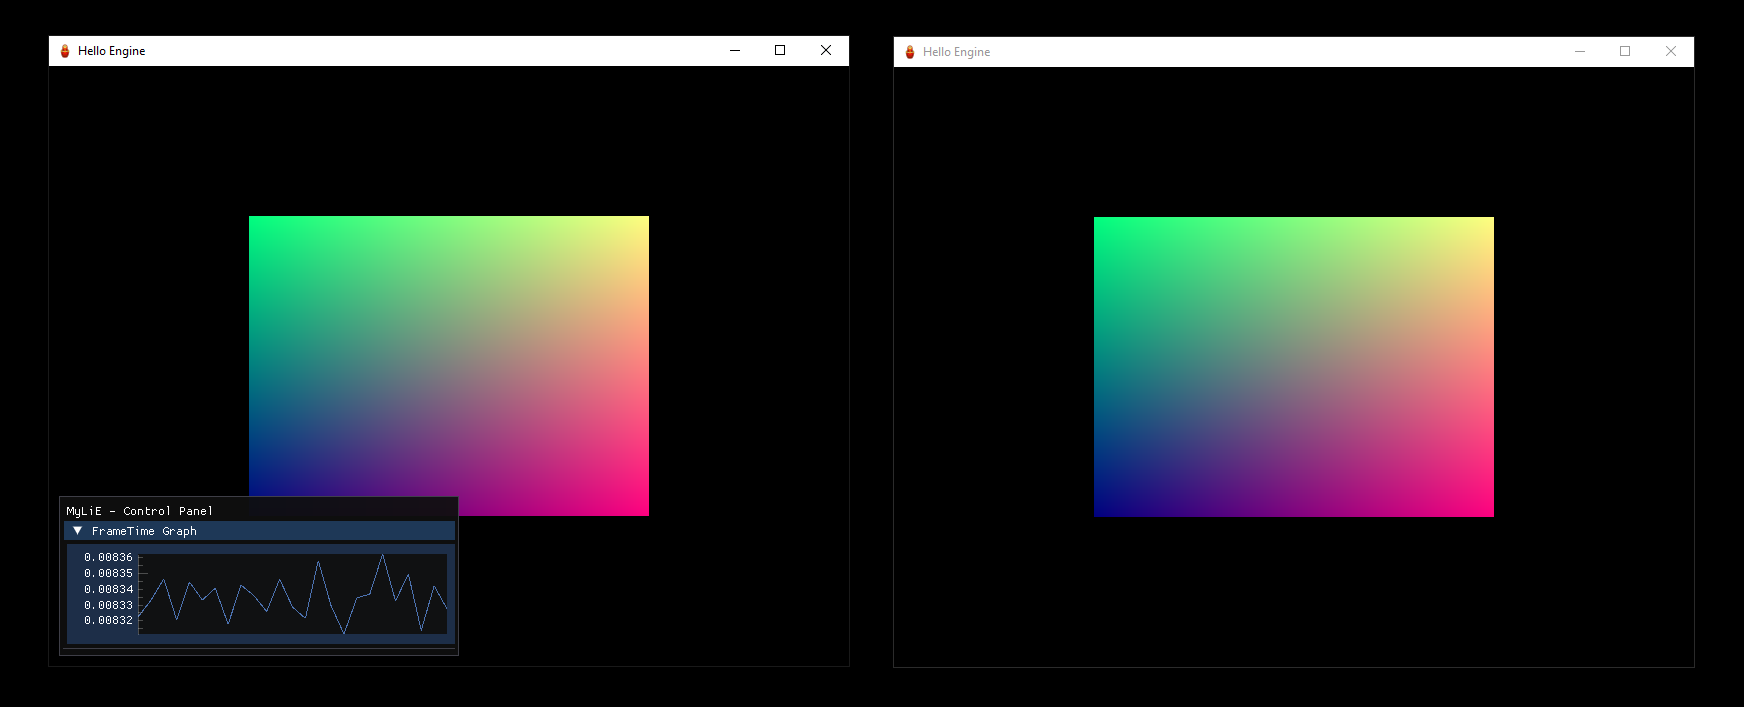
Not directly jme related, but here you see the most over engineered opengl hello quad.
~8000Loc over 130 classes
The core of the project and the idea is a scheduler that allows executing tasks on specific threads, while being able to cache and reuse already computed tasks.
So in the making of these two quads (which share the same data buffers, but have different vao’s) were 5 full platform threads and a bunch of virtual background threads involved.
Ultimately the goal of this project is
a) to evaluate how much work in a game engine can be distributed across a highly parallel environment without spending too much time for synchronisation
b) to evaluate how much work can be reused.
c) to evaluate how an api would look like if i want to offer a “thread save environment”
Also, in this project it is actually the first time i use AI. For generating code it is mostly useless, i would say it is a better autocomplete feature that you have to check more carefully. However i found it useful to generate unit tests once it has a few already existing tests to copy from.
All in all, i learned already a lot regarding threading and synchronisation so it is already a successful project
Add: Since i always want to have a save synchronisation free reference, the whole engine can be run in single threaded lock free mode by changing the scheduler
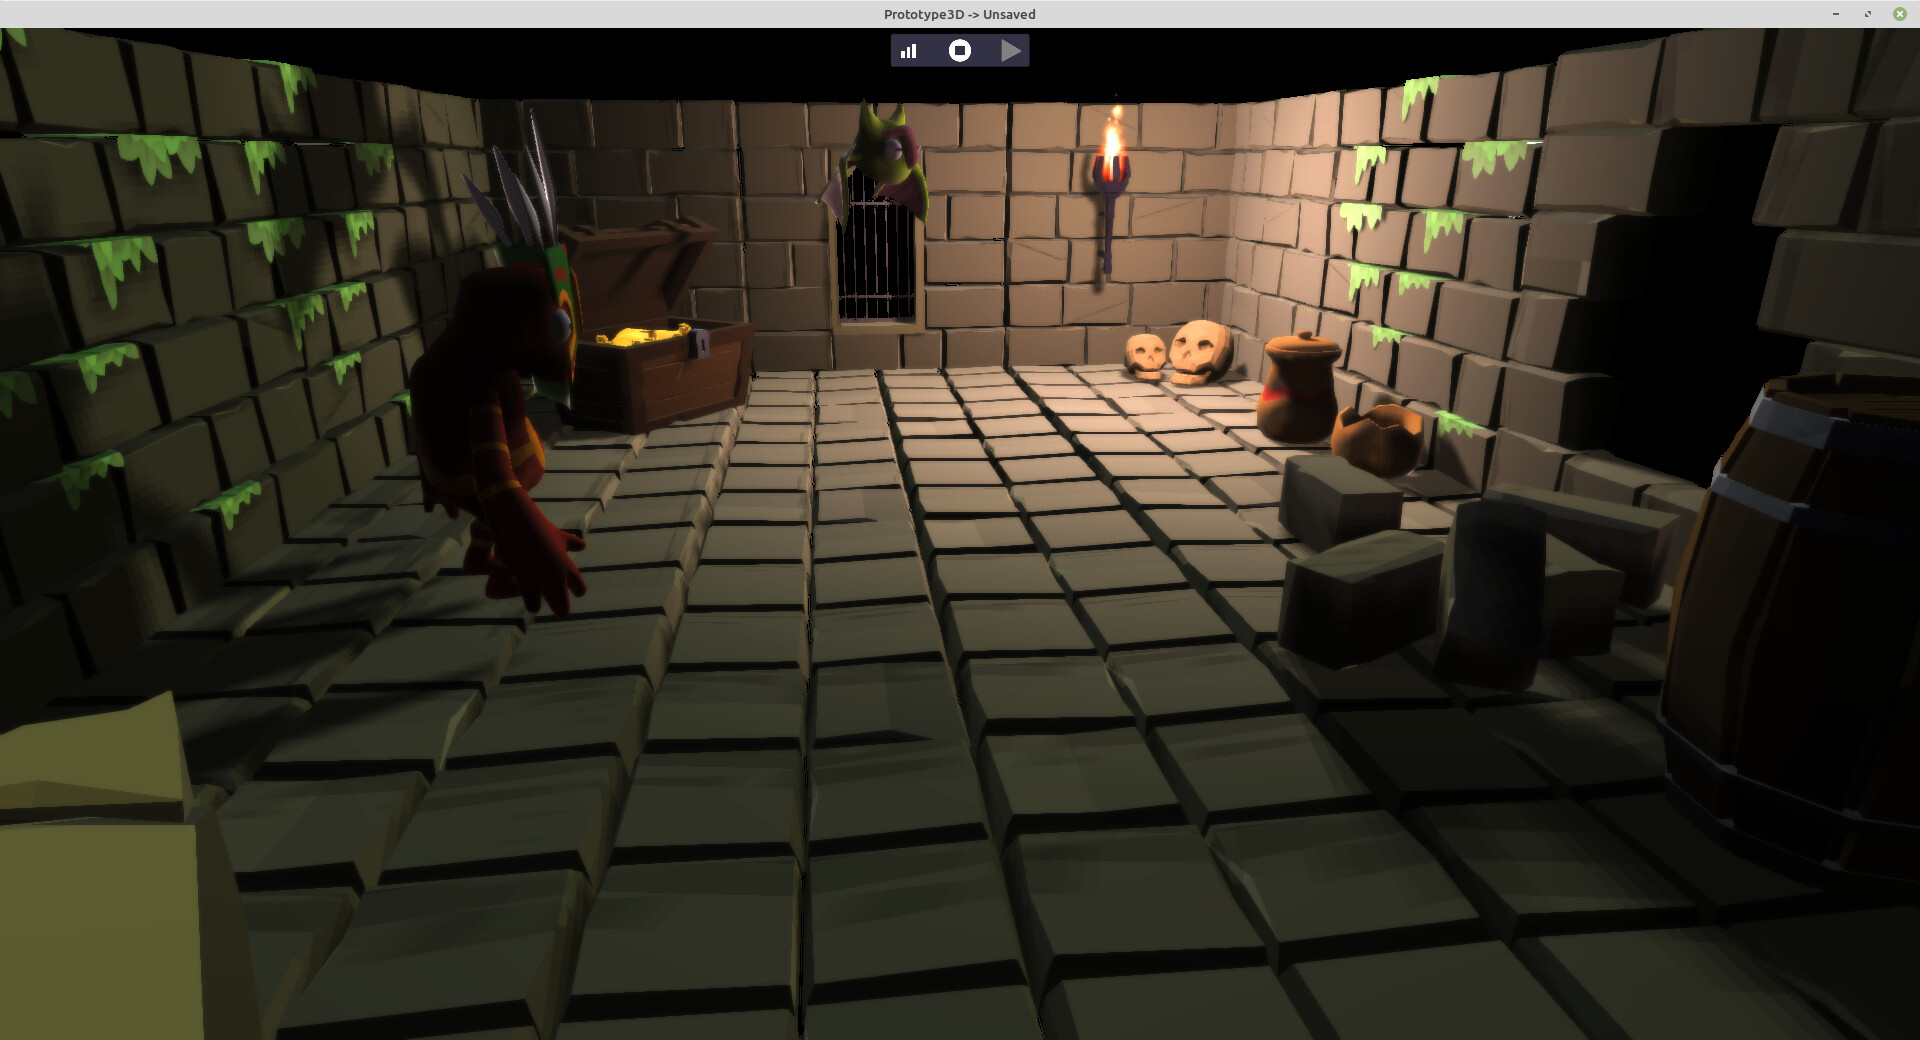
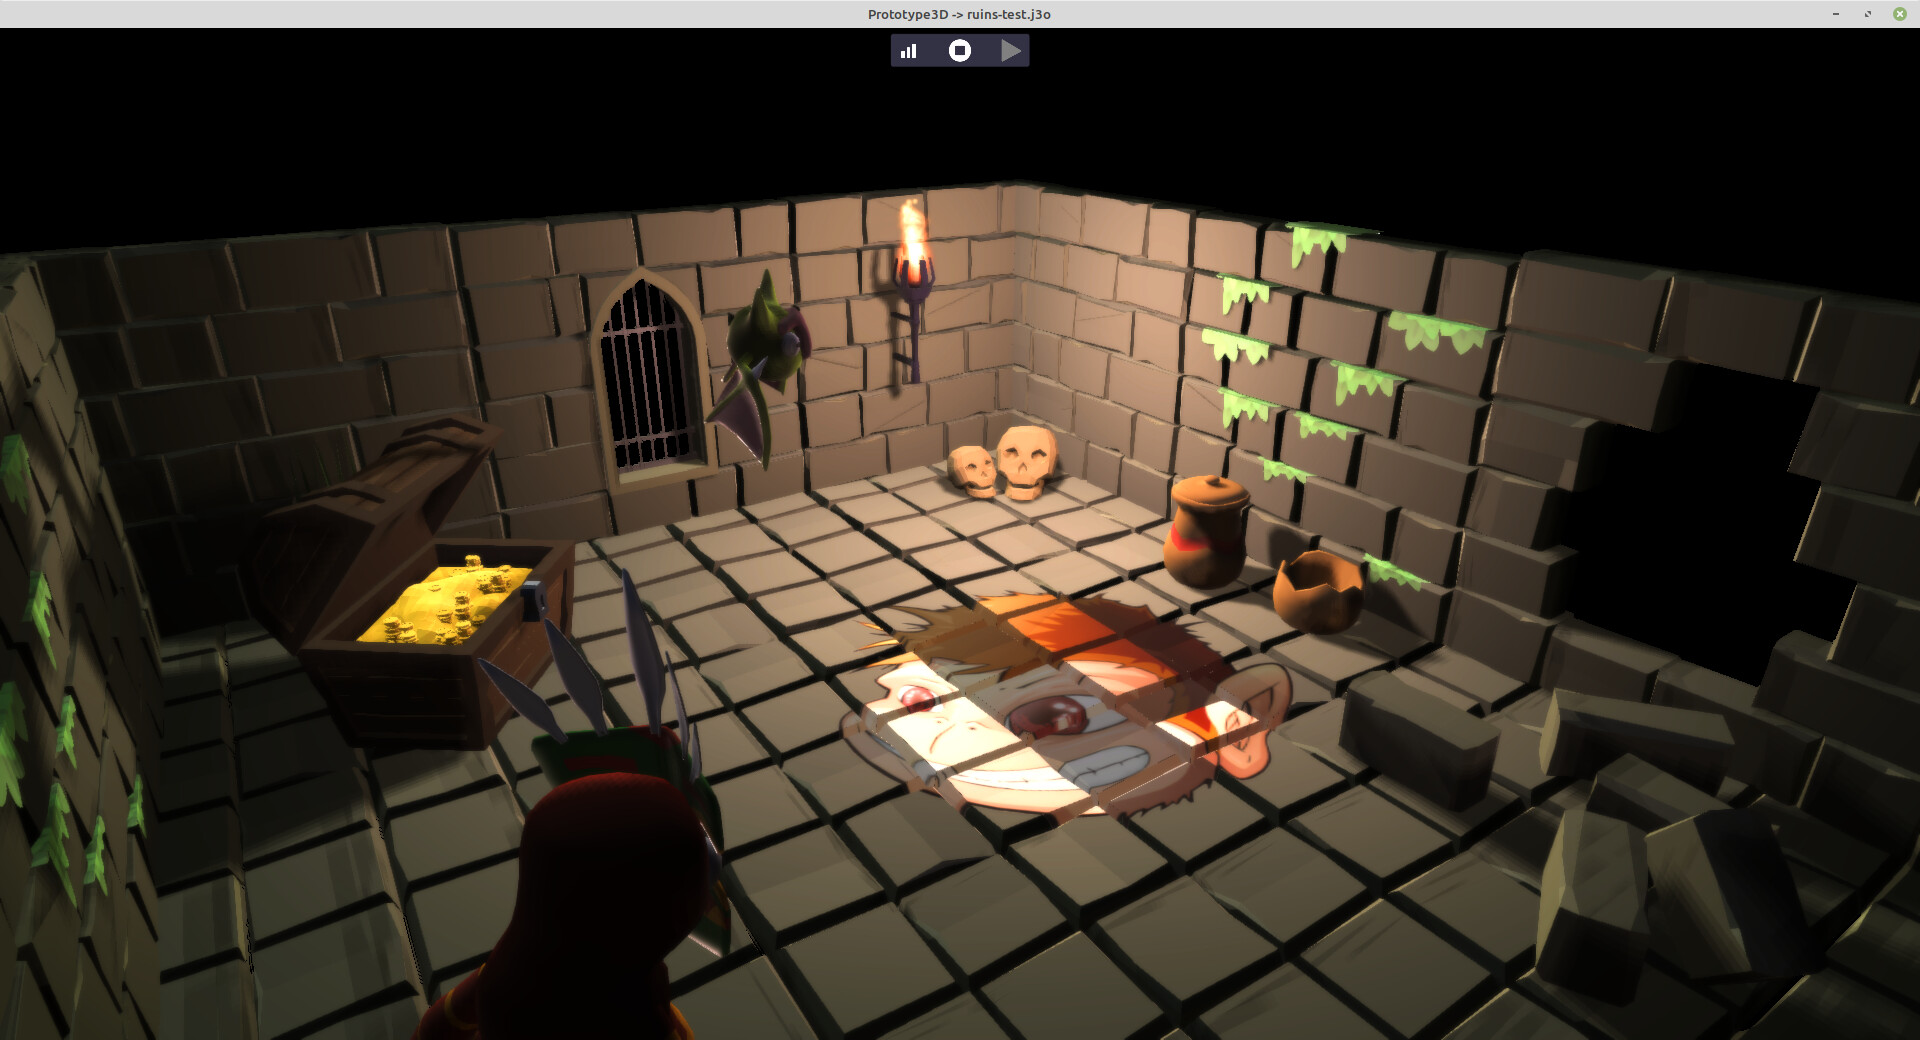
I added a surface effect system.
In this system I define surfaces like "tile’, “metal”, “wood”, etc. and for each I can configure particles, decals and sound effects, each surface has a numeric id, for example:
surface {
  id 12
  name "wood"
  particle break:"woodchips"
  decal shot:"hole-wood"
  sound step:"assets/Sounds/effects/footstep-wood.ogg"
  sound land:"assets/Sounds/effects/footstep-wood.ogg"
  sound hardland:"assets/Sounds/effects/hop1.ogg"
  sound hop:"assets/Sounds/effects/hop1.ogg"
}
I added a new optional parameter to my material files:
then during the game whenever I want to trigger effects I make a ray test around a position, find the material of the geometry and use the surface effect id to lookup for the actual effect definition (in case of particles and decals they are named to look them up or in case of sounds it’s the file name).
In the video you can hear different foot steps in each room and see the particles and decal effects are different as well.
This is by design a presentation layer system so I won’t use it for game mechanics (e.g. enemies can’t hear me when walking on carpets, etc.), if I wanted to do that I’d make a different system in the game logic layer. The idea was to make it easy to author materials for levels.