For now, I am doing the underneath terrain painting of the land manually with a painting brush in the editor, but I am considering to make this automatic like I have done for buildings and forest trees.
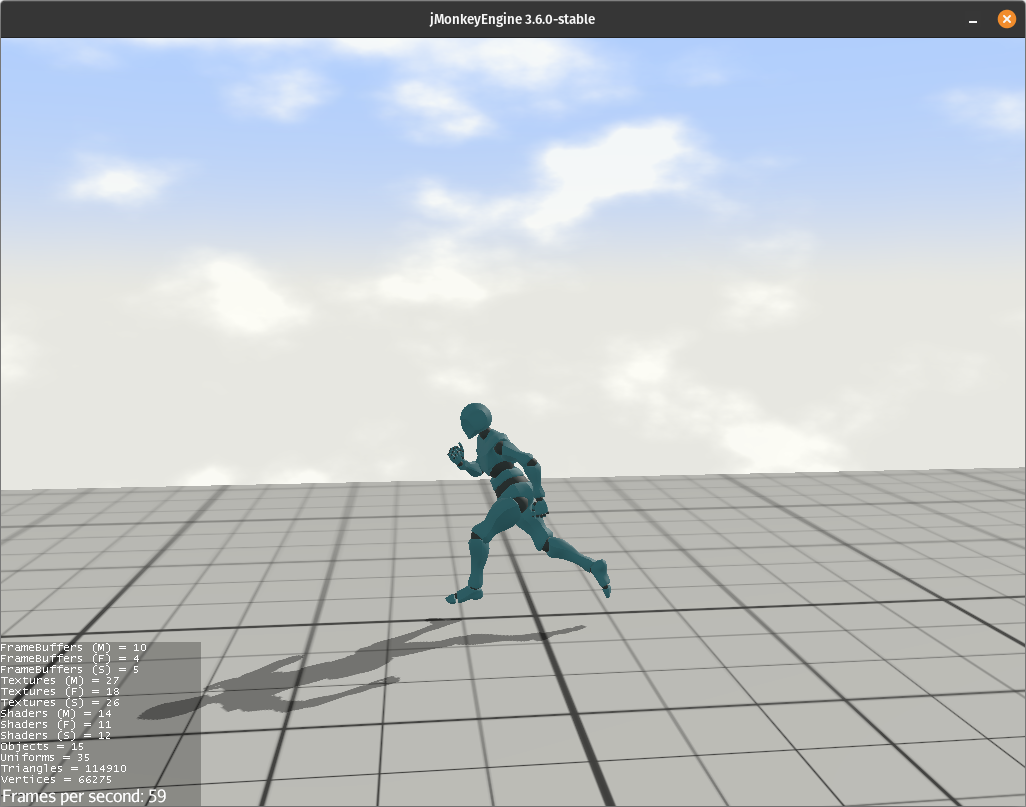
Another screenshot with drop shadow and fog filters.
The original drop shadow filter was not working with instanced geometries so I needed to tweak it a bit to support instanced geometries.
I wrote the filter and I’m still surprised all the time how effective it is at making a scene feel grounded. Definitely not as good as real shadows but 1000x better than none at all.
Yeah, also it does not have the jagged edges like in the JME real shadow.
I am going to let it be on by default, so my upcoming screenshots would look much fancier
A few years ago I created a system for making caves that work with JME’s stock terrain, but after that I never used it much for some reason… until this past month I finally decided I should start adding some caves to the world.
Here’s two videos, one showing how the caves look in-game, and the other showing part of how I created the cave in my custom scene designer:
At the end of the video, I ran into a bug in my scene editor trying to move a Spatial with a rotated parent Node that I’ve still procrastinated fixing, so I just stopped the recording before showing the rest for the process. But here’s a short gif showing the translucent (and culled at run-time) hitBox shapes that handle the magic: https://i.imgur.com/aNZvAO1.gif
It probably looks cluttered and confusing since I’m trying to show overlapping translucent hitzones under the terrain, but the sphere hitbox overtop of the cave entrance is used to omit terrain collisions. If any terrain collisions occur inside of this sphere hitbox, the collision is ignored, which allows players, npcs, and spells/projectiles to pass through the part of the terrain that has been painted to be transparent. And then the cube hitzone shapes are used to indicate the area where players, npcs, and projectiles should have their brightness from the directionalLight adjusted to match the lighting level of the point of cave that they are in. Its definitely a hacky solution, but it gets the job done, and is much easier to setup now that I’ve incorporated my custom editor into the workflow.
And finally a screenshot showing the dark cave and pipe entry points from further back with a calm night sky from skycontrol:
Speaking of caves, I have recently found this online cave generator which may give you some new ideas. It generates black-and-white cave textures (the black area is wall).
In my case, I am going to have an over-ground scene which is the island, and an under-ground scene which is the cave. I will use this texture to generate a smooth height map for the cave terrain.
Then there will be one or more cave entrances (depending on the caves) around the mountains on the island to teleport players/NPCs in/out of the cave.
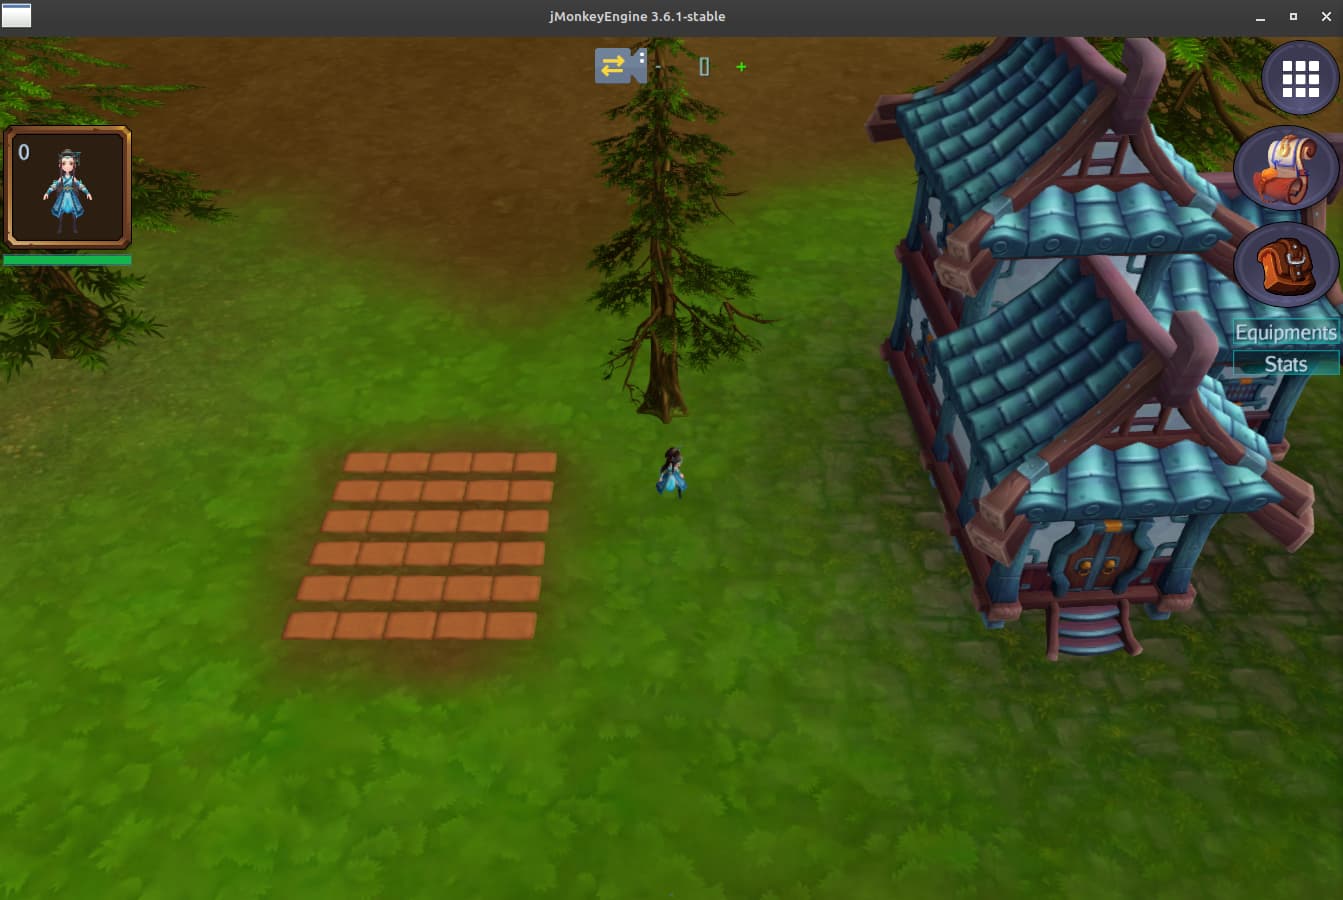
This month I worked on a new block selection popup and on soft lightning.
For the popup, I used Lemur. Had to deal with touch scroll events on Android and mouse scroll events on the desktop version . I implemented a custom Tween animation to get a progressive stop when I scroll the popup on Android.
The popup (the user must first choose the block type, then the block shape) :
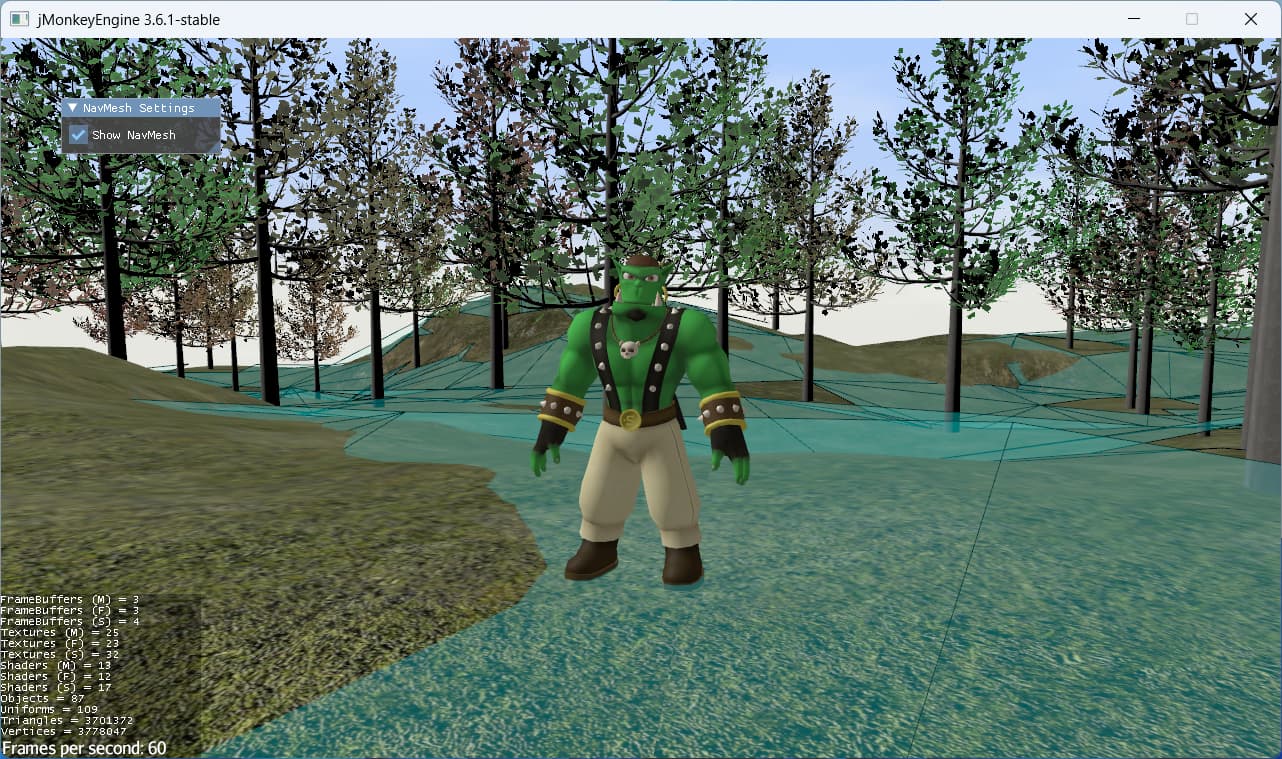
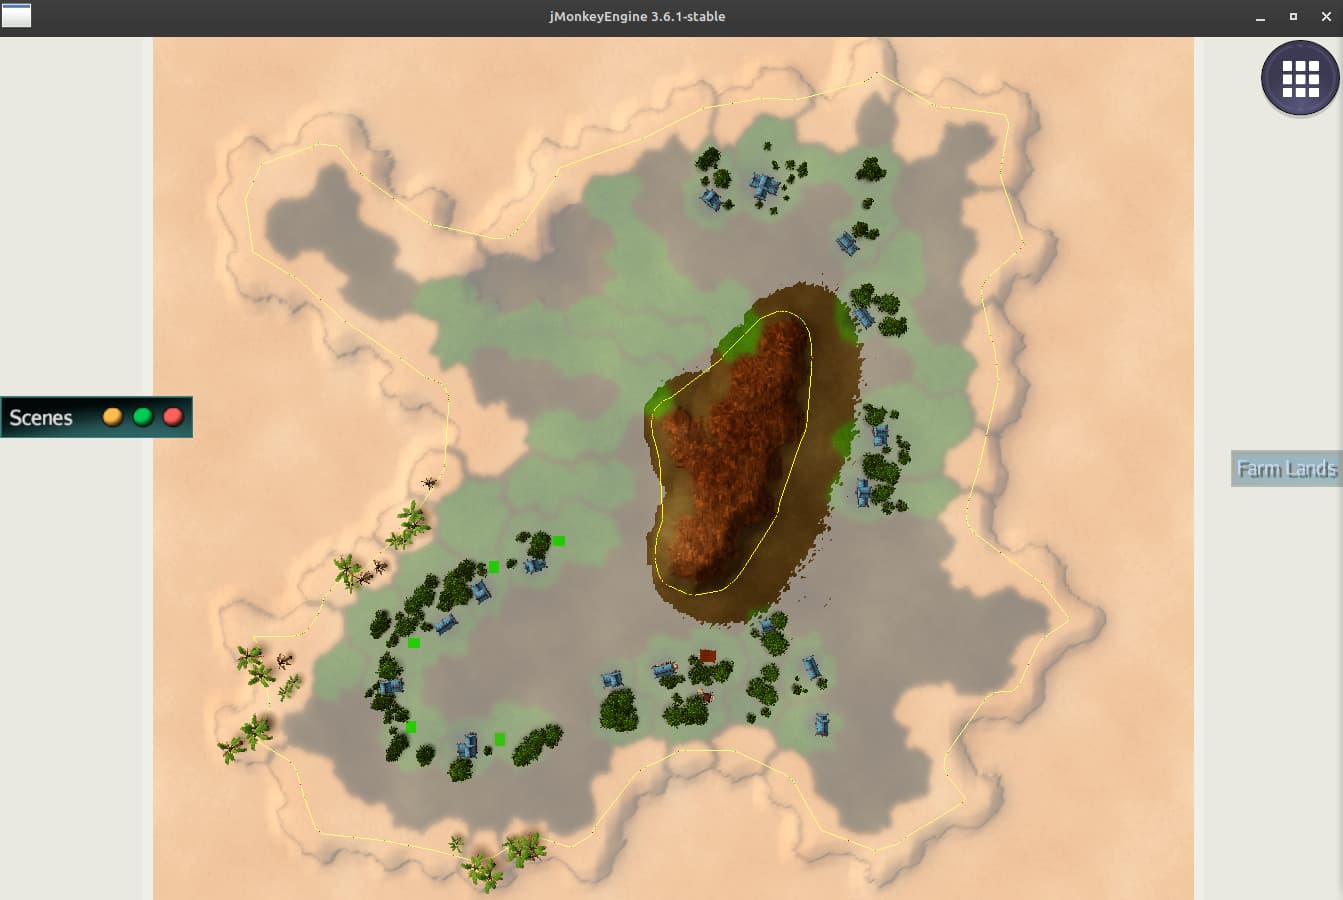
Now it also generates a nav shape for the terrain as well (that includes shorelines and mountains) using the same technique. Shorelines still need a bit of manual tweak in some places.
See those yellow lines. You might need to view it in full size if they are not noticeable because everything is yellow on the map! (must have used a different color)
This month I was able to publish 2 new libraries, not intimately linked to jMonkeyEngine, they are useful for all Java and Android Applications in general.
The Automata4j, a general-purpose Finite-State-Automaton framework for Java Applications (now available at maven-central as an incubator):
The jSnapLoader, a general-purpose cross-platform native library loader API for Java and Android Applications with a base FileLocator and FileExtractor APIs (this is a refactored code of the NativeBinaryLoader from the Jme-alloc project), now available at maven-central as 1.0.0-pre-alpha:
I was able to add the crazy pieces like in Blockout to Depthtris. now to find the best appearance rate for them. For now it is all random without any weights.
Hi @ndebruyn,
Very Cool! I’m glad you are also studying this topic, maybe we can exchange some ideas.
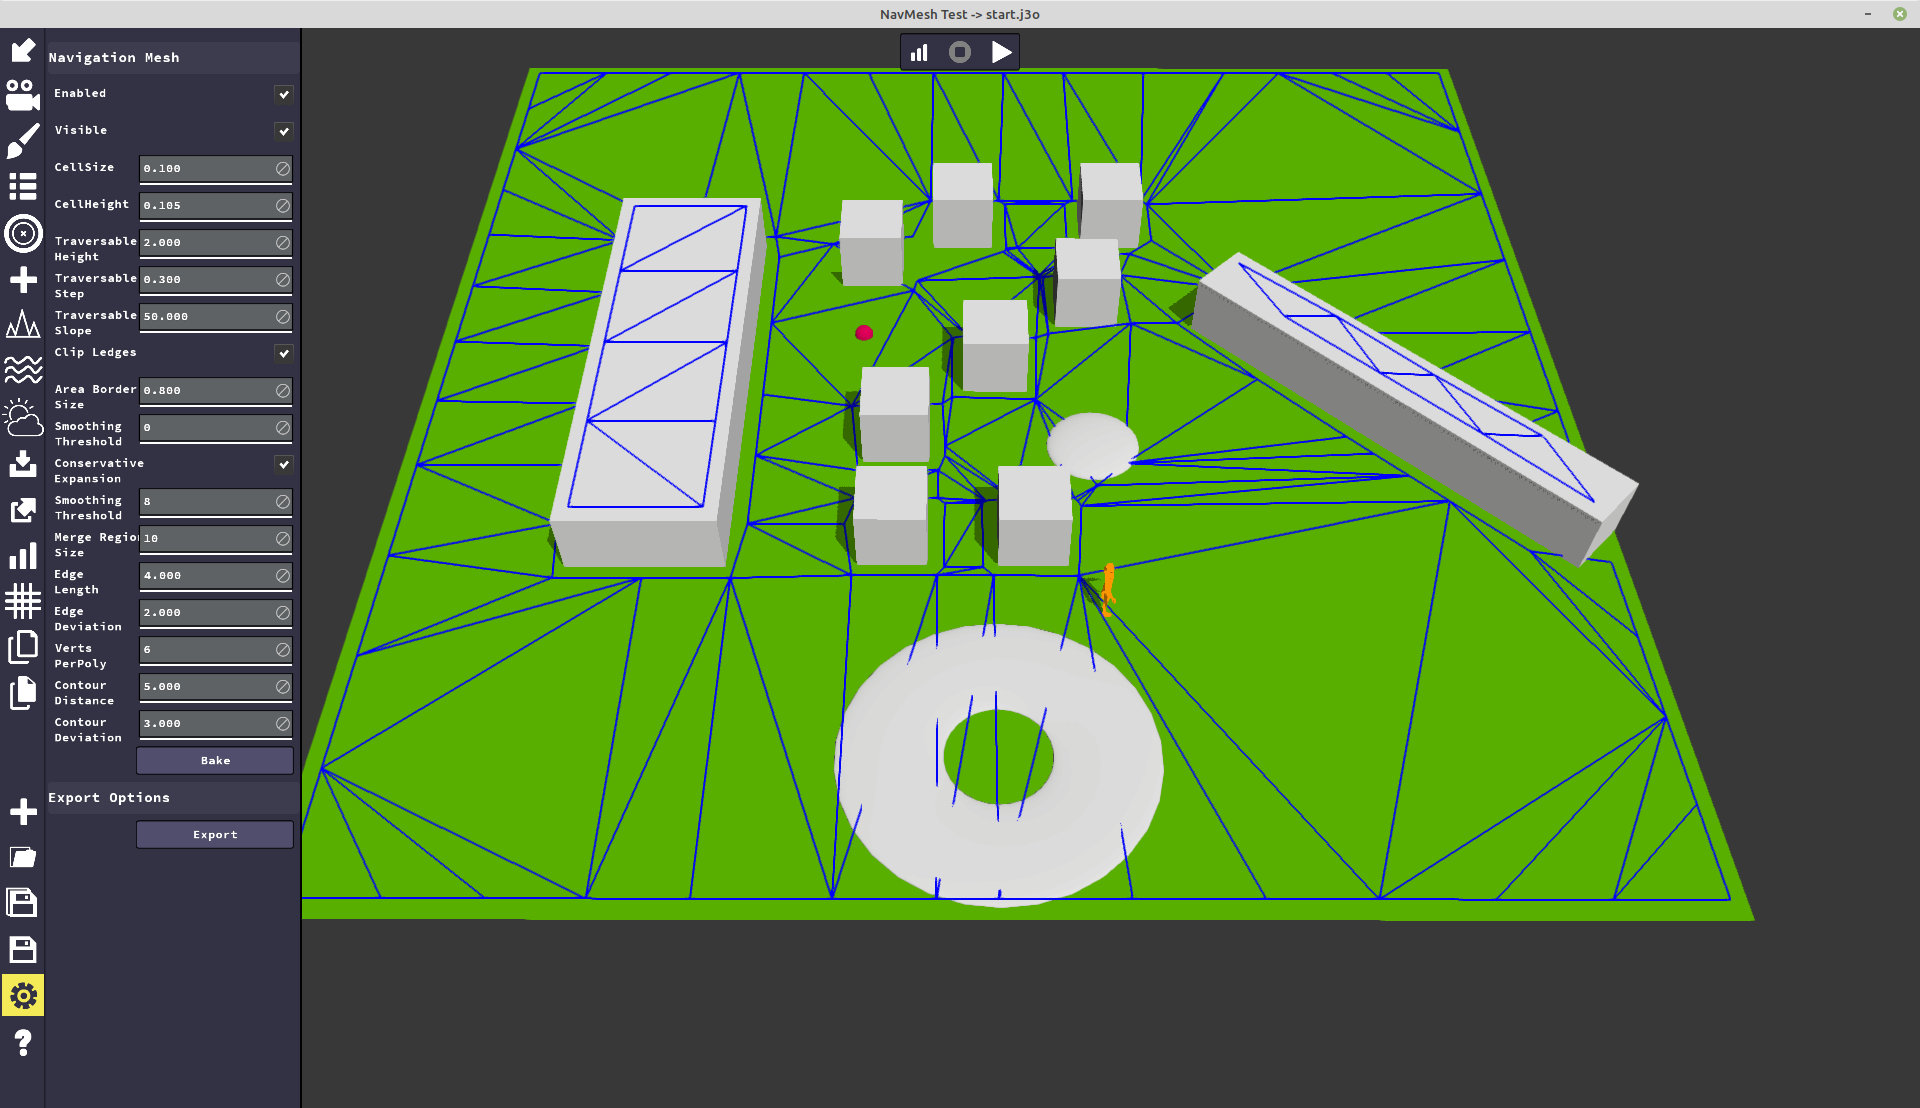
I too have been working with NavMesh for quite some time now with a focus on terrain. I know the library and unfortunately it has not been updated for several years. Many links in the documentation are broken. The domain http://www.critterai.org/ is no longer active. So you have to do a bit of research to retrieve the lost information. I don’t remember where I retrieved the jME-ai library which is indispensable if you want to navigate your NavMesh. The internal code has several flaws and is not optimized, but it is a good starting point to begin to understand how this technique works. It is better than nothing, but it is unfortunate that JME does not have an up-to-date library on NavMesh. I think more should be invested in this topic.
I am preparing a video for next month in which I will show all the details of the changes I made to the jME-ai library and the new features I added to the SDK.
A huge thanks to @sgold for helping me with physics optimization, and to @Ali_RS, who knows every detail of the engine, and helped me with shadow and InstancedNode optimization.
This is really cool.
Thanks for sharing. Seems like you know the topic very well.
In my editor I went in the direction of Unreal engine where you have blue prints to code your game logic.
Mine does not work 100% like that but sort of.
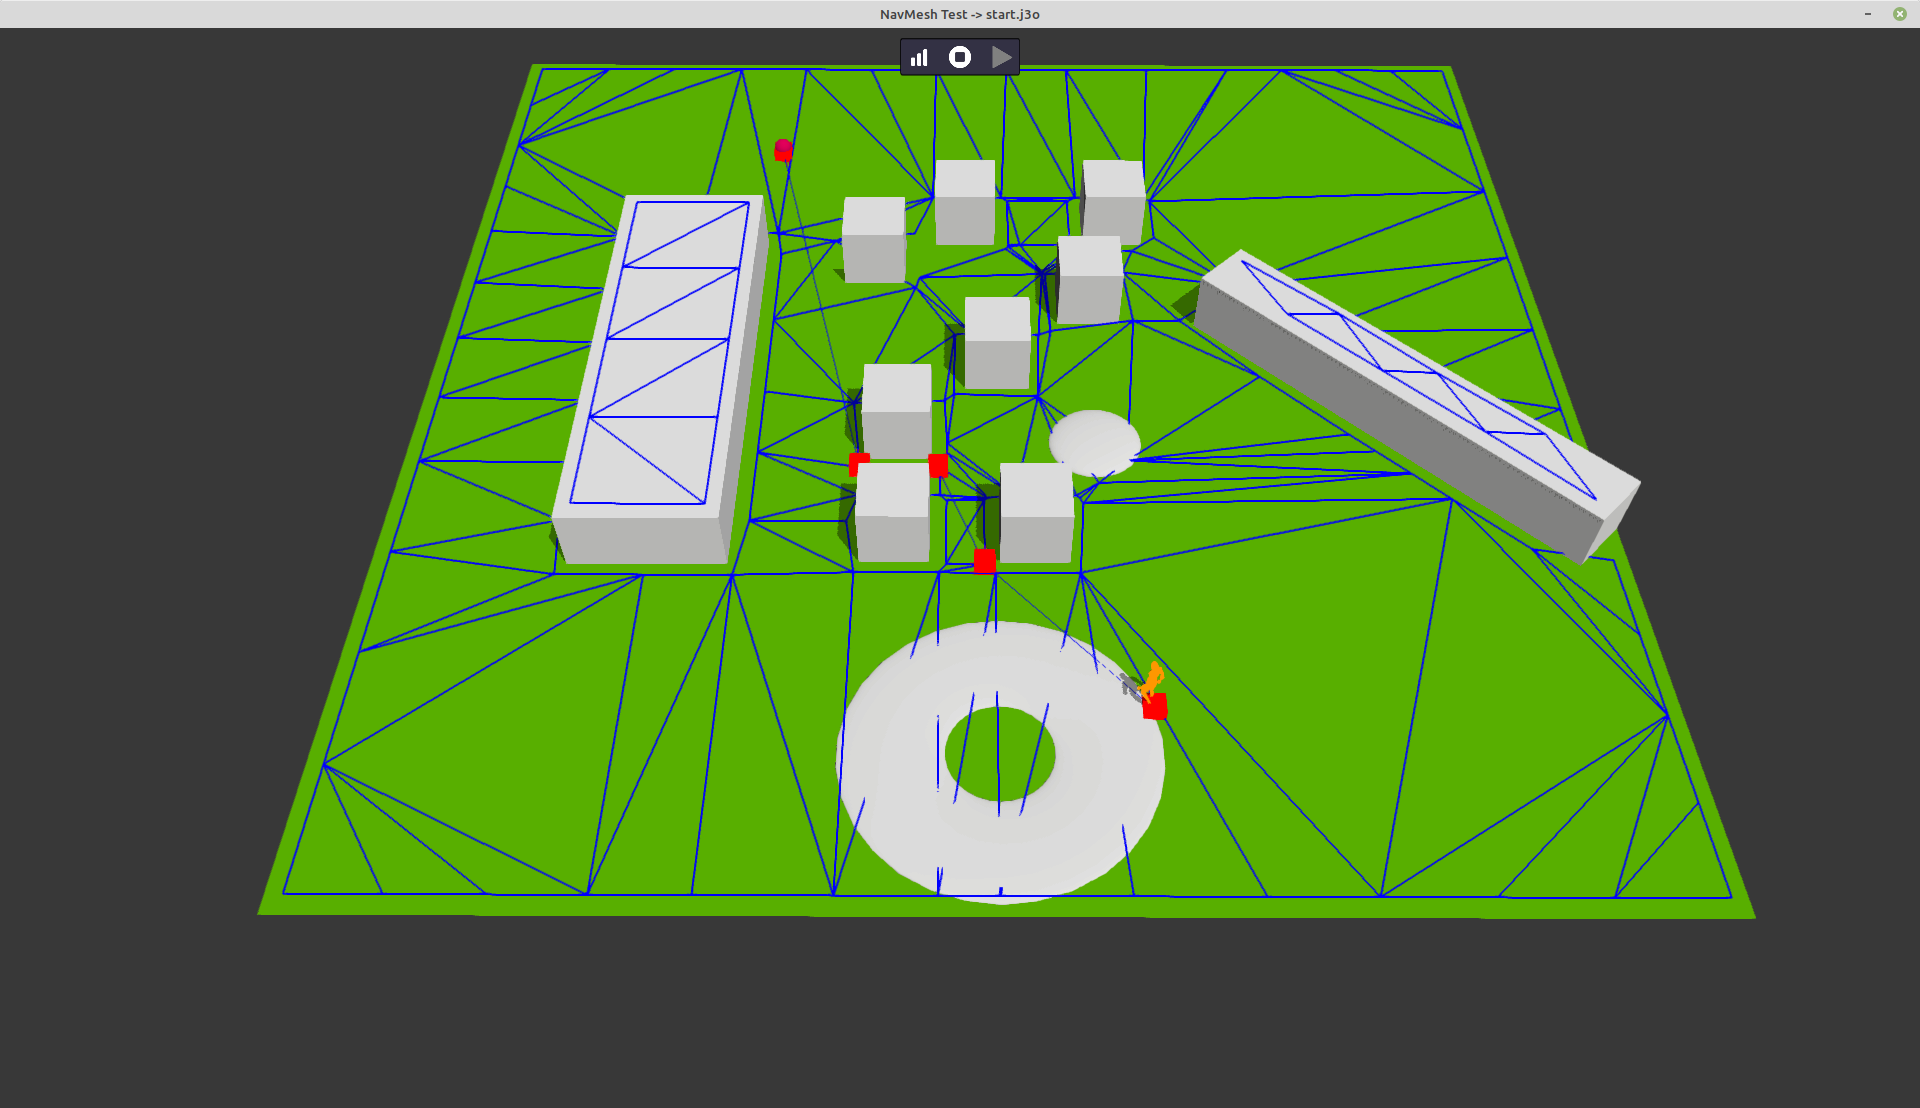
I am calling it BrainControls. In the AI case I can add a AgentMovementBrainControl to any object and that will give the object the ability to navigate the scene/navmesh.
As output of that I can connect an AgentTargetControl which will chase a specified target.
That all gets linked up with these so called brains…
Here is a screenshot of how it looks:
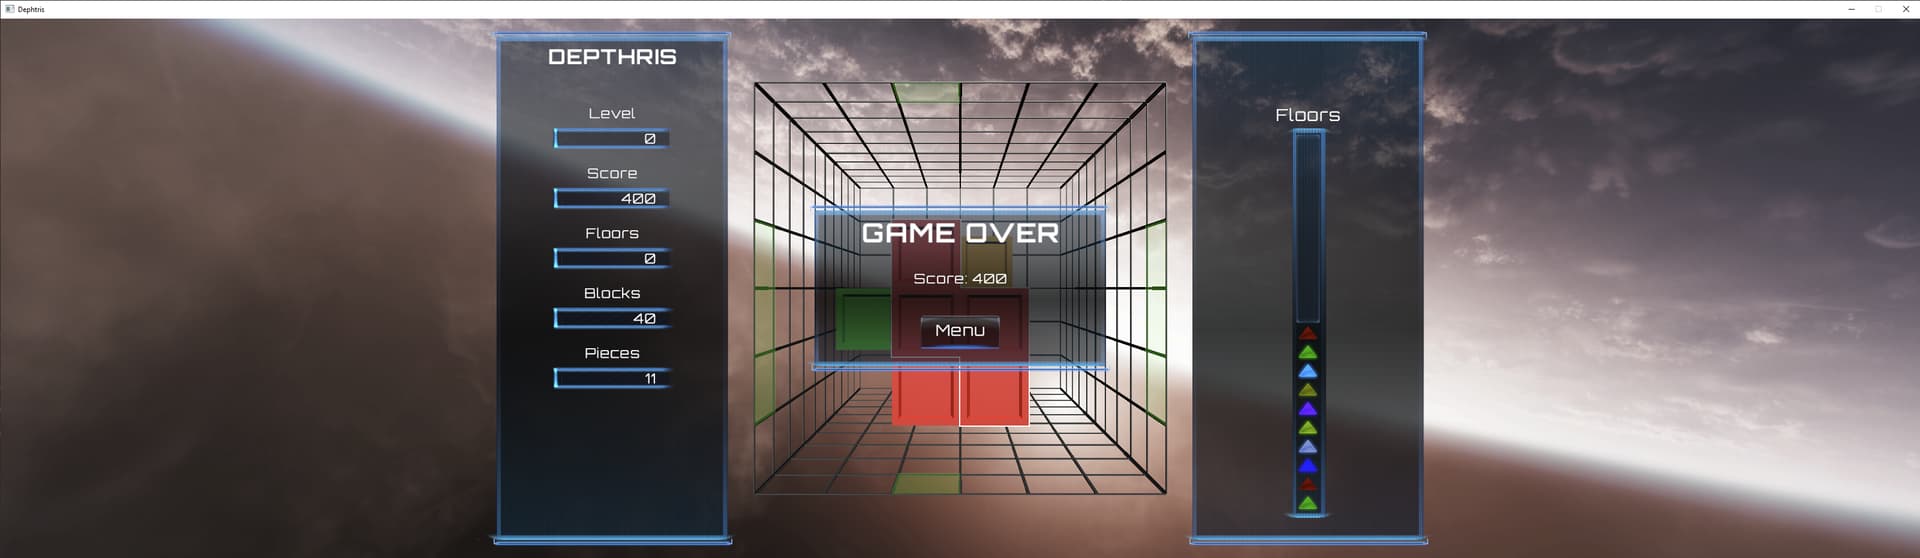


: Challenging and Insane blocks added")