I notice that, by opening the five tutorial folders above, I would see “master-application.jnlp”, but I do not know if I need to executing it in order to bring each tutorial into the JMonkey SDK.
Each folder that I mentioned above has a few dll files as well, but I am using Linux Mint 18.1, which, from how I understand it, would not need any dll files.
I hope someone can explain how to bring such project into the SDK.
I tried the following steps next, which I believe is the right way.
Chose “File”, “Import Project”, “From Zip”, and entered the following information
Zip File: /home/erick/Downloads/MonkeyBlaster-Source.zip
Folder: /home/erick/NetBeansProjects
Clicked “Import” button.
Chose “File”, “Import Project”, “External Project Assets”, and entered the following information
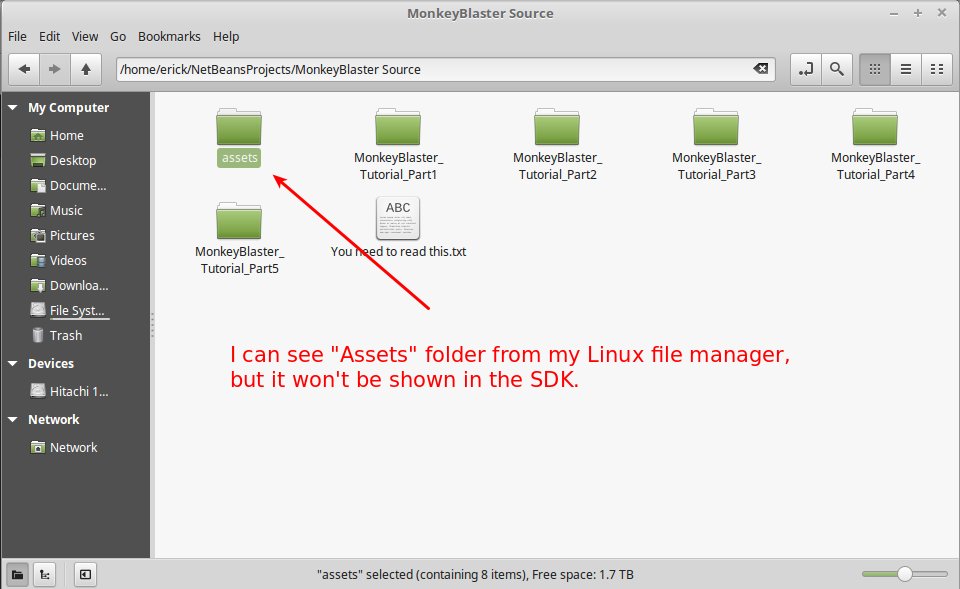
Project Folder: /home/erick/NetBeansProjects/MonkeyBlaster Source/
Assets Folder: /home/erick/Downloads/MonkeyBlaster Source/assets
I would like to be able to click the button “Next” or “Finish”, but both of them are grayed out.
ok got it, so copy the assets folder into each project directory, i.e. the folder for MonkeyBlaster_Tutorial_Part1, MonkeyBlaster_Tutorial_Part2, and so on.
As per the readme:
Hey,
in order to get the five parts to work you have to do one more thing.
Since it makes no sense to include the sounds and graphics 5 times we excluded them
from each part.
jMonkeyEngine stores its resources in a folder, called ‘assets’.
You need to take this assets folder and copy it in each project directory.
After that you can simply open the projects with the jME-SDK.