Adjust the level of transparency

Hello! :slight_smile:

I’m modeling a see landscape and I’m using a water surface image that I load into my material as DiffuseMap texture. I would now like to make it somewhat transparent. My image have no alpha information, it is fully opaque, and I cannot modify it.
I’ve already managed to achieve a nice result with this code:

material.getAdditionalRenderState().setBlendMode(BlendMode.Color);
geometry.setQueueBucket(Bucket.Transparent);

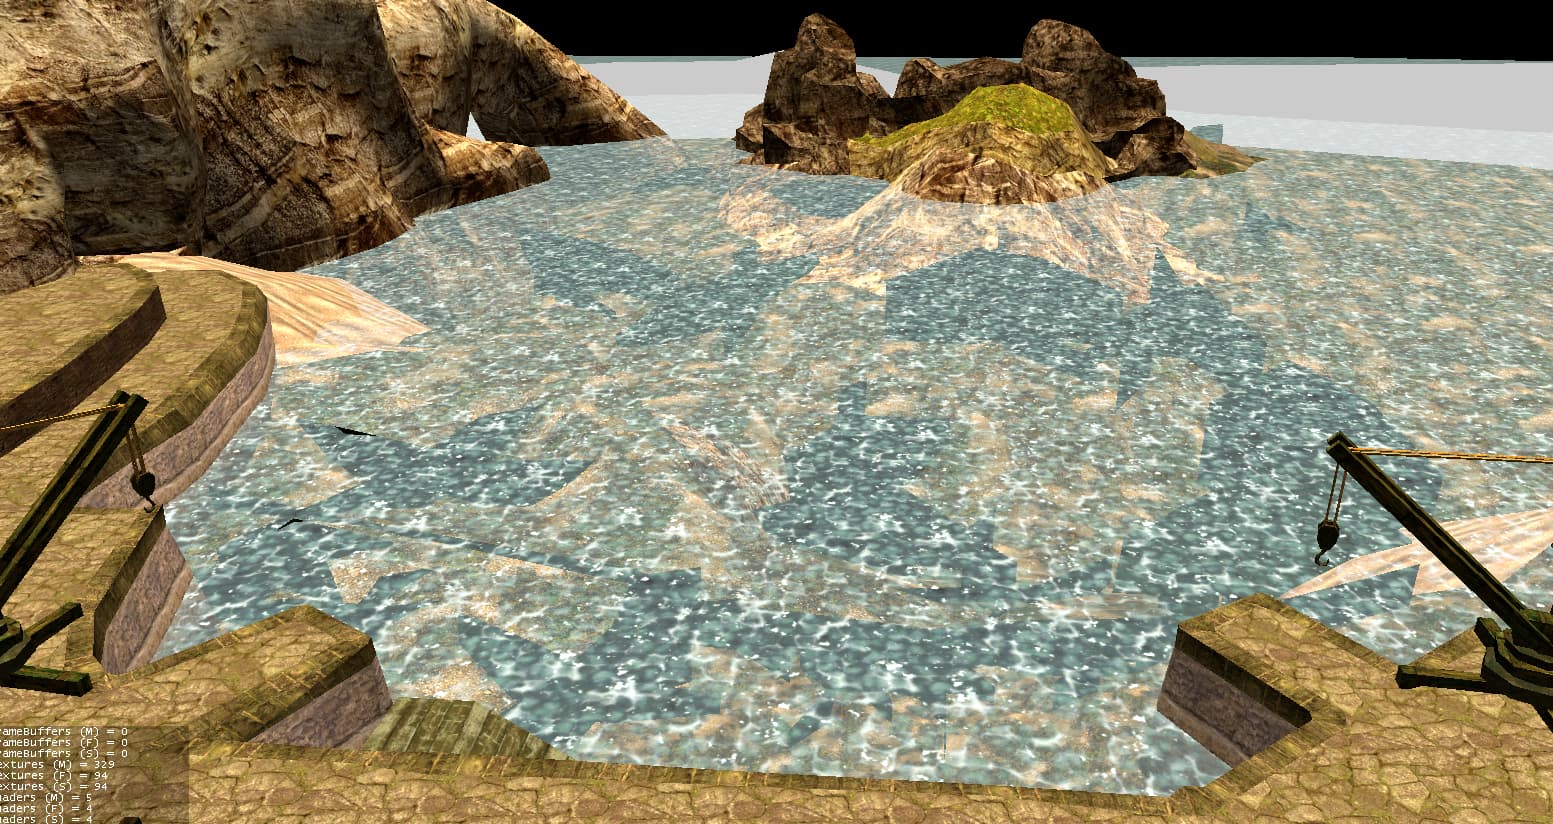
The effect:

Question:
Is there an easy way to adjust the level of transparency for this water surface?
For example, I’d be happy to be able to make the water more or less transparent driven by a single float (0.0 - 1.0) variable in Java code.

I’ve read the Alpha/Transparency Sorting, Your Z-buffer, and You which gives nice overview on the theory, but doesn’t say much about how to implement stuff.

I’d be grateful for any tips on the topic. Thanks in advance :slight_smile:
Regards!

1 Like

wasnt it

mat.getAdditionalRenderState().setBlendMode(RenderState.BlendMode.Alpha);
mat.setTransparent(true); //not sure if it was needed rly
geo.setQueueBucket(RenderQueue.Bucket.Transparent);

instead of color blend?

simple example i see in my code:

mat.setColor("Color", new ColorRGBA(251f / 255f, 130f / 255f, 0f, 0.6f));
mat.getAdditionalRenderState().setBlendMode(RenderState.BlendMode.Alpha);
geo.setQueueBucket(RenderQueue.Bucket.Transparent);

also, you got many parameters to play arround like:

cloudMaterial.getAdditionalRenderState().setFaceCullMode(RenderState.FaceCullMode.Off);
cloudMaterial.getAdditionalRenderState().setDepthTest(false);
cloudMaterial.getAdditionalRenderState().setDepthWrite(false);
or for mipmapping of texture to improve quality
texParam.getTextureValue().setMinFilter(Texture.MinFilter.BilinearNoMipMaps);
texParam.getTextureValue().setMagFilter(Texture.MagFilter.Nearest);

Also im not sure if your water cant be done using Filters, why not? was it some remake that it need to be done this ugly way?

2 Likes

Honestly, I don’t know.
I saw BlendMode.Alpha in the tutorial, but I figured since my image does not use alpha channel, I will rather blend using the Color option. I don’t really understand the meaning of those enums very well, just learning by experiments.
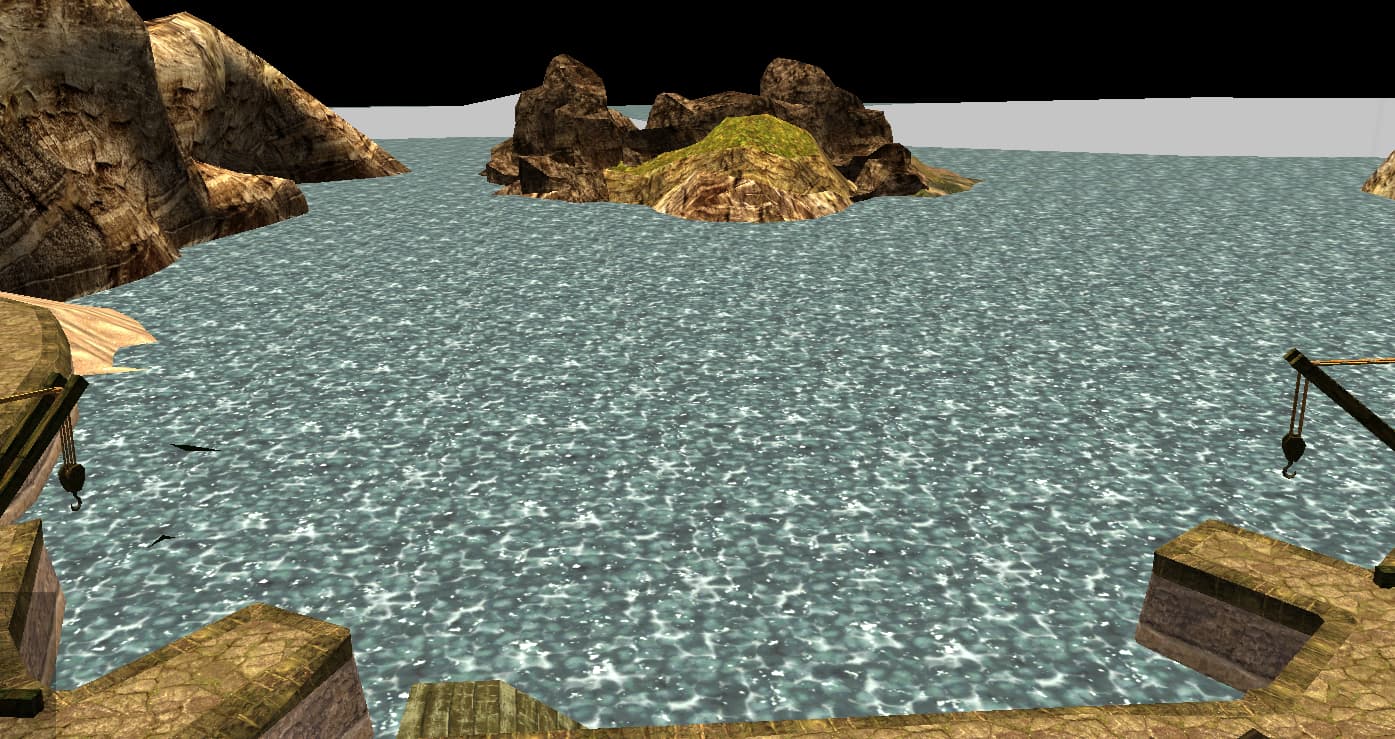
If I use Alpha as you suggest (along with .setTransparent(true)), there is no transparency at all:

I thought this would only work for materials that don’t use image as texture (single color materials)…?

I was not aware of such options, thanks, I will look into.

Regarding Filters, I didn’t know such thing exists :slight_smile: You mean this? jMonkeyEngine SDK: Post-Processor Filters :: jMonkeyEngine Docs
Yes, I’m working on an old game remake, so the surface of the water is actually a part of a big world mesh.

And what exactly you mean by not being able to modify it?

I’ll take a guess since I’m also working on a remake and I simply extract the original assets from the game installation and I absolutely can’t touch them BY HAND. But what I sometimes do is, I modify them in code at runtime. Adding alpha to a PNG is incredibly easy with Java. I do these things, eventually I assume I can write a shader or use some other tricks to achieve these. Using plain Java to do image manipulation is slow. Relative slow. If you do it one time like this, it is going to cost you nothing.

This is just a general advice if you want to actually code a game intending to finish it someday. If you just want to mess about with the graphics, then by all means do that. You can always optimize things later.

3 Likes

@tonihele good point.

Anyhow, I would like to know if the thing I’m asking about in the first post is possible without image manipulation, just out of curiosity :slight_smile: Might be useful in the future perhaps…

Yes, its highly possible this assets dont have alpha and thats why. While they might add it in code themselfs, so also need to do same here.

So how do I add an alpha channel to the image I’m loading?

simple example on JME side:

        TextureKey key = new TextureKey("related-path-to-your-image");
        Texture tex = assetManager.loadTexture(key);
        tex.getImage() // get Image and modify
        tex.setImage(); // set Image

well for Image edit its pure Java(so you can google). There are utilities you can use for editing them, tho it depend on file type ofc. You know what Image type it is. But here is some code that might be helpfull for you using jme ImageRaster:

    	ImageRaster raster = ImageRaster.create(jmeimage);
    	int width = jmeimage.getWidth();
    	int height = jmeimage.getHeight();
    	BufferedImage image = new BufferedImage(width,height,BufferedImage.TYPE_INT_ARGB);
    	java.awt.Color tmpColor = null;
    	for (int x = 0; x < width ; x++) {
    		for (int y = 0; y < height ; y++) {
    			ColorRGBA color = raster.getPixel(x, y);
    			tmpColor = new java.awt.Color(color.r, color.g, color.b, color.a); 
    			image.setRGB(x, y, tmpColor.getRGB());
    		}
    	}

For example for Terrain heightmap i use much different approach as i see (a lot of code), but you can use multiple solutions to edit it i guess. (since you can directly edit buffer too if its already png)

1 Like

You don’t really need to modify the image just to adjust its alpha.

I don’t know what level of knowledge you have so I’ll start from a little bit towards the beginning.

For a shader/material:
.vert = “where do I want to draw this geometry”
.frag = “what do I want to paint at this pixel”

When the .frag shader calculates what it wants to paint (by looking up from a texture, applying lighting, doing math, etc.) the color gets written to the frame buffer based on the BlendMode. BlendMode.Alpha means take that color and mix it with what’s already there based on the alpha channel.

Important: NOT the alpha channel of the texture but the alpha channel that the .frag shader calculated.

In your case:

  • load the texture just like you like and set it to “DiffuseMap” on the material
  • set the BlendMode to Alpha because you want alpha blending
  • put the geometry into the transparent bucket so that it gets sorted properly with the rest of the scene (alpha sorting info is beyond the scope of this response)
  • set a white color with alpha to the “Diffuse” color on the material (mat.setColor(“Diffuse”, new ColorRGBA(1, 1, 1, someAlpha))
  • set the “UseMaterialColors” boolean to true on the material (mat.setBoolean(“UseMaterialColors”, true)) or else it won’t even pay attention to your diffuse color

Lighting.frag will take the color from your DiffuseMap texture and multiply it by the Diffuse color thus giving it an alpha value.

Edit: and note that the above would also work if your image already had an alpha channel and you just wanted to make it more or less transparent.

Edit 2: also quite common to have an image with no or little color (shades of gray) so that you can adjust the final color to fit the scene. Water is a great example where you might want it green-blue, blue, brownish, etc… all adjustable by that Diffuse color.

3 Likes

Works like a charm :slight_smile:
Although it cannot be applied to images like .dds as jME does not support images with such compression.

For anyone who want to display opaque texture in transparent way without using shaders, here is how I did it:

    TextureKey key = new TextureKey("my-picture.png");
    Texture texture = assetManager.loadTexture(key);
    texture .setWrap(Texture.WrapMode.Repeat);  // optional

    texture.setImage(addAlphaChannel(texture.getImage(), 0.3f));  // adjust level of transparency here

    material.setTextureParam("DiffuseMap", VarType.Texture2D, texture);
    material.getAdditionalRenderState().setBlendMode(BlendMode.Alpha);
    geometry.setQueueBucket(Bucket.Transparent);


    Image addAlphaChannel(Image source, float alpha) {

        ImageRaster raster = ImageRaster.create(source);
        BufferedImage image = new BufferedImage(raster.getWidth(), raster.getHeight(), BufferedImage.TYPE_INT_ARGB);
        java.awt.Color tmpColor = null;
        for (int x = 0; x < raster.getWidth(); x++) {
            for (int y = 0; y < raster.getHeight(); y++) {
                ColorRGBA c = raster.getPixel(x, y);
                tmpColor = new java.awt.Color(c.r, c.g, c.b, alpha);
                image.setRGB(x, y, tmpColor.getRGB());
            }
        }
        return new AWTLoader().load(image, false);
    }

BTW. I’m wondering how to approach it in terms of mipmapping, in case I used key.setGenerateMips(true); before loading the asset. Will the mip-maps update automatically when I use texture.setImage() ?

No. When you muck with the image data directly you generally must muck with the mip data directly. There may be a way to force them to regenerate.

I would like to strongly stress again that for your original issue, painting your own texture just to add alpha is SUPER_BAD_ADVICE ™. It’s like taking an axe and a sledge hammer to the door just because the knob is too inconvenient.

…and it ultimately serves no purpose than to add RAM usage and take away flexibility for something you already had for free.

1 Like

Another way is to just use Shader that will render it with certain alpha, no matter of what.

i belive You can just copy shader and replace color.a on final frag shader line.

I might reply questions directly, but agree there might be better solutions than replace pixels on loading.

Are you guys able to see the post where I outlined exactly how to make this work?

Feels like “no”.

This is great! :slight_smile:
Also works.
Although the color used in “Diffuse” (white in your example) is very visible, kind of taking over the original colors of the texture. But in my case I was provided with a color for the geometry, next to the image information, so when I’m using it I think it looks very OK.

I’m very grateful for your explanation <3

BTW. your method is also what @oxplay2 suggested in his first post, but without explaining, so I had some doubts, as I mentioned.

Sure. I just had to try it out before replay. And I process all the answers as FIFO :smiley:

1 Like

This is weird, though. Something else may be wrong… multiplying a color with white should result in the color. Though I do half remember that because lighting.j3md mixes the lighting color in first then you can get some weirdness.

I’d have to see the results and the lighting setup to know for sure. Having control over the color + alpha is nice, though.

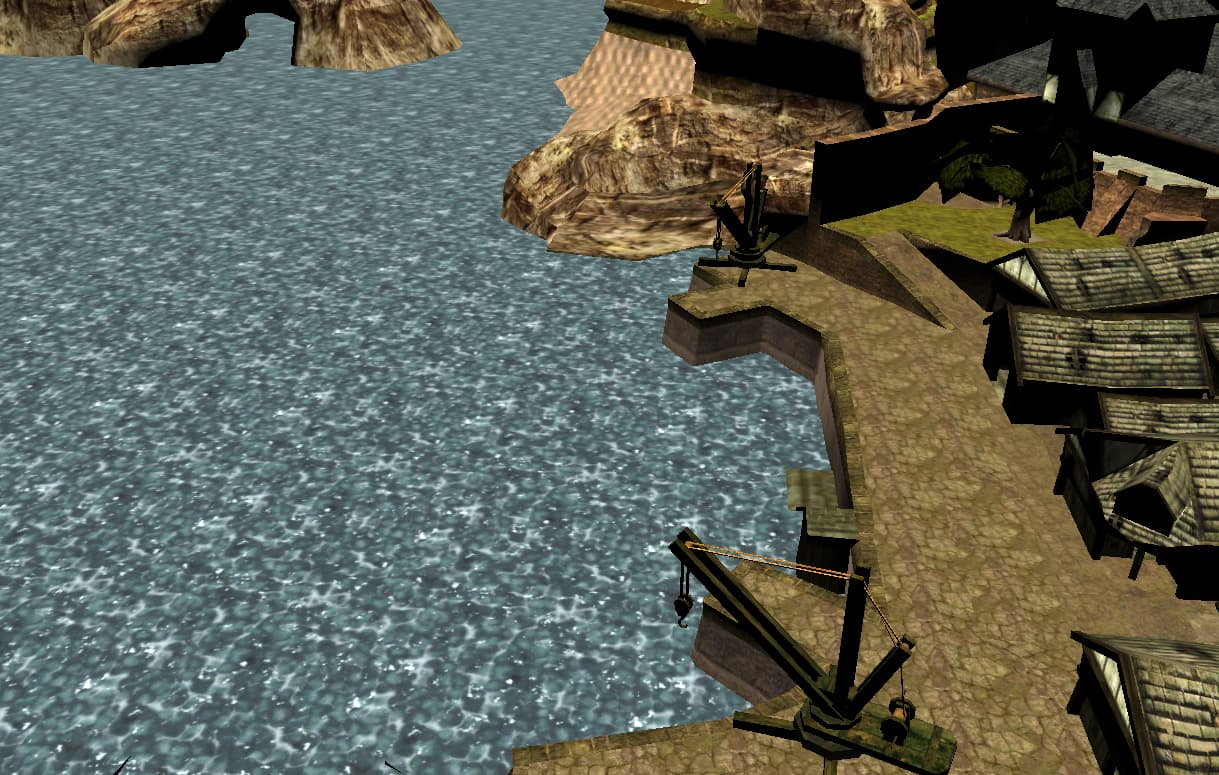
The original texture without any transparency configuration, and with light:

DirectionalLight sun = new DirectionalLight();
sun.setColor(ColorRGBA.fromRGBA255(255, 255, 255, 0).mult(10.0f));
sun.setDirection(new Vector3f(0f, -1.0f, 0f).normalizeLocal());

looks like this:

Then I set white “Diffuse”:
mat.setColor("Diffuse", new ColorRGBA(1, 1, 1, 0.7f));

and now,

with this light:

        sun.setColor(ColorRGBA.fromRGBA255(255, 255, 255, 0).mult(10.0f));

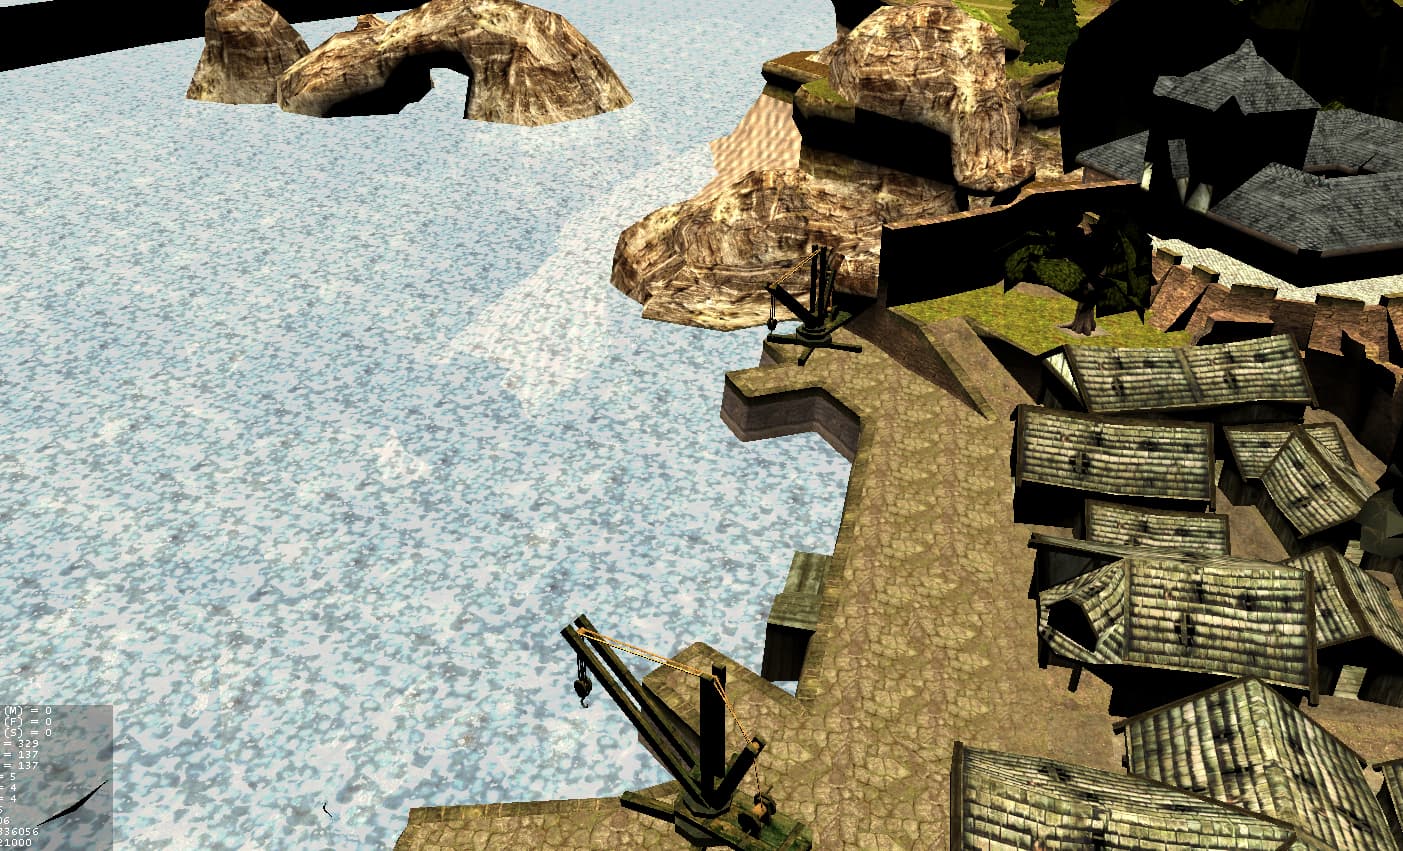
it results in:

with this light:

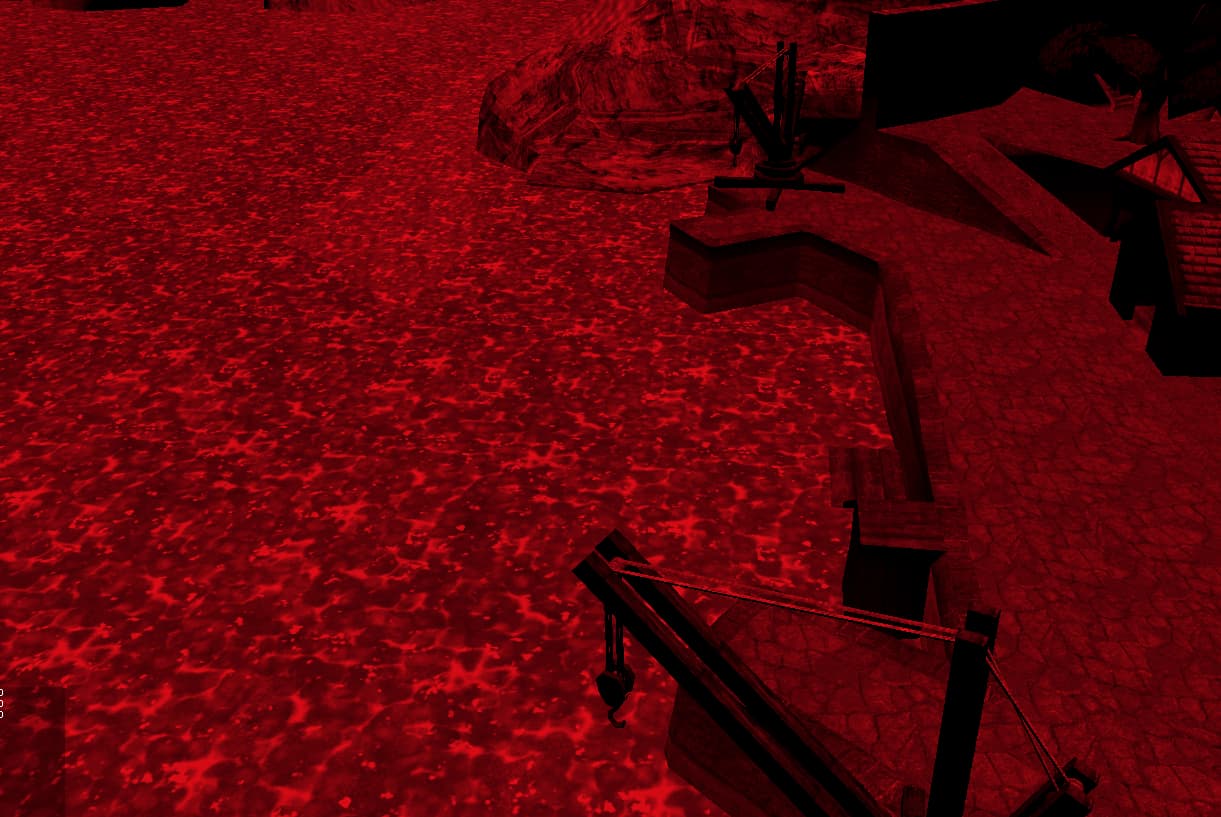
        sun.setColor(ColorRGBA.fromRGBA255(255, 255, 255, 0).mult(15.0f));

results in:

With this light:

        sun.setColor(ColorRGBA.fromRGBA255(255, 0, 0, 0).mult(5.0f));

results in:

Not sure if that is useful info for you :man_shrugging:

Multiplying the light by 10 and 15 is “kind of crazy” levels of multiplication. Most I’ve ever used is 2 and now I try to keep things in the range of 0…1 and just make things look right with that.

In Mythruna I think I got as high as 1.5. Nope… 1.4 max.

    // Based on 6:08 - 19:52 day.
    at("0:00", new ColorRGBA(0.1f, 0.1f, 0.2f, 1f));
    // Adjusted to new lighting scheme for day-night transition
    at("5:30", new ColorRGBA(0.1f, 0.1f, 0.2f, 1f)); // sun is barely clearing the horizon
    // Actually, it's at 6:00 even that the sun almost tips over the horizon
    at("6:08", new ColorRGBA(0.0f, 0.0f, 0.0f, 1f)); // halfway up, light direction changes
    at("6:18", new ColorRGBA(1.2f, 0.9f, 0.8f, 1f)); // sun has fully cleared horizon 
    // done adjustments
    at("7:00", new ColorRGBA(1.4f, 1.1f, 0.9f, 1f));
    at("8:00", new ColorRGBA(1.4f, 1.3f, 1.1f, 1f));
    at("9:00", new ColorRGBA(1.4f, 1.3f, 1.2f, 1f));
    at("10:00", new ColorRGBA(1.3f, 1.3f, 1.2f, 1f));
    at("11:00", new ColorRGBA(1.2f, 1.2f, 1.1f, 1f));
    at("15:00", new ColorRGBA(1.2f, 1.2f, 1.1f, 1f));
    at("16:00", new ColorRGBA(1.3f, 1.3f, 1.2f, 1f));
    at("17:00", new ColorRGBA(1.4f, 1.3f, 1.2f, 1f));
    at("18:00", new ColorRGBA(1.4f, 1.2f, 0.9f, 1f));
    at("19:00", new ColorRGBA(1.3f, 1.1f, 0.8f, 1f));
    // Adjusted to new lighting scheme for day-night transition
    at("19:42", new ColorRGBA(1.2f, 0.9f, 0.8f, 1f)); // sun still fully above horizon 
    at("19:52", new ColorRGBA(0.0f, 0.0f, 0.0f, 1f)); // halfway down, light direction changes
    at("20:00", new ColorRGBA(0.1f, 0.1f, 0.2f, 1f)); // sun is barely clearing the horizon
    at("21:00", new ColorRGBA(0.1f, 0.1f, 0.2f, 1f));

The issue is that in Lighting.j3md the DiffuseColor is rolled into the DiffuseSum lighting… and that is what is multiplied by the texture color. (Along with some ambient and specular calculations.)

So, yes, when you crank the lighting up to super high levels the “Diffuse” color will have an abnormally high influence on the result.

OK, I set the directional light to 1.0, added some 0.6 white ambient light, things look ok now. Water no longer white. thx :slight_smile:

1 Like

For completeness, your water got white because you are rendering to a color range of 0 - 1. When you mutliply your light color by 10 for example ever quite a red color of rgb(1,0.1,0.1) can render as completely white. (Note that the original color information is also lost for further postprocessing)