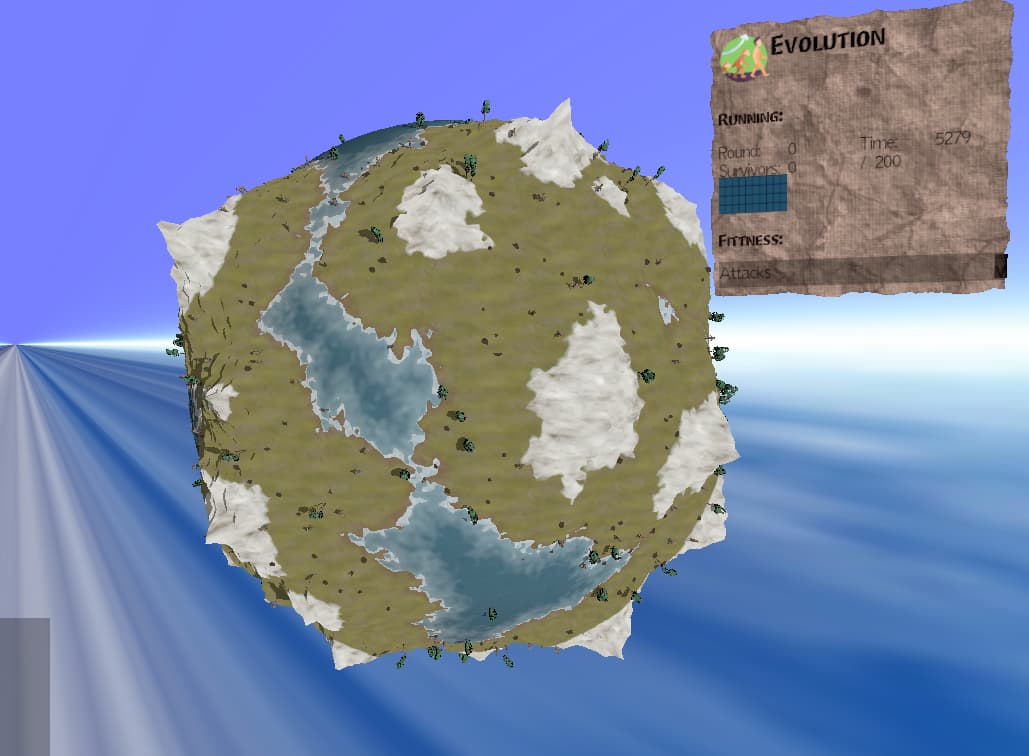
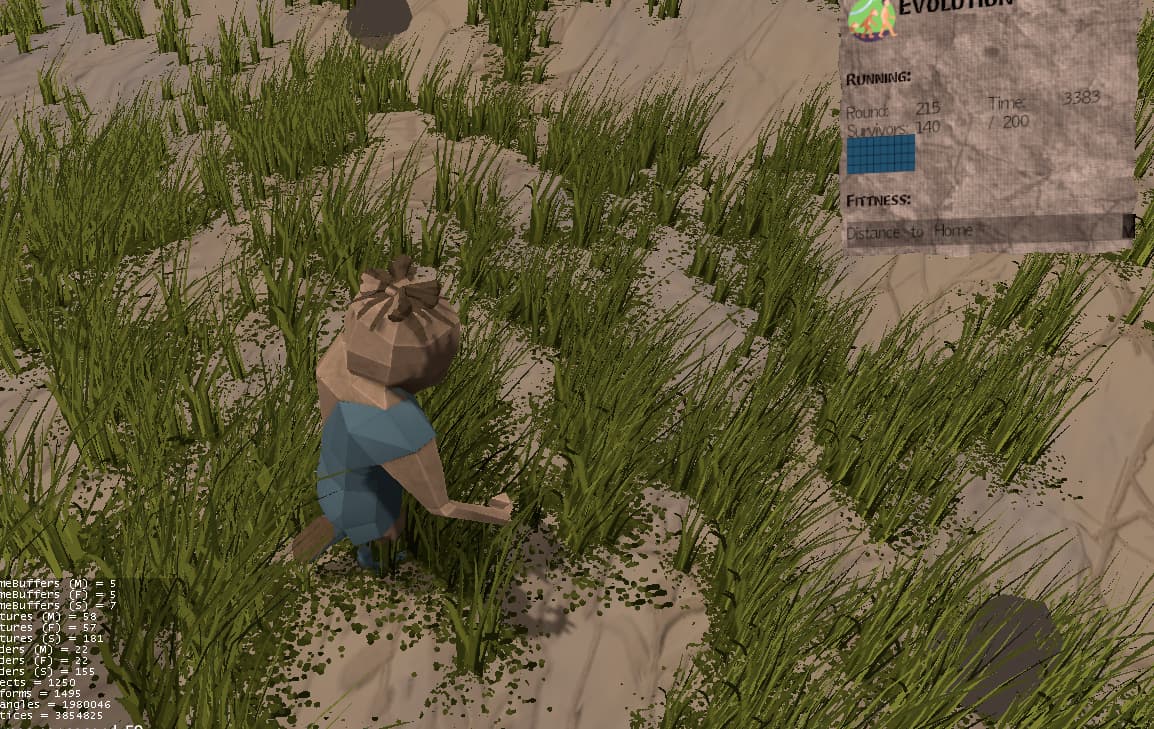
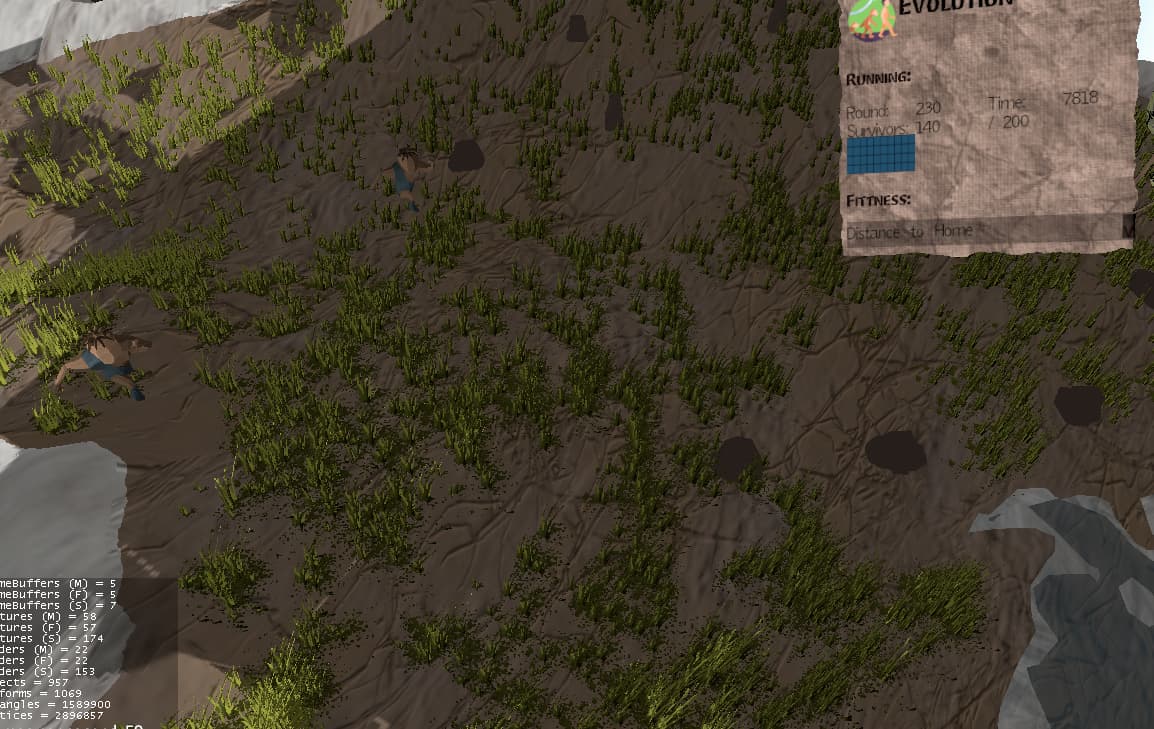
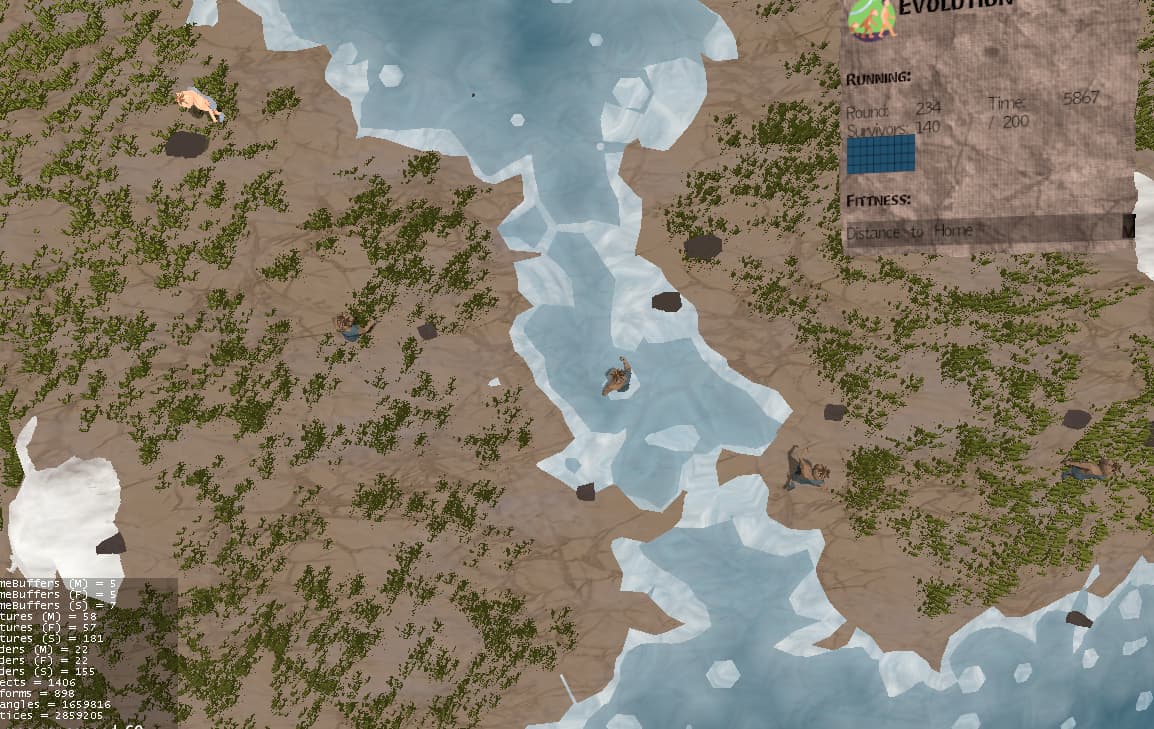
Probably the best way is to create a test program to check it out. I started playing with a blue cube style app just to mess with it.
Test geometry setup looks like this:
        Box box = new Box(1, 1, 1);
        FloatBuffer xb = BufferUtils.createFloatBuffer(0, 0.1f, 0.2f, 0.3f, 0.4f, 0.5f, 0.6f, 0.7f, 0.8f, 0.9f);
        VertexBuffer vb = new VertexBuffer(VertexBuffer.Type.InstanceData);
        vb.setInstanceSpan(1);
        vb.setupData(VertexBuffer.Usage.Stream, 1, VertexBuffer.Format.Float, xb);
        box.setBuffer(vb);

        Geometry geom = new Geometry("testBox", box);
        Material mat = new Material(assetManager, "MatDefs/YourMaterial.j3md");
        mat.getAdditionalRenderState().setBlendMode(BlendMode.Alpha);
        geom.setMaterial(mat);
        geom.setQueueBucket(Bucket.Transparent);
        rootNode.attachChild(geom);
Copy Lighting.* to YourMaterial.* and change the stuff inside to point to your .frag and .vert.
Then in the .vert make sure to add:
attribute float inInstanceData;
And in the main() area:
modelSpacePos.xyz += modelSpaceNorm.xyz * (inInstanceData * 0.2);
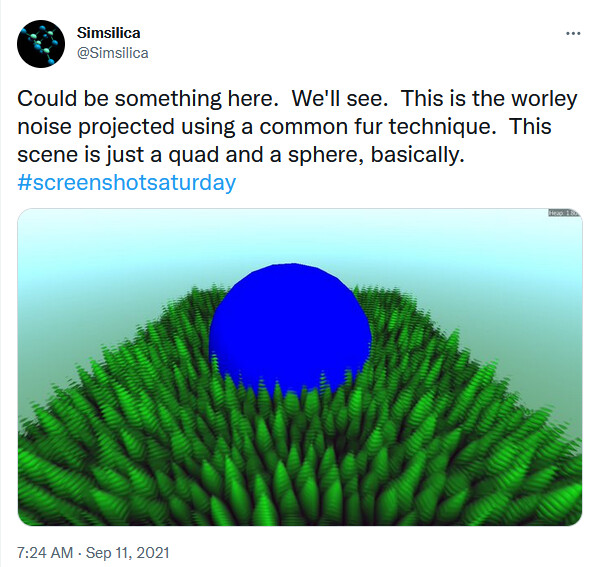
If you use a texture with transparency then you should see multiple layers at 0, 0.1, 0.2, 0.3, etc…
That’s the basic setup and then you can work on incorporating techniques from some of the online resources…
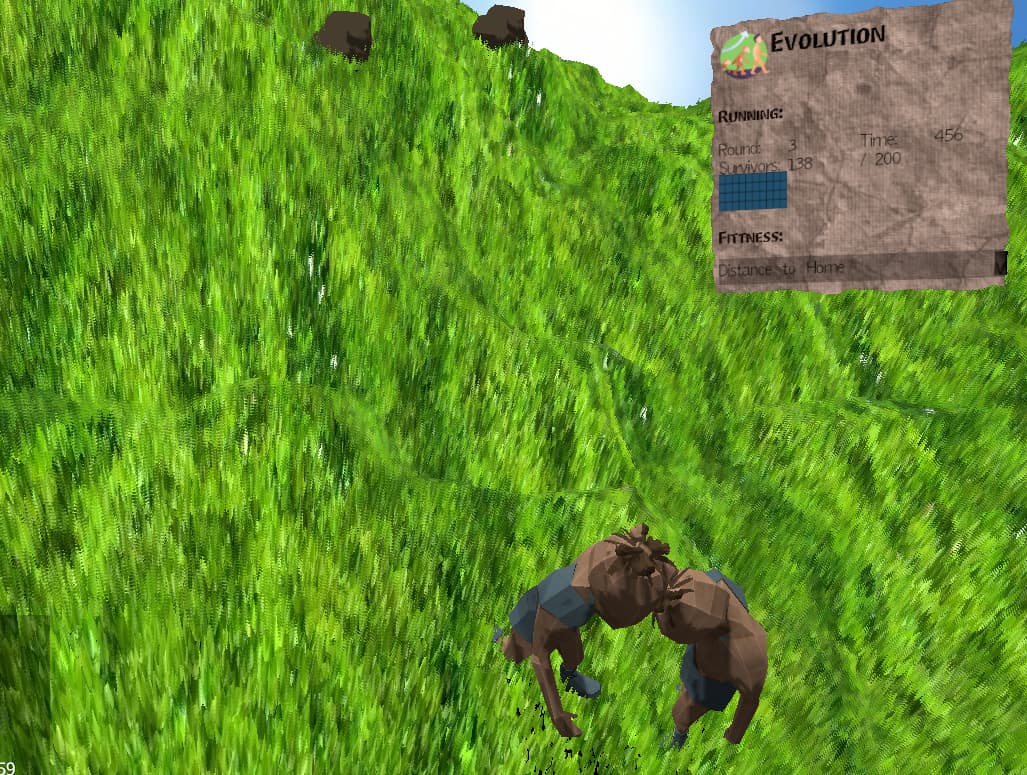
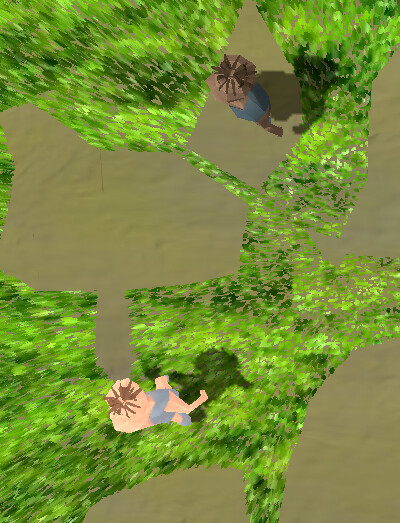
I personally used voronoi texture and passed the inInstanceData depth value to the frag shader so that it could discard fragments where the texture value was less than the depth value. So each layer was smaller.
I think you can find better fur textures online maybe… I didn’t really look as I was just spending some time playing with the principles and not really looking for a finished product yet.
Edit: some voronoi textures here: (It’s a gallery)
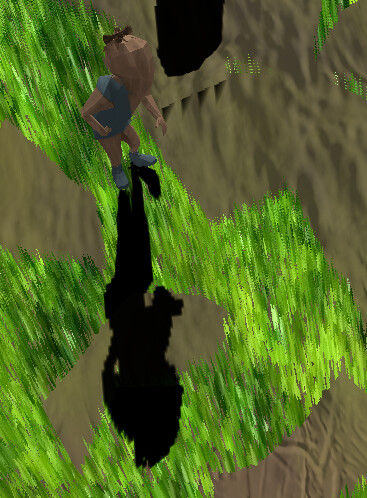
Each channel is a separate ‘seed’ basically. Sample one channel to compare to depth. That’s what I’m doing in the image above.