There have been threads similar to this question likes this:
I have tried using a bloom filter and the custom shader mentioned in the aforementioned thread but since they are both post processing effects they both have the problem of the bloom covering geometries that move in front of them.
I have also tried adding just a solid color geometry with alpha but it didn’t have the glowing effect.
I have also tried particle effects to some extent but am not very skilled in creating them and it has been a long time since I tried this.
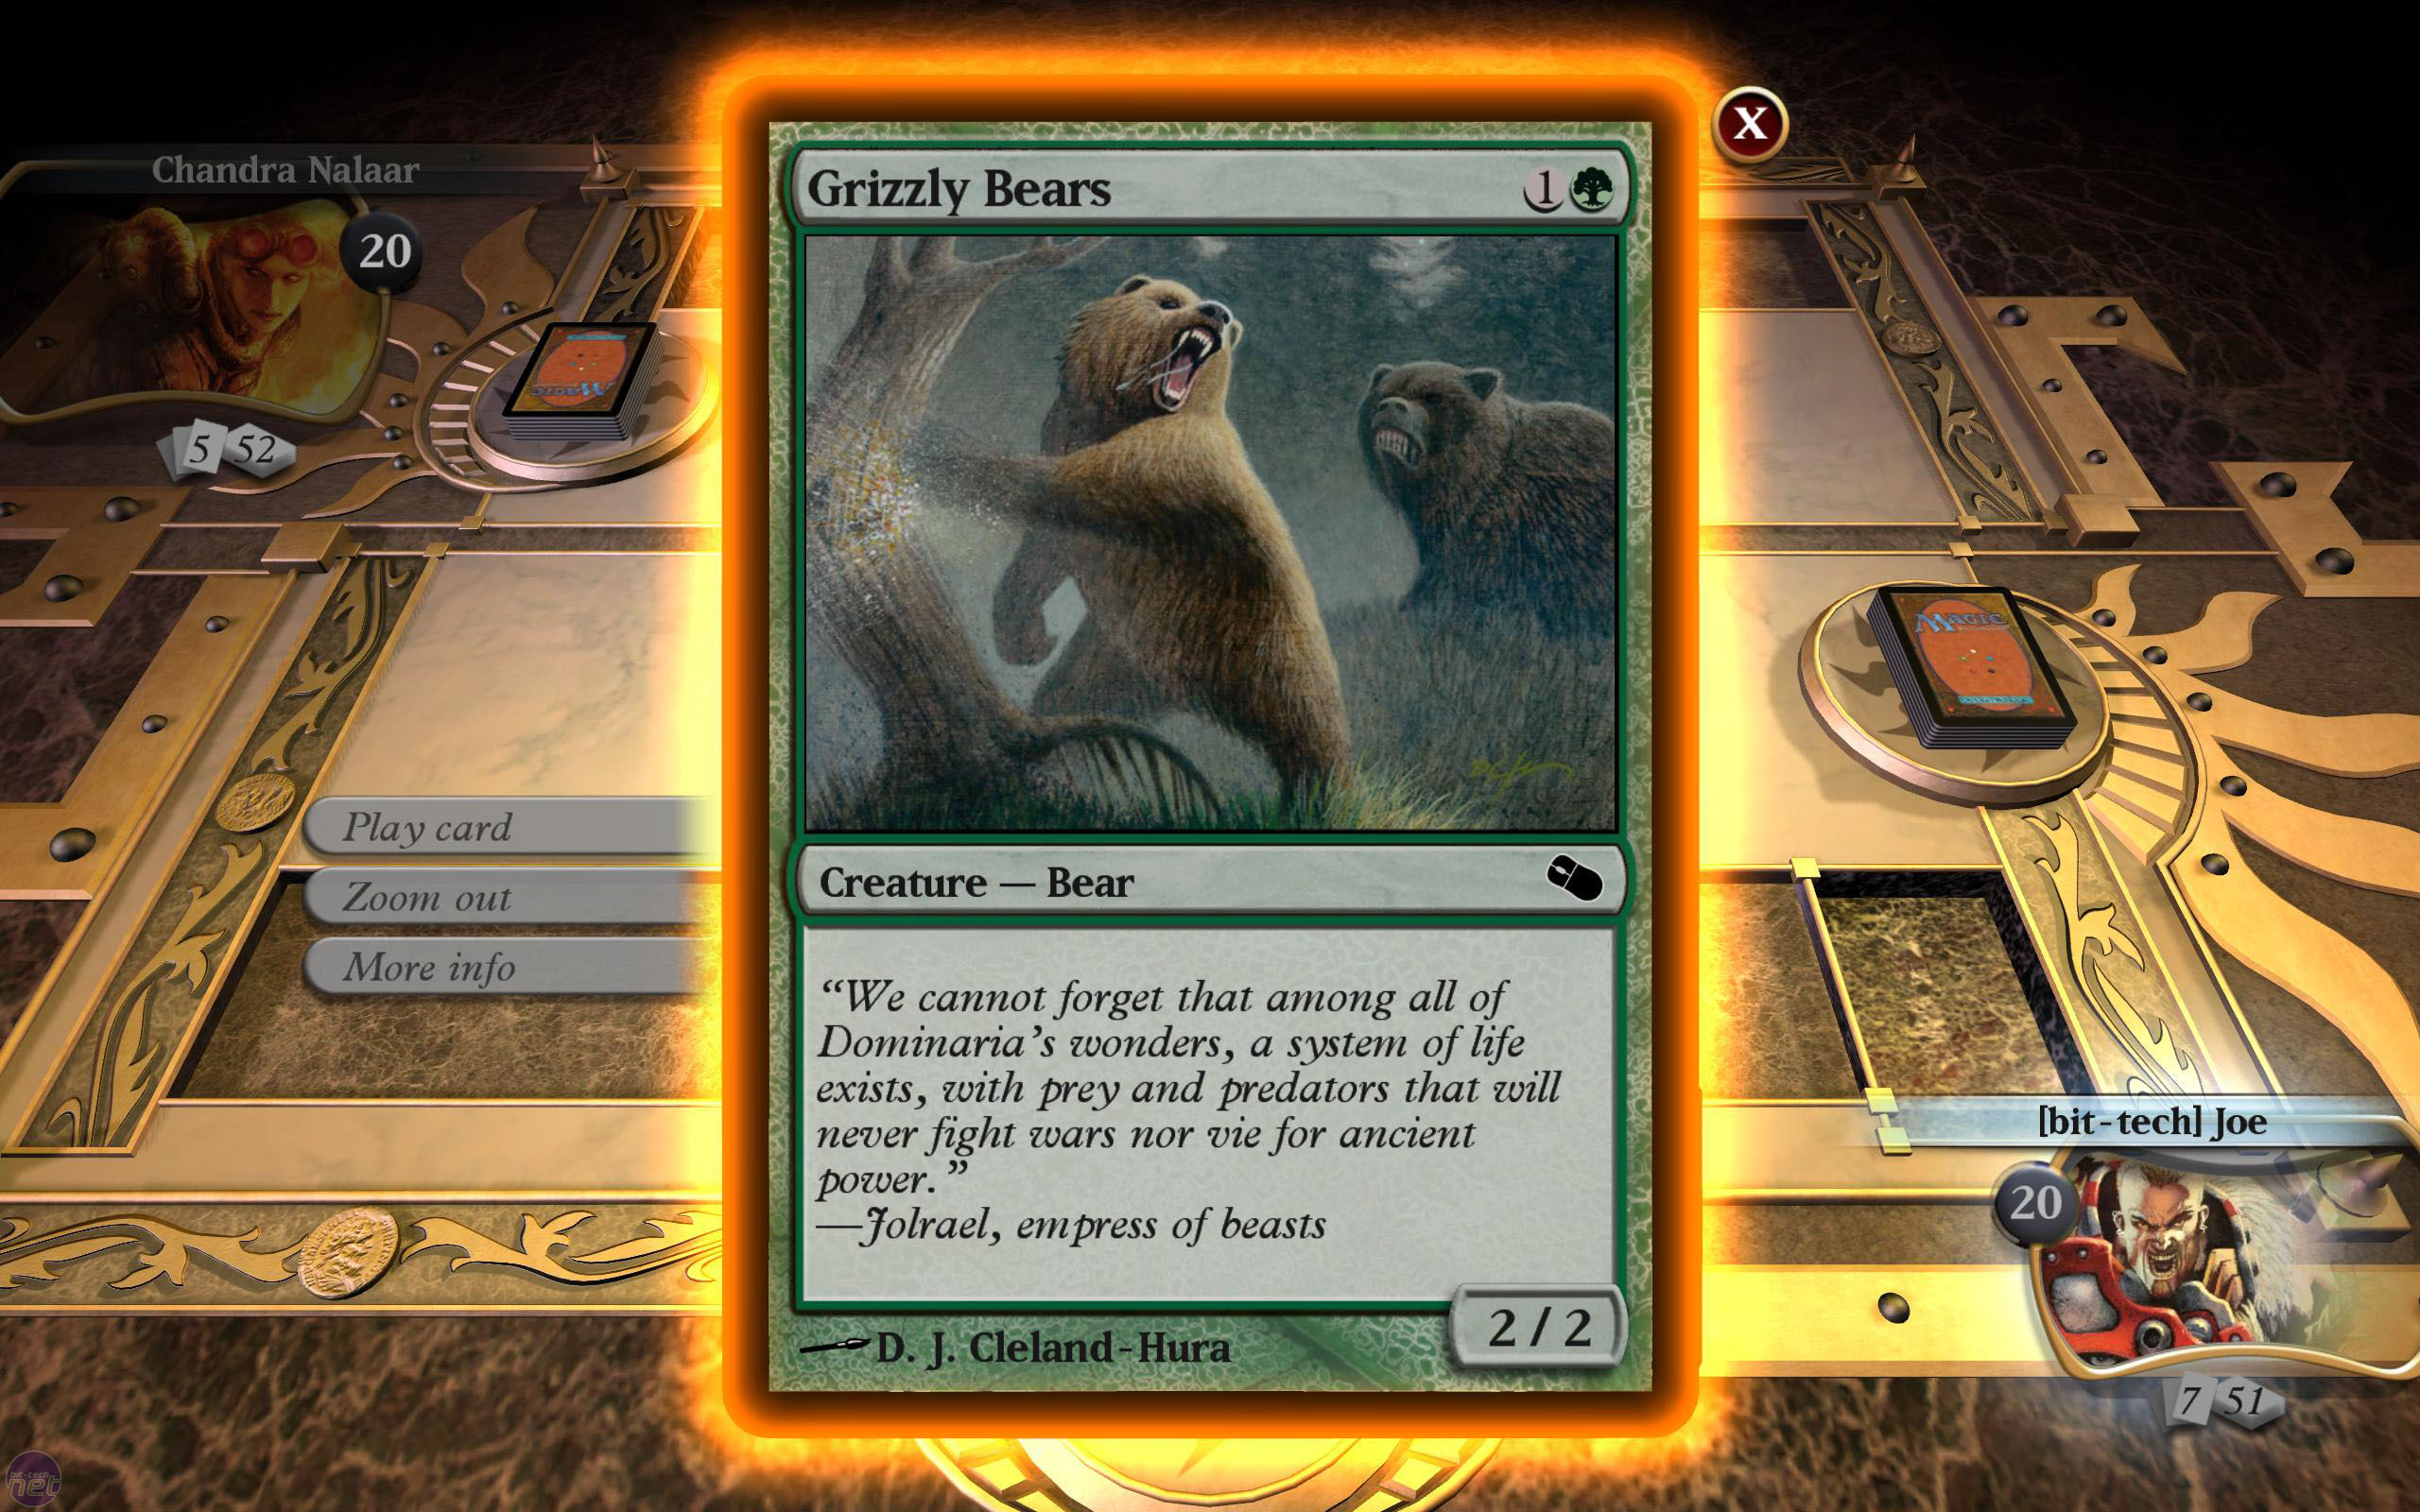
With all that said, can you recommend what you would do to create an effect like this where objects in front of the geometry will occlude the glow? In my program it’s safe to assume all geometries that will need this glow are rectangular like the card shown in the example.
I haven’t tried any other methods to compare, but for achieving this effect so far I’ve been using the particle emitter route (mainly for my GUI elements), and then I scale the particle emitter’s X and Y value to match the object size and set the particle emitter to face the correct direction. I personally like to use particle emitters like crazy and I’ve found a lot of cool things you can do if you mess around with them for a while.
The difficult part for the card example would be getting the emitter to follow the card as it moves around the screen and to get the emitter to scale to the cards size if the card shrinks or grows, but that could still be done.
Here’s a snippet of my attempt so far at doing something kind of similar to the card example.
You can use this line of code to set which way the particle’s face, that way it always lines up with the edge of its associated object.
That effect looks pretty close, I remember when I worked with the particle emitter i had trouble getting them to work the way I wanted them to, what tools do you use to edit the emitters or do you do it manually in the code?
Hey thanks again pspeed it’s been a while. When you mention glow border painted on it do you mean just an image texture that looks like a glow bound to the geometry’s material? And with respect to it being animated, do you have an example of applying this noise to the material or texture? That could get very close to what I’m looking for.
No, I mean a Quad with its own geometry sitting right behind the card with its own material and texture. A totally separate geometry. As in:
A quad… behind the card. Card is separate. Quad is separate.
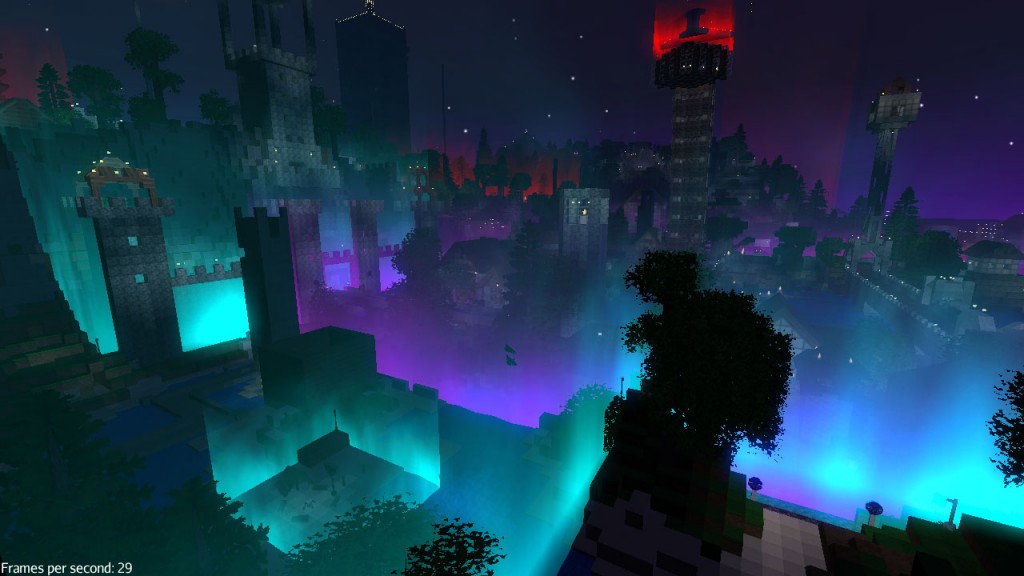
Easiest way to animate it would be a custom shader with a noise texture that slides with time… then just multiply the noise with the glow. I did something similar in Mythruna’s glowing plot borders… static image can be seen here:
Those glowing borders are smoky-animated. Not sure I have a video of that… it’s a simple sliding noise texture that does it, though.
Edit: here is the halo.png I use for my own glowing borders around UI elements. Add noise to taste: https://imgur.com/smLD7K6.png
Here’s the code for that effect if you’d want to look at that as a starting point if you decide that particle emitters are the way to go for doing something like this
       ParticleEmitter  selectionEffect = new ParticleEmitter("Emitter", ParticleMesh.Type.Triangle, 30);
        Material mat = new Material(app.getAssetManager(),"Common/MatDefs/Misc/Particle.j3md");
        //change texture image based on the resolution width
        mat.setTexture("Texture", app.getAssetManager().loadTexture("Interface/MenuImages/selectionEffectFinal.png"););
        selectionEffect.setMaterial(mat);

        selectionEffect.setImagesX(2);
        selectionEffect.setImagesY(2);
        selectionEffect.setSelectRandomImage(true);

        selectionEffect.setGravity(0,0,0);
        selectionEffect.getParticleInfluencer().setInitialVelocity(new Vector3f(0, 0, 0));

        selectionEffect.setStartSize(14.75f);
        selectionEffect.setEndSize(14.9f);


        selectionEffect.setStartColor((new ColorRGBA(.042f,.105f,.662f,.91f)));
        selectionEffect.setEndColor(new ColorRGBA(.037f,.298f,.662f,.04f));

        selectionEffect.getParticleInfluencer().setVelocityVariation(0f);
        selectionEffect.setLowLife(.38f);
        selectionEffect.setHighLife(.52f);
        selectionEffect.setParticlesPerSec(13f);

        selectionEffect.setLocalTranslation(362,848.85f,0);
        selectionEffect.setLocalScale(27.75f,5.8f,30);


//these three lines make the emitter face forward and show up on infront of GUI elements
            selectionEffect.setQueueBucket(RenderQueue.Bucket.Gui);
            selectionEffect.setFaceNormal(Vector3f.UNIT_Z);
            app.getGuiNode().attachChild(selectionEffect);
I think for a 2D menu element particle emitters would work alright, but for world objects with a Z depth @pspeed’s method looks way better than particle emitters could ever do. I’ve yet to learn how to do much with writing shaders, but the more I see what can be done with custom shaders, the more excited I am to learn
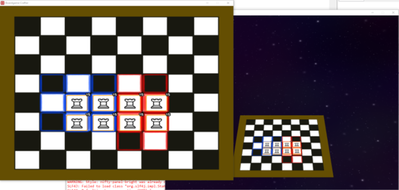
Here is an image of the selection effect (I feel like we used to be able to upload larger files, wanted to make this an animated gif but only allowed 50kb):