On the Fog of War Some of the issues

I read in the forums a long time ago someone suggested something about fog of war, but it’s too long ago and many links are outdated which contains some wiki.

I started looking all over the net for a solution.

The good thing is that there are still a lot of really good ideas being kept in some blogs

A Story of Fog and War | Riot Games Technology
This link is done using unity’s shaders.

My current idea is to put a layer of mesh on top of the map mesh and fill it with black, so how do I get this layer of mesh to always be drawn on top of all the other geometry?

Similar to layers in photoshop I need to always have fog of war at the top of the layer
(I hope that no matter where the Fog of War is in 3D space, the fog of war should cover something else)
Is there a way to do this in jme? Do I need to write a shader to do this?

Yes, you can use a custom geometry comparator. Though if you use Lemur then this is already built into your scene as Lemur adds a LayerComparator already.

You don’t need to… but doing this in a shader will yield better results. Like, modify the existing shaders to darken/lighten an area based on a fog of war texture and then you will get nice fading between unexplored and explored areas. It could even be applied to the objects on the terrain and not just the terrain.

1 Like

I would like to know if glsl can arrange the rendering order by itself?

No.

1 Like

So I should still use the comparator right?

Ok but I think I’ve got a clearer idea of what I’m doing, thanks for helping me rule out some of the possibilities of the error

LayerComparator

Sorry to bother you again, but if you would be so kind as to provide some pseudo-code to show me how to initialise the LayerComparator? It doesn’t seem to be the same as the other comparators in jme.

additions:
Well, I’ve understood the use of LayerComparator so far, having misunderstood LayerComparator earlier.

Okay, maybe I’ve misled you by describing the problem, and this render queue implementation isn’t what I was looking for, but I’ve seen the keyword “depth testing” over and over again when I’ve looked through the documentation on Fog of War.
I tried searching through the forums and found that the filters in jme are exactly what I was looking for, so I thought I’d go ahead and do some small experiments.
I’m very sorry I can’t be specific about what I’m imagining at the moment :sweat_smile: :sweat_smile: :sweat_smile: :sweat_smile: :sweat_smile:

1 Like

The Lemur’s space mouse events can conflict a little with another of my custom mouse events, so I’m now splitting the game into two parts Some of the actions in the game use custom content The UI in the game uses the Lemur (detailing the conflict would be too long for this space)

So no lemurs are used here either|
I copied parts of it out of the lemur.

package com.mygame;

import com.jme3.app.SimpleApplication;
import com.jme3.material.Material;
import com.jme3.material.RenderState;
import com.jme3.math.ColorRGBA;
import com.jme3.math.Vector3f;
import com.jme3.renderer.Camera;
import com.jme3.renderer.RenderManager;
import com.jme3.renderer.ViewPort;
import com.jme3.renderer.queue.GeometryComparator;
import com.jme3.renderer.queue.GeometryList;
import com.jme3.renderer.queue.OpaqueComparator;
import com.jme3.renderer.queue.RenderQueue;
import com.jme3.renderer.queue.RenderQueue.Bucket;
import com.jme3.scene.Geometry;
import com.jme3.scene.Mesh;
import com.jme3.scene.Spatial;
import com.jme3.scene.VertexBuffer;
import com.jme3.scene.VertexBuffer.Type;
import com.jme3.scene.debug.Arrow;
import com.jme3.scene.shape.Box;
import com.jme3.scene.shape.Quad;
import com.jme3.system.AppSettings;
import com.jme3.texture.Texture;
import com.jme3.util.BufferUtils;


public class SimpleGridApp extends SimpleApplication {


    public static void main(String[] args) {
        SimpleGridApp app = new SimpleGridApp();
        AppSettings setting = new AppSettings(true);
        setting.setWindowSize(1920, 1080);   
        app.setSettings(setting);
        app.start();
    }

    @Override
    public void simpleInitApp() {

                // 创建X、Y、Z方向的箭头,作为参考坐标系。
        createArrow(new Vector3f(5, 0, 0), ColorRGBA.Green);
        createArrow(new Vector3f(0, 5, 0), ColorRGBA.Red);
        createArrow(new Vector3f(0, 0, 5), ColorRGBA.Blue);
        
        viewPort.setBackgroundColor(ColorRGBA.Black);
        
        int width = 100;
        int height = 100;
        float spacing = 1.0f;

        // Define vertices for the grid 
        //定义网格顶点
        float[] vertices = new float[width * height * 3];
        float[] texCoords = new float[height * width * 2]; // Added UV coordinates
        for (int x = 0; x < width; x++) {
            for (int z = 0; z < height; z++) {
                vertices[(x * height + z) * 3] = x * spacing;
                vertices[(x * height + z) * 3 + 1] = 0;
                vertices[(x * height + z) * 3 + 2] = z * spacing;
                // Calculate UV coordinates
                texCoords[(x * width + z) * 2] = (float) x / (height - 1);
                texCoords[(x * width + z) * 2 + 1] = (float) z / (height - 1);
            }
        }

        // Define indices to create triangles
        int[] indices = new int[(width - 1) * (height - 1) * 6];
        int idx = 0;
        for (int x = 0; x < width - 1; x++) {
            for (int z = 0; z < height - 1; z++) {
                int topLeft = x * height + z;
                int topRight = topLeft + 1;
                int bottomLeft = (x + 1) * height + z;
                int bottomRight = bottomLeft + 1;

                // First triangle 第一个三角形
                indices[idx++] = topLeft;
                indices[idx++] = bottomLeft;
                indices[idx++] = topRight;

                // Second triangle 第二个三角形
                indices[idx++] = topRight;
                indices[idx++] = bottomLeft;
                indices[idx++] = bottomRight;
            }
        }


        // Create a Mesh
        Mesh mesh = new Mesh();
        mesh.setBuffer(Type.Position, 3, BufferUtils.createFloatBuffer(vertices));
        mesh.setBuffer(Type.Index, 3, BufferUtils.createIntBuffer(indices));
        mesh.setBuffer(VertexBuffer.Type.TexCoord, 2, BufferUtils.createFloatBuffer(texCoords)); // Set UV coordinates
        mesh.updateBound();

        // Create a Geometry to display the mesh
        Geometry gridGeometry = new Geometry("Grid", mesh);
        LayerComparator.setLayer(gridGeometry, 1);
        // Create a material and set its color "Shaders/FogOfWar/Fog.j3md"
        Material material = new Material(assetManager, "Common/MatDefs/Misc/Unshaded.j3md");
        material.setColor("Color", ColorRGBA.fromRGBA255(100, 0, 0, 100));
//        material.getAdditionalRenderState().setBlendMode(RenderState.BlendMode.Alpha);
//        gridGeometry.setQueueBucket(RenderQueue.Bucket.Transparent);


        //material.getAdditionalRenderState().setWireframe(true);
        material.getAdditionalRenderState().setFaceCullMode(RenderState.FaceCullMode.Off);
        gridGeometry.setMaterial(material);

        
        Geometry ig=addT100(new Vector3f(2,2,2));

        
        rootNode.attachChild(ig);
        // Attach the gridGeometry to the rootNode
        rootNode.attachChild(gridGeometry);

        flyCam.setMoveSpeed(50f);
        
    }
    
    /**
     * 创建一个箭头
     * 
     * @param vec3  箭头向量
     * @param color 箭头颜色
     */
    private void createArrow(Vector3f vec3, ColorRGBA color) {
        // 创建材质,设定箭头的颜色
        Material mat = new Material(assetManager, "Common/MatDefs/Misc/Unshaded.j3md");
        mat.setColor("Color", color);

        // 创建几何物体,应用箭头网格。
        Geometry geom = new Geometry("arrow", new Arrow(vec3));
        geom.setMaterial(mat);

        // 添加到场景中
        rootNode.attachChild(geom);
    }

 
     public Geometry addT100( Vector3f v3f){
 	// #1 创建一个方块形状的网格
        Mesh box = new Box(2, 2,2);
        
        // #2 加载一个感光材质
        Material mat = new Material(assetManager, "Common/MatDefs/Misc/Unshaded.j3md");
        mat.setColor("Color", ColorRGBA.Green);
        // #3 创建一个几何体,应用刚才和网格和材质。
        Geometry geom = new Geometry("Box");
        mat.getAdditionalRenderState().setBlendMode(RenderState.BlendMode.Off);// 重要!
        // 将Geometry的渲染序列设置为Transparent,这将使它在其他不透明物体绘制后再绘制。
        LayerComparator.setLayer(geom, 1);
        geom.setMesh(box);
        geom.setMaterial(mat);
        geom.setLocalTranslation(v3f);
        return geom;
    }
}

… I still haven’t figured it out, I may need you to tell me how I should add the LayerComparator to the GeometryList!

I need the red part of the bottom to show above this green square (even if the red quad is underneath)

The only time it worked was when I set the green square to geom.setQueueBucket(RenderQueue.Bucket.Sky); of course it looked the way I wanted it to look, but it didn’t actually work the way I wanted it to, and logically put the square at the back instead of the quads at the front.

I found a way to finish my idea.
Although it looks a bit old…

Translated: “I found a way to finish my idea that is not really the way to finish my idea…”

JME will send things in a certain order to the graphics card:
draw this
draw this
draw this

LayerComparator will force the order. It is setup automatically in all of the normal viewports if you ever have called GuiGlobals.initialize() (and if you aren’t then you just make using Lemur harder)

BUT… even once you’ve drawn something there will still be things written to the depth buffer. That you can’t really control if the thing you drew first draws ‘nearer depth’ then the next thing drawn is drawn farther away. You can turn off depth testing but that’s going to give you completely different wrong results.

In your picture, what is the red stuff. What is the green stuff?

I get the impression that you are trying to do “fog of war” in the hardest and ugliest way possible… but you haven’t really provided details so it’s hard to say.

This is because you, once again, have chosen the hardest possible way to do things. I think all because you didn’t want an invisible plane. Hard to say.

You’re right. I seem to be getting farther and farther away from my goal.

Would you be willing to briefly describe the way I should finish Fog of War?

Made a few attempts but in the end it didn’t turn out to be what I had hoped for which was a bit disheartening

Maybe I should start with textures?

(388) RTS Fog of War done in Godot 4 - Part 2 : Dissolving 2D FOW as a Terrain Texture - YouTube

I found this video, and in the midst of it I didn’t understand what jme had to do to blend the black mask texture with the map?
And then how should I dissolve the black mask?

For dissolving I was thinking of a formula for finding how many squares there are in a circle, and finding the position of the square to be dissolved to dissolve it

//I don't know if I'm confusing you by saying that I don't quite understand some of the terminology in because

This point in time of the video shows me the effect I want to accomplish in jme

If you think there is a more elegant and faster way to do this in jme, I hope you can tell me how to do it.

//The above content involves some professional words and some translations are not accurate if you have any doubts about what I said please point out!


That video shows precisely what I was talking about before. Paint to a “fog of war” texture. Give this texture to all of your shaders. Let the shaders fade things out based on whether that are in fog or out of fog. It looks really nice when done properly.

The only “hard” part is that you have to know a little about shader programming and insert 2-3 lines into the vert (and possibly frag) shader.

1 Like

Do you use JME’s Lighting.j3md or PBR?

I haven’t looked at the PBR shader much, but I think I could provide minimal changes you could make to a forked Lighting material that would show you what I mean.

1 Like

I’m using Lighting.j3md

Well I’ve been tossing this around for a long time and I may still need your help, since I don’t understand shaders that well I’m starting to make “ineffective attempts” again, and what I can’t understand about the video I mentioned before is how he dissolves the black mask of the fog of war… is this part also implemented in the shader?

I’m not sure exactly what you mean… but first let’s get something cool working that advances your skill level a little and then we’ll working on making it cooler as your skill improves.

First step will be to “fork” Lighting.j3md to make your own custom material.

In your project, make your own src/main/resources/MatDefs directory.

Copy JME’s Lighting.j3md, Lighting.vert, and Lighting.frag into src/main/resources/MatDefs as: FowLighting.j3md, FowLighting.vert, and FowLighting.frag (fow = fog of war) (If you don’t know where those files are, here is a good place to start: https://github.com/jMonkeyEngine/jmonkeyengine/tree/master/jme3-core/src/main/resources/Common/MatDefs/Light)

Edit Lighting.j3md to change the existing Lighting.vert and Lighting.frag references to MatDefs/FowLighting.vert and MatDefs/FowLighting.frag.

Now we’re going to prove everything still works…

Edit FowLighting.frag
Go to the bottom where it says:

gl_FragColor.a = alpha;

Right after that add:

gl_FragColor.rgb = vec3(1.0, 0.0, 0.0);

In your scene, replace your Common/MatDefs/Light/Lighting.j3md materials with MatDefs/FowLighting.j3md

Run your application and confirm everything is bright red.

…that proves the material is still working but I would like to do one more test.

Edit FowLighting.frag and remove the debug line we just added above.
Run you application and everything should look normal.

Edit FowLighting.vert
Find this block of code:

   #ifdef MATERIAL_COLORS
      AmbientSum  = (m_Ambient  * g_AmbientLightColor).rgb;
      DiffuseSum  =  m_Diffuse  * vec4(lightColor.rgb, 1.0);
      SpecularSum = (m_Specular * lightColor).rgb;
    #else
      // Defaults: Ambient and diffuse are white, specular is black.
      AmbientSum  = g_AmbientLightColor.rgb;
      DiffuseSum  =  vec4(lightColor.rgb, 1.0);
      SpecularSum = vec3(0.0);
    #endif

After that endif, add a line:

DiffuseSum = vec4(1.0, 0.0, 0.0, 1.0);

Run the application again and everything should look like it is lit by a red light.

If you make it this far then we can proceed to the next steps of adding fog of war.

2 Likes

Following your tips I changed what you mentioned and now it looks like this

Material material = new Material(assetManager, "Shaders/FogOfWar/FOWLighting.j3md");

It seems to be surrounded by red.

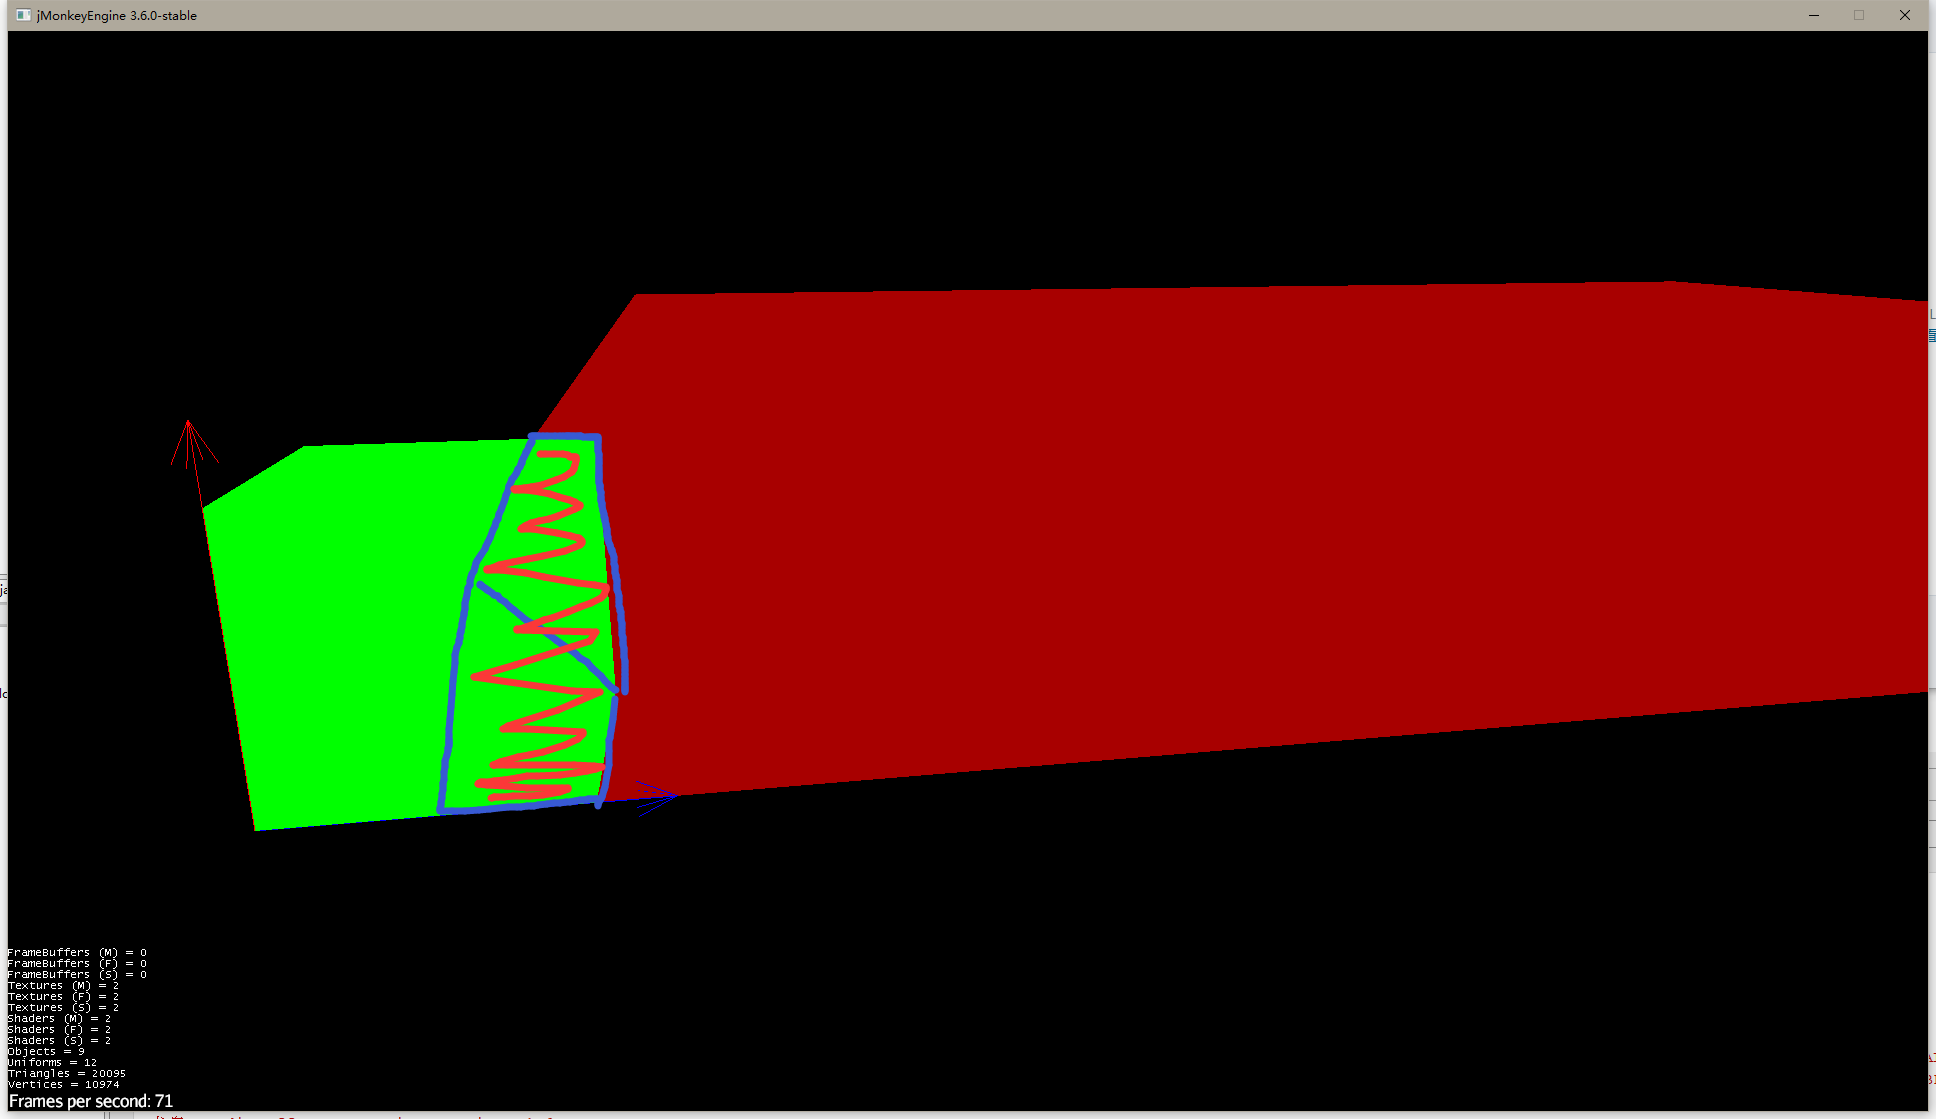
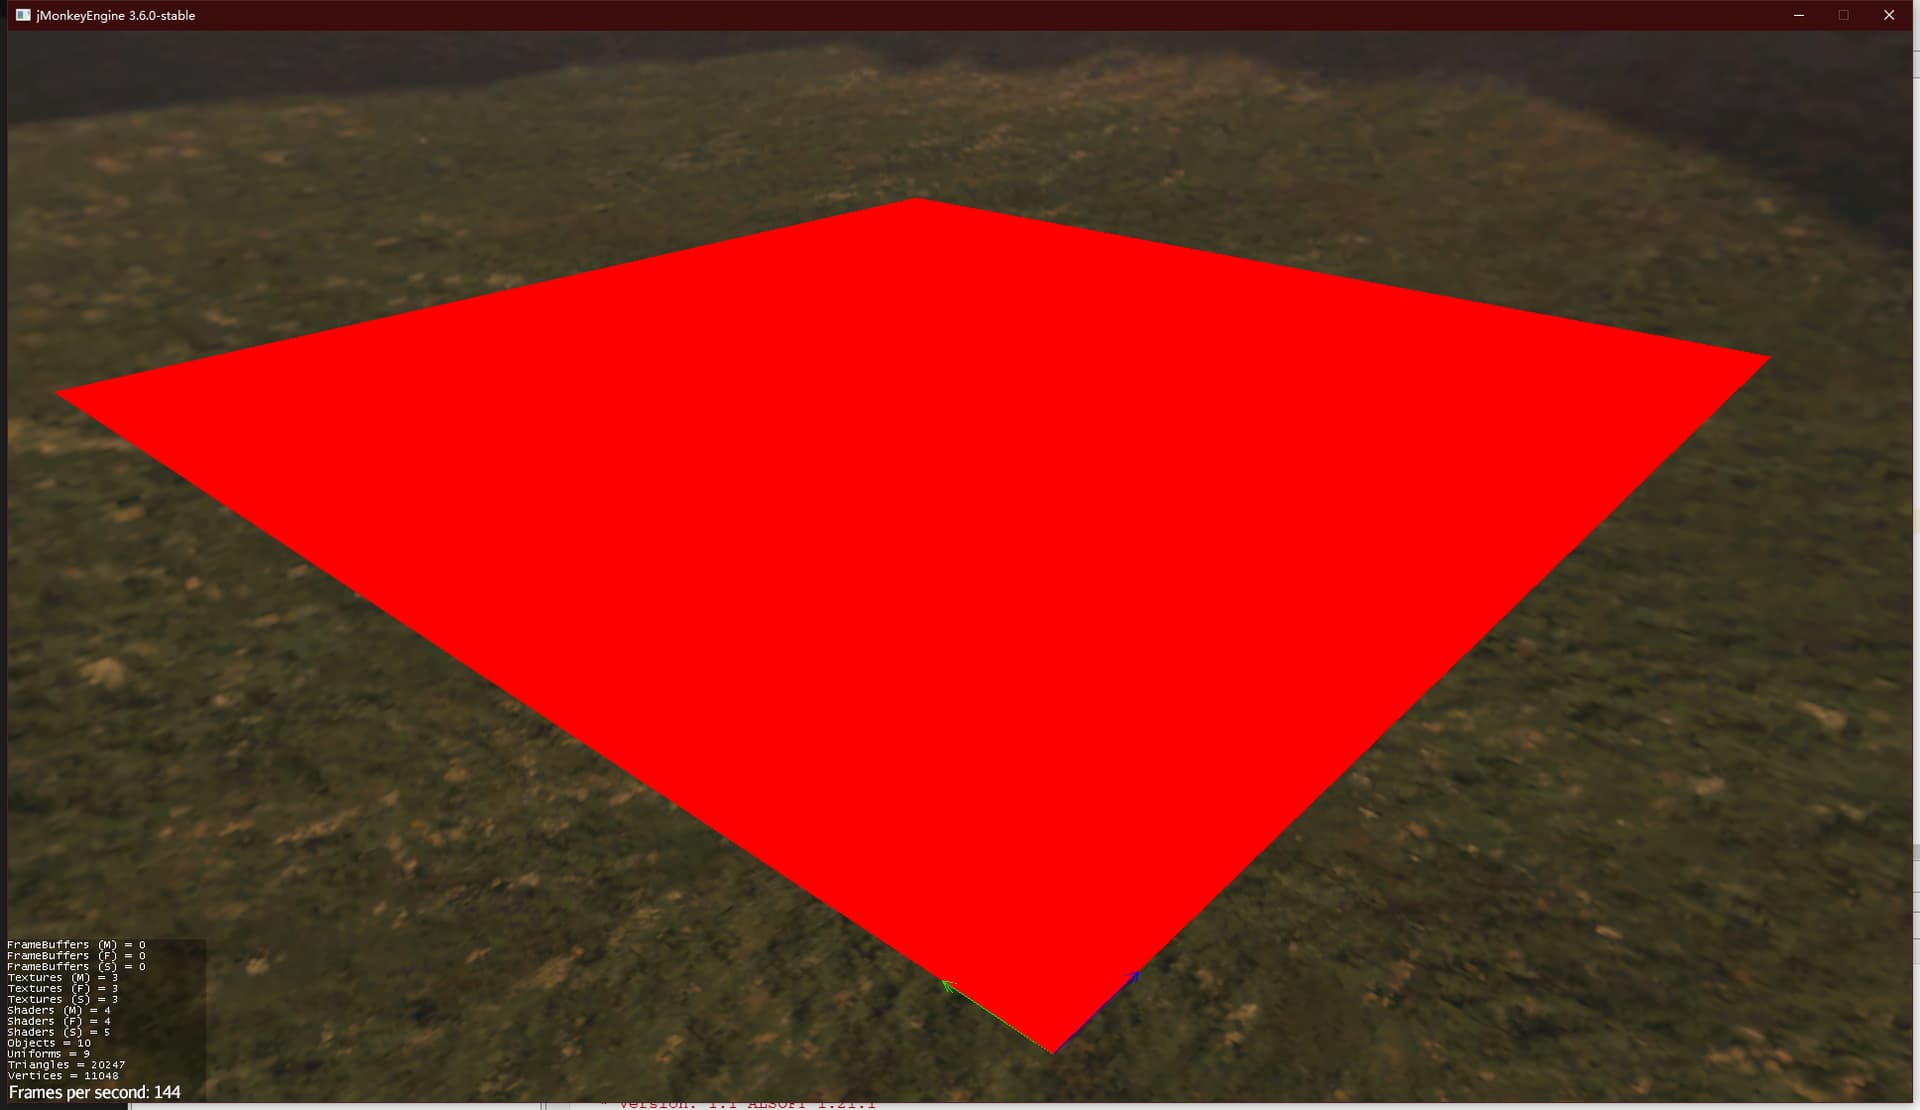
That’s because we forced the color to red to make sure the shader was working.

For the next step:
How big is your map in world space? Where is it positioned?

Update: the basic approach is as follows… I’m going to assume you have the values I asked for above. For the sake of clarity, X_MIN, Y_MIN will be the values for the lowest corner of your map in world space. X_SIZE, Y_SIZE will be the size of the map in world space.

Overview:

  1. setup a FOW texture in Java and get it setup to write to
  2. add a material parameter for the FOW texture
  3. modify the .vert shader to modify lighting based on the world space of the vertex

Edit FowLighting.j3md and add:

Texture2D FowMap -LINEAR

to the MaterialParameters section.

Scroll down to " Technique {" and then to " Defines { " and add:

HAS_FOW

That adds a new FowMap material parameter we can set in Java code and it adds a #define to the shader code so that we can easily turn on/off code.

Edit FowLighting.vert…
Somewhere near the top add:

#ifdef HAS_FOW
    uniform sampler2D m_FowMap;
#endif

…that allows the .vert shader to use the new FowMap texture that was added to the material.

Remove this line we added before:

DiffuseSum = vec4(1.0, 0.0, 0.0, 1.0);

Replace it with:

#ifdef HAS_FOW
    // Get the x,z location of the vertex in world space
    vec2 worldXz = (TransformWorld(modelSpacePos)).xz
    
    // Change the world space coordinate to texture space 0..1
    vec2 fowUv = worldXz - vec2(MIN_X, MIN_Z); // use your actual values here in format like 0.0
    fowUv *= vec2(X_SIZE, Z_SIZE);

    // Sample the texture
    vec4 fow = texture2D(m_FowMap, worldXz);
   
    // adjust lighting by the fog of war value
    DiffuseSum *= fow;
    AmbientSum *= fow;
    SpecularSum *= fow;
#endif

…that turns the model position of the vertex into world space and then converts that into values between 0 and 1 for sampling the FOW texture we will create next.

Setup the texture in Java code:
Add this somewhere central:

// Create the raw FOW overlay image
int size = 1024;
ByteBuffer data = BufferUtils.createByteBuffer(size * size * 4); // square image, four bytes per color
Image image = new Image(Image.Format.ABGR8, size, size, data, ColorSpace.Linear);
// Create a raster that we can draw to
ImageRaster raster = ImageRaster.create(image);
// Create the texture to set to the FowMap on materials
Texture2D fowMap = new Texture2D(raster);

fowMap is what you will set on your materials.
material.setTexture(“FowMap”, fowMap);

raster is where you will draw “unfogged” areas.

As an example, I’ll show a gradient from 0…128

for( int i = 0; i < 128; i++ ) {
    for( int j = 0; j < 128; j++ ) { 
        float f = (1f - i/128) * (1f - j/128);
        ColorRGBA color = new ColorRGBA(f, f, f, 1.0);
        raster.setPixel(i, j, color);
    }
}

That should partially reveal a corner of the map with the “brightest” being right at the corner.

How best to paint into the raster is something we can cover once all of the above is working.

GIANT CAVEAT: I have not tested any of the above code and just typed it right into the forum by hand. It may have syntax errors, etc.

1 Like

It seems that there is no way for ImageRaster to convert to the Image needed by Texture2D.
Should I use a for loop to read the ImageRaster and add pixels from each coordinate to the image?

It’s a typo in my hand typed unchecked/untested/uncompiled, written from total memory out of the depths of my brain cells.

Use:

new Texture2D(image);

…instead.

Nothing else you suggested has any hope of working at all.

1 Like


Glad I did, it looks just like this!

1 Like