Great projects being displayed here!
That looks awesome
This is awesome looking :chimpanzee_surprised: Any tips on how you did that? 
So cool 
thanks
It’s still the fog filter i showed above but now i multiply the density found by the ray with a noise function.
I think it’s the more trivial way to do raytracing on post processing.
This is the basic idea behind it:
For each fragment i find the location in world space of the surface its rendering ( i think it’s similar to what ssao filter does, but in world space) then i subtract to it the CameraPosition and normalize. This is the direction of the ray, while g_CameraPosition is the origin.
Then i pretend there is a ray between camera and surface and i sample it . That translated in code is
direction=normalize(surface_pos-g_CameraPosition);
samples=32;/*Arbitrary value, higher=more accurate but slower*/
cam_surface_distance=distance(surface_pos,g_CameraPosition);
step=cam_surface_distance/samples;
for(i=0;i<samples; i++){
   sample_pos=step*direction*i;
   // .....
}
Then i pass sample_pos to a function that tells me how much fog there is in that point (that could be something as trivial as 1-clip(pos.y/FogHeight,0,1) ) and this is the density of the fog for the current sample.
In the latest video i pass sample_pos also to a 3d noise function with g_Time and i multiply the result of the previously found density for it, and this produces the effect you see.
Then i sum the density of each sample and i have the density of the fog.
4 Likes
For my atmospheric scattering, I do the ray casts only on the vertexes and then interpolate across the faces. This tends to work fine for human sized objects and normal atmospheres. It would fail with your current settings…
…however, I wonder if it could work ok if the 3D noise were much lower. I mean, it wouldn’t look half as cool as what you have but it would provide some variation… and it would be nearly free in comparison.
1 Like
That’s an idea, but in this way i would need to calculate the fog on materials instead of as post processing filter. Another thing i could do is rendering the fog pass with a really low resolution and then blur the artefacts. But my first attempt will be to replace perlin noise with something lighter.
I’m really excited about this as I am currently implementing clouds and fog too.
Do you mean that it is too heavy in terms of performance? You should try to downsample the original scene’s color and depth textures in a prepass and calculate fog extinction factor and color based on these resolutions (You could store the fog colors as RGB values and the extinction as alpha value).
Then, as a final step (as the actual filter’s material) you would need to upscale the output of your fog colors and apply it’s extinction factor. So you actually blend the low resolution fog texture with the original scene texture. You can find how to downscale textures in the BloomFilter’s source.
Quality should hardly be impaired because those puffy clouds have little detail anyway. But the downscale of your scene’s textures by a factor of two will boost performance by a factor of 4.
Edit: I reckon that you would only have to downsample the original scene’s depth texture.
Yes exactly.
I’m not downsampling input textures, actually I’m not sure why this would produce any benefit.
But i’m rendering the fog scene with a 640x480 resolution in the last video (in the first one it was rendered at full scene resolution), without that fps goes down to 60 ![]() .
.
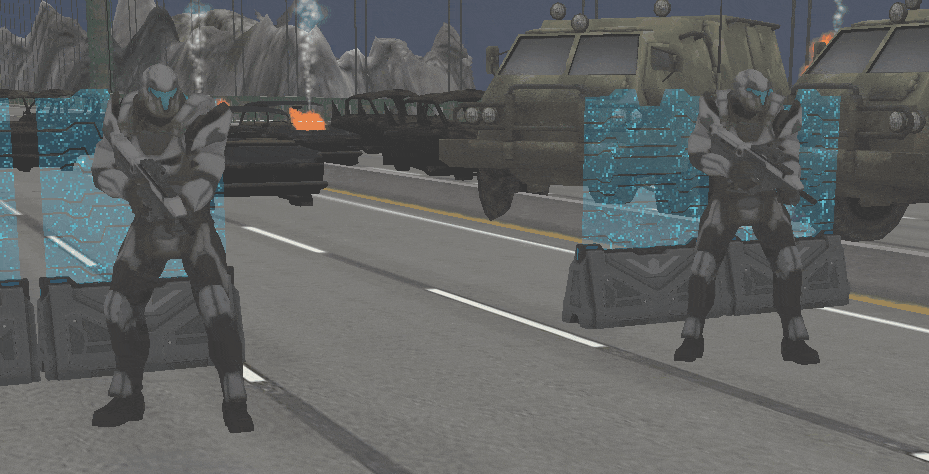
So here is one of the new models in game  Bought a few in the last week so i could finaly have some visuals x) More latter on the main thread,
15 Likes
While the difference might not be immediately noticeable, downsampling the depth texture would be equivalent to sampling multiple texels at once and getting an average value. If you don’t downsample it you pinpoint only a single depth value. It might make a difference in complex scenes, such as trees with branches where you can see through.
2 Likes
Wow! I didn’t think about that!
Now I call
        glBindTexture(GL_TEXTURE_2D,DEPTH.getImage().getId());
        glGenerateMipmap(GL_TEXTURE_2D);
        glBindTexture(GL_TEXTURE_2D,0);
on the depth texture with MinFilter set to Trilinear.
And i can reduce the fog resolution a lot without any noticeable artefact, you’ve just solved the problem.
2 Likes
Awesome! Glad it works!
BTW: What’s the resolution of the fog now?
Wait what?
You know we have an API for this in jme, why are you making direct GL calls?
1 Like
I tried with 1/4 of the original scene, now i’m trying with 1/8 , but i noticed that from some angulations and distances there is still some aliasing, now i’m trying to mask it with some additional noise and fxaa passes applied only to the part of the scene inside the fog.
What api? MipMapGenerator works on CPU afaik.
1 Like
Great pic, would like to see some more
Setting a min or mag filter that needs mip maps (aka triliniear), will trigger the mipmap generation in the renderer when the image data is uploaded
1 Like
The image is never re-uploaded.
@RiccardoBlb That is hands down, the most amazing sandstorm ever! ![]() I need to look into perlin noise asap. Just do me a favor and insert a comment at the top of the filter class:
I need to look into perlin noise asap. Just do me a favor and insert a comment at the top of the filter class: /* Darude - Sandstorm */
Since we’re talking about shaders today, here’s my contribution ha
I have taken a small break from modeling and optimized nebulas up to 500%, reducing them to one drawcall each instead of the embarrasing way it was done before lol. They’re now a breeze to render although you can’t really see that in the video as the fps is capped at 60.
Since I put everything regarding color change into the shader anyway I made them animated too. ![]()
Oh and I added a new type of nebula, this electric storm thing as you can see:


Anyway I was messing around and got this cool looking dissolve effect that serves as a good animation.

I used three functions that are delayed in regard to each other so the colors sort of shift around a bit while keeping the main color there (mostly). Then there’s the other part that’s sort of wtf but it makes the dissolve effect. It takes the normal of the face and the pixel color to make a uniquish number and then uses that on transparency coupled with a sine function to make it cyclical.
Am I making any sense at all?
//some quads need to be a slightly different color so it's not so uniform
vec3 norm = normalize(vNormal);
color.r += (norm.x/8.0)-0.0625;
color.g += (norm.y/8.0)-0.0625;
color.b += (norm.z/8.0)-0.0625;

//color shifting
color.r *= 0.7+sin(g_Time*0.11)*0.4;
color.g *= 0.7+abs(cos(g_Time*0.11))*0.4;
color.b *= 0.7+sin(-g_Time*0.11)*0.4;

//the stuff and the things
float avg = norm.x+norm.y+norm.z+color.r+color.g+color.b;
float spd = 0.8;

#ifdef SPEED
    spd = m_Speed;
#endif

color.a *= 0.6+sin(g_Time*spd+avg*5.0)*0.4;

gl_FragColor = color;
I made it only affect 40% of the transparency so it’s not super noticable. ![]()
Oh and thanks again to @RiccardoBlb for helping me with getting the world normals ![]()
21 Likes