Hi everyone,
I found this video which explains quite clearly how to create a 3D scanner effect. I would love to convert this shader from Unity to jMonkeyEngine, but I lack some knowledge. Would you please help me?
Obviously all the material discussed will be published on github to make it available to everyone. Thanks in advance for your patience.
If implemented as a shader that is used for all the materials in the scene, then it’s a rather simple blend between the usual shaded color and the sonar color, depending on whether the current pixel’s XZ coordinates lie on one of the sonar circles or not.
An implementation as a post processing filter using some depth buffer magic might also be doable, but I don’t have enough experience with depth buffer to be able to figure out the whole algorithm without doing some more research first.
Yeah, it would be super tempting to do this as a postprocess filter.
In some level, it’s not that different than the drop shadow filter I wrote some time back:
The drop shadow filter is rendering boxes into the scene but it detects which part of the scene is inside the box and then renders a dark gray as a distance from the center. Convert that to a distance threshold and change the color and you basically have the effect in the video.
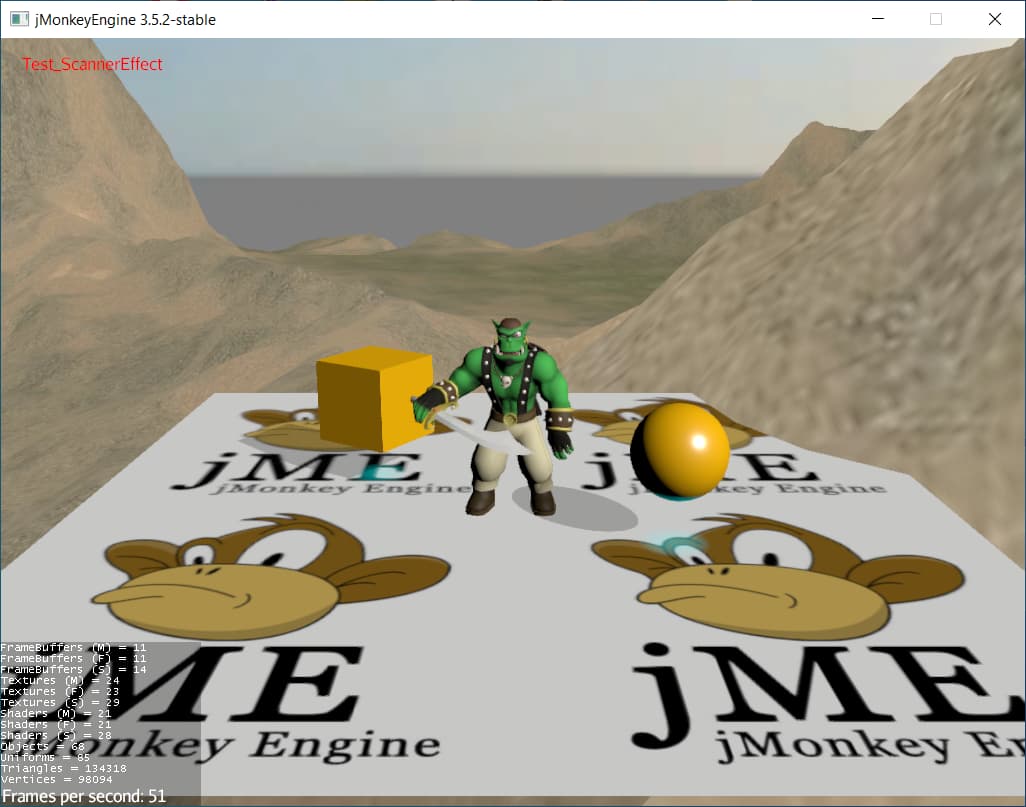
I created a test case with each type of object: FlyCam, SkyBox, Terrain, Box, Sphere, Sinbad, Filters etc. I copied the files from the SimFX project to be able to edit them. You can find it all here:
Main classes:
Test_ScannerEffect
DropShadowFilter
If you have any ideas or suggestions, copy the project, modify it and show your results
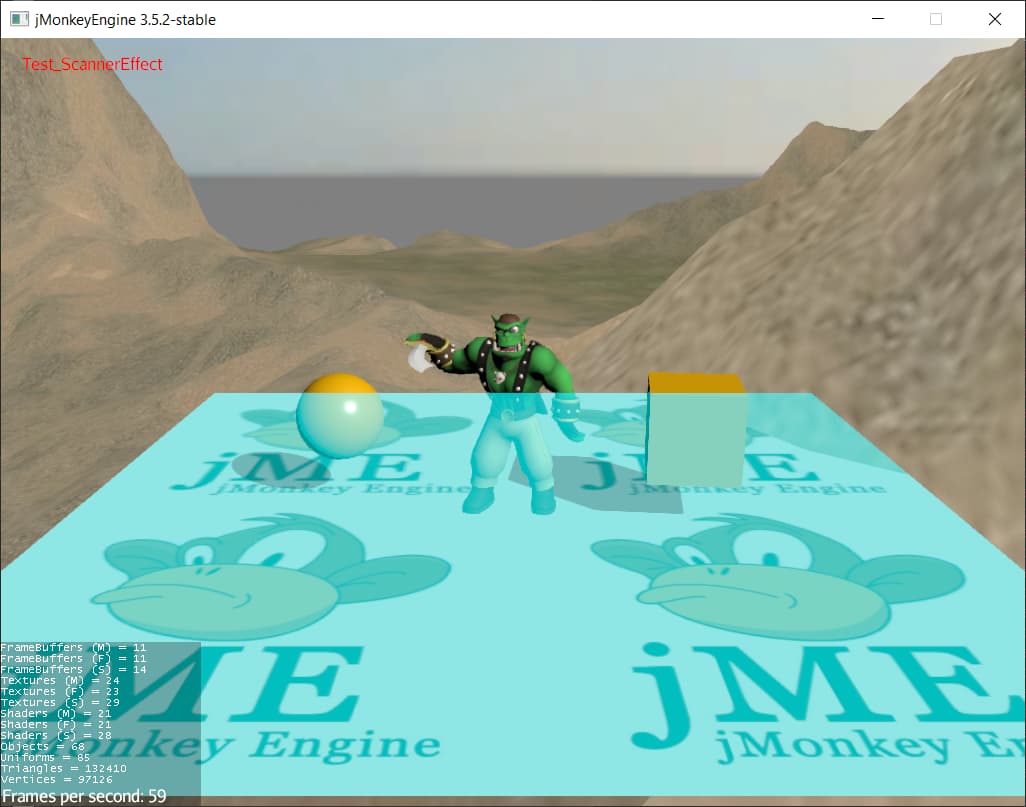
@pspeed thanks a lot for the sample file. I changed the color of the filter, but I didn’t quite understand how to put your suggestion into practice. Could you help me please?
What part of the code needs to be changed?
Right now the filter makes a box for every shadow caster. You’d want to change it to use your own box to represent the scanner. That’s step 1.
From there, it’s a matter of messing with the .frag shader to change how the value is calculated. I’ve have to mess with this shader a bunch to really decipher what’s going on… as past-me didn’t leave any useful comments for future-me.
But I suspect it boils down to this line:
…that I think is calculating the distance from the center of the box.
If you then only set the color between some range of values instead of just a straight 1-col then you should be able to turn it into a scanner band instead of a fuzzy bubble.
Edit: note that this shader is also doing something funny you the y value… but it may be that it still looks ok for what you want.
If you apply the “converting depth into world position” part of the guide you posted, then you basically get the data required for my suggested method #1 to work as a post processing filter from what I understand.
Edit:
thanks for the support guys, I hate the fact that I still can’t understand the shaders well. We need a way to make them accessible with jME too, otherwise it’s impossible to make games cool.
I don’t understand where I’m wrong: I try to help the community grow with interesting questions and by sharing the source code. It’s a complex subject and I apologize if I don’t understand all the valuable advice you give me. The source code is available on github for this reason.
Only you and grizeldi have provided me with suggestions, perhaps because no one else knows the subject. There are no tutorials on JME shaders on YT like for Unity. Without your help, I don’t know how to learn. Trust me, I’m working hard to figure out how to make this work. If you help me, you are helping all the people who read, and there are probably many like me. I know I can’t force you to do this, it’s up to you to decide whether to donate some of your time or not. But by sharing the knowledge, many more people will be able to answer questions about shaders in the future.
I’m afraid I can’t help you here, as I don’t currently have time to go into this code and see what’s going on there.
This however, is something I could do something about. Though probably not on youtube, but on some blogging platform, because I stand behind my opinion that a code focused engine like JME isn’t very suited to video tutorials.
I’ll see how bored I am next weekend.
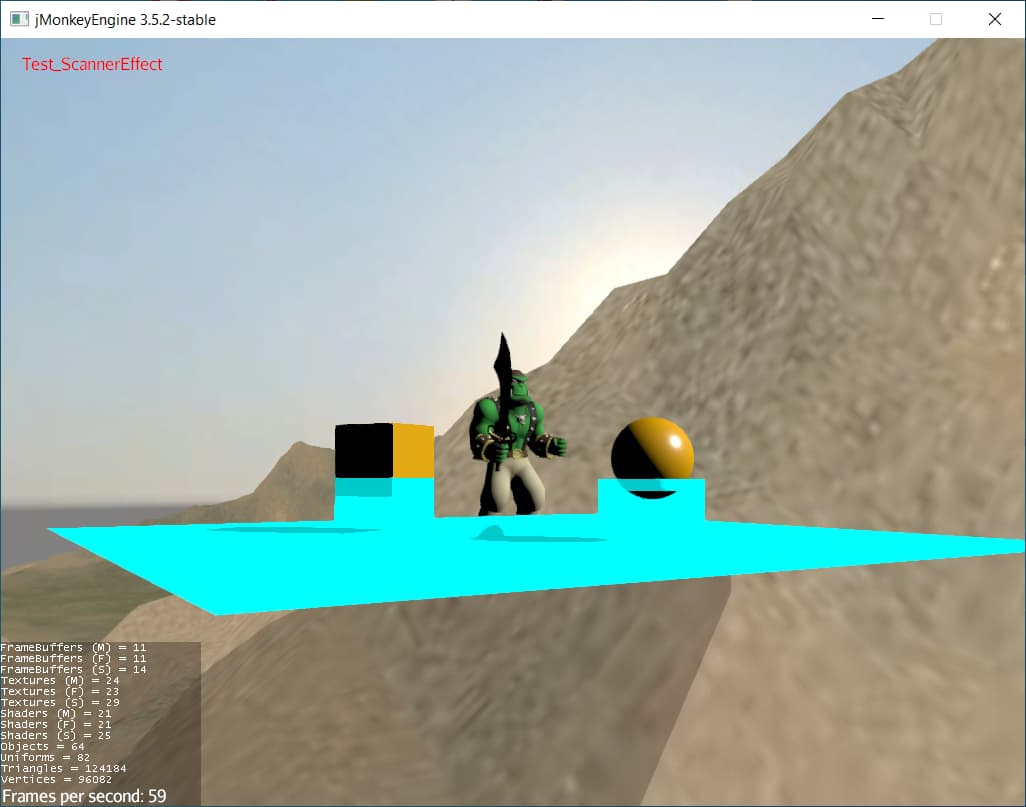
I played with it for a few minutes: color.a *= step(0.8, shadow) * step(shadow, 1.0);
…is closer. There is some kind of inner rings, too. It’s supposed to limit the effect to between 0.8 and 1.0 from the center but there is some other component to the shadow value that I’ve forgotten creating some inner shells also.
From there, you’d have to modify the filter (as I’ve said previously) to use your own Box instead of the 1000 calculated from the scene’s shadows. Adjust the single box as needed to encompass where you want the ring to be.
…it might be enough to get what you want. Then you can be done.
Any of the visual glitches are related to the requirements that this shadow shader project inside of a box. Without the shadow object limitations, the math would be much easier and could mostly be stolen from JME.
Basically, regular post-process shader (fog shader would make a good basis). Calculate the world position of the pixel in screen. Check the distance between that and some fixed value. If the distance is within some radius +/- ring width then set the glFragColor to something non-transparent.
“Calculate the world position of the pixel on screen” is the only hard part of that… and it’s legit tricky if you are not familiar with the math. You have the z value already (fog shader should calculate it, my shader does, too.) From that you might be able to steal some of JME’s camera math that projects a screen coordinate into 3D space.
If I had an hour to freely play with it, I’d corrupt the fog filer’s frag file and start hacking… just debugging values until I had something right. (I do not have an hour to freely play with it but this level of messing around can be good if you want to learn shaders and some semi-tricky 3D math.)